Last updated: September 28, 2017
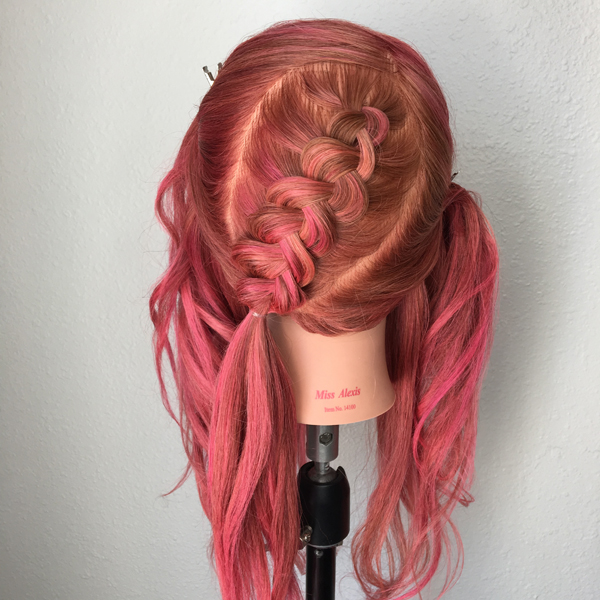
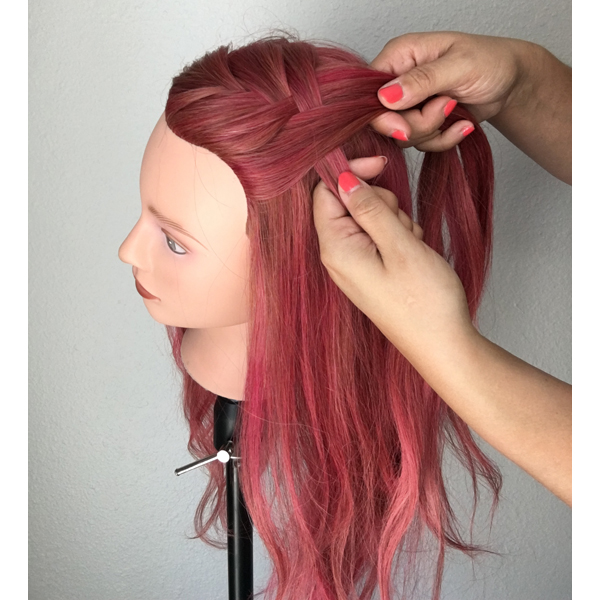
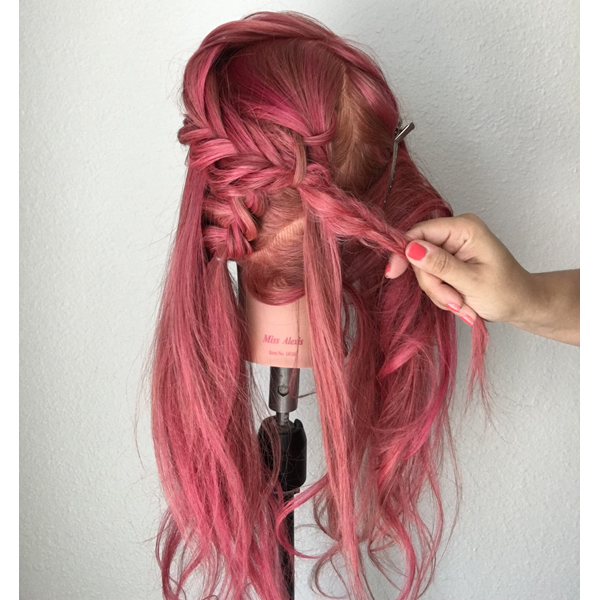
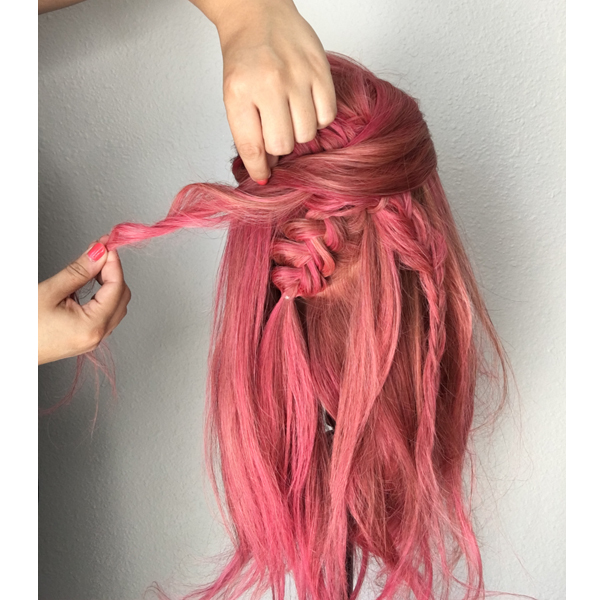
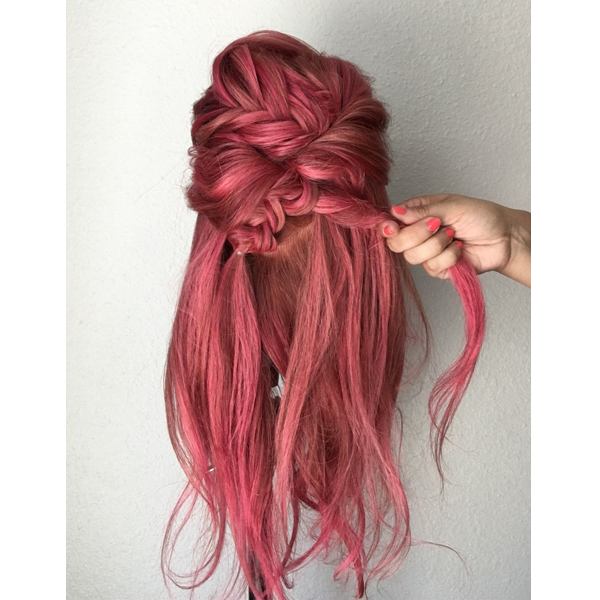
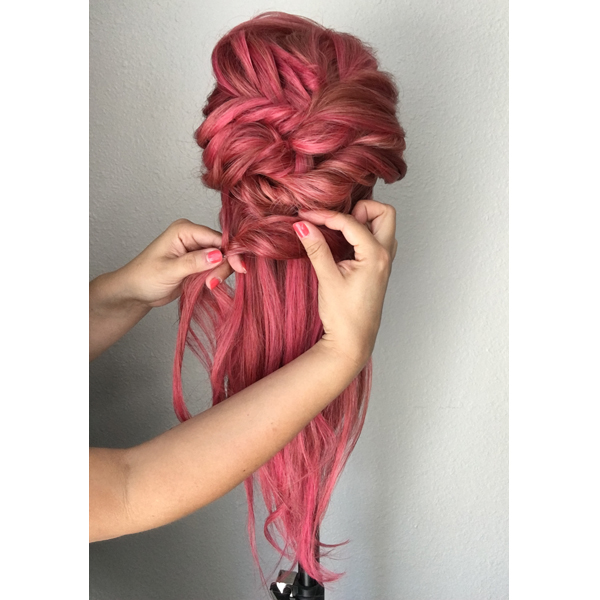
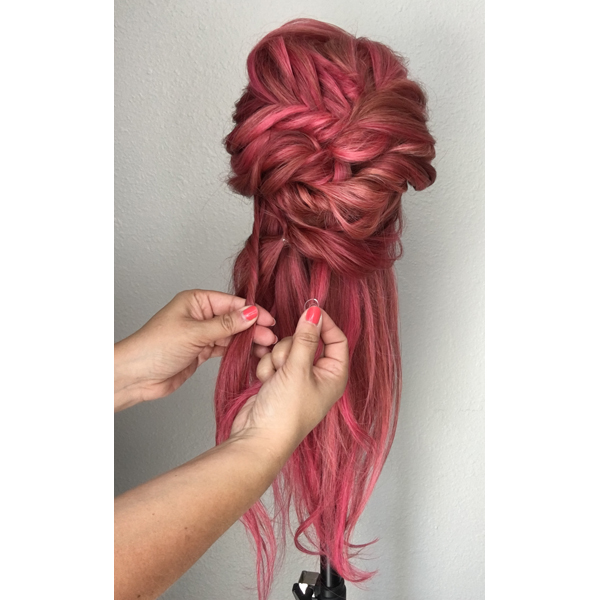
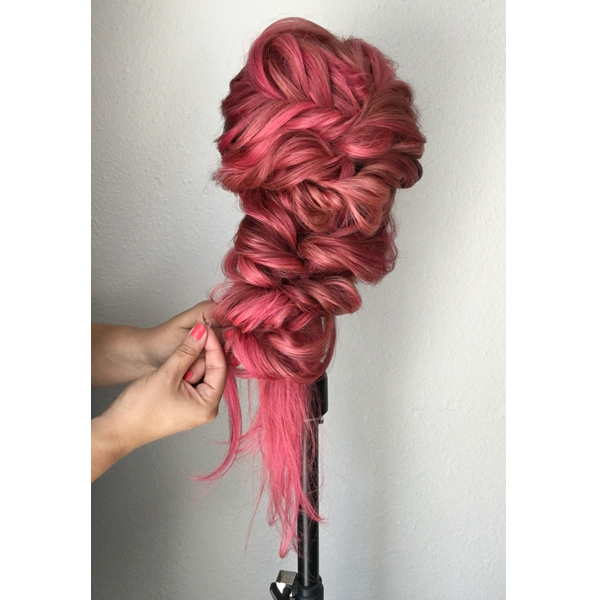
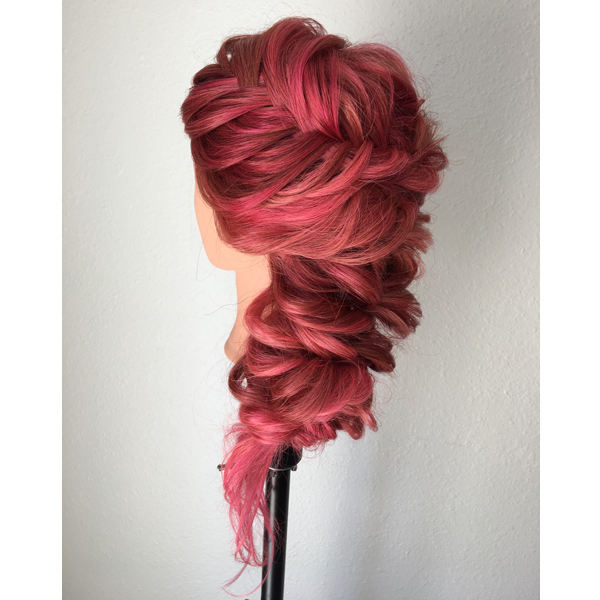
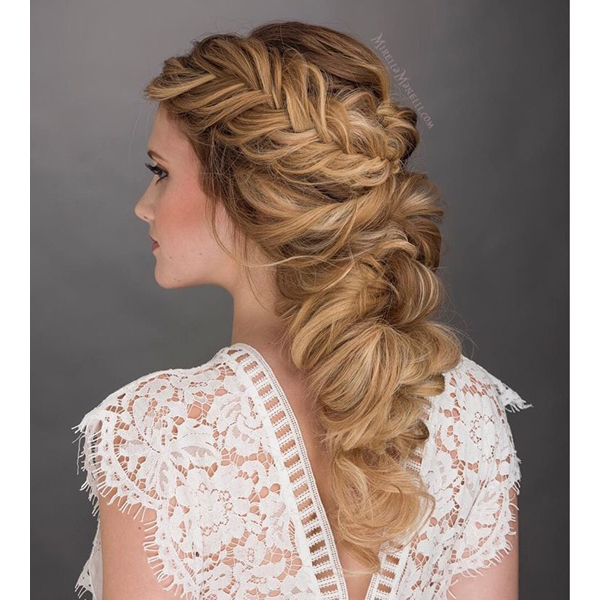
Beautiful Braided Bridal Style
Beautiful Braided Bridal Style
Artist: Mirella Manelli
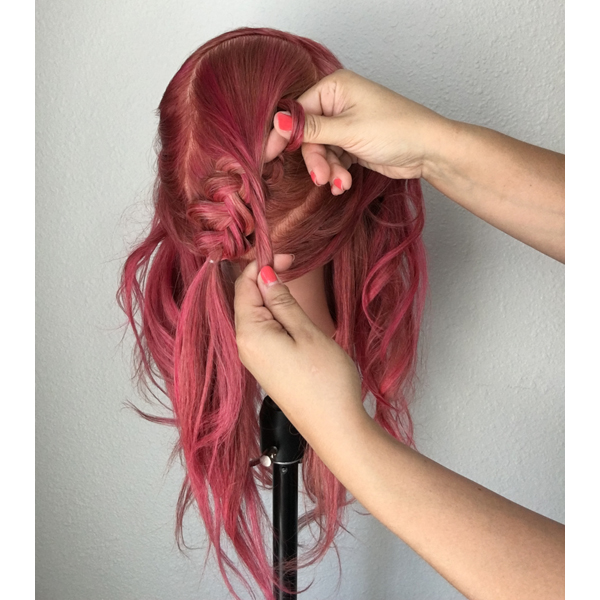
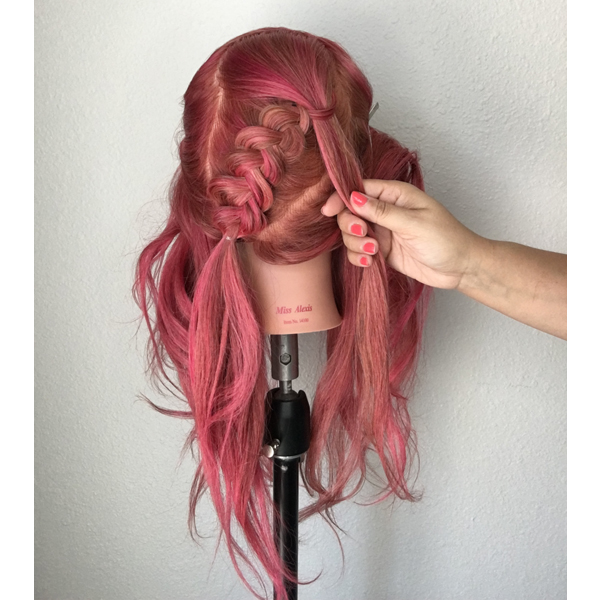
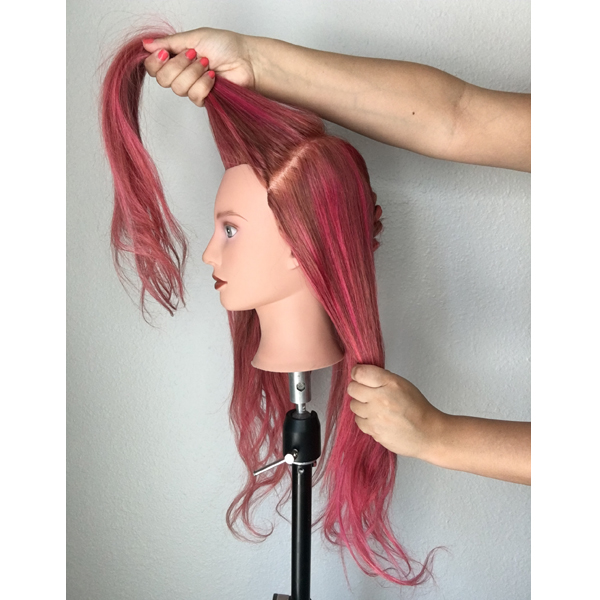
HOW-TO STEPS 
More from
Kenra Professional
-
Dry-Cutting
Bang Breakdown: How To Cut 2024’s Top Fringe Trends
-
Dry-Cutting
2024 Fringe Guide: How To Consult, Cut & Style Trendy Bangs
-
Facebook Lives
Ponylights: How To Brighten The Hairline in Less Than 20 Foils
-
BTC Hair Trend Report
Quiet Luxury Blonde: The “Old Money” Trend Explained
-
Hair Color
Bold Color Trends You Need To Know For 2024
-
Balayage
3 Steps To Make A Bronde Hairline Pop
-
Blonde
6 Blonding Techniques To Save Your Client’s Hair
-
Blonde
HOW-TO: CUSTOM TEASYLIGHTS WITHOUT THE TEASE
-
BTC Hair Trend Report
Your Complete Guide To Color Blocking
-
Haircuts
How To Cut Layers WITHOUT Losing Length
-
Bobs
6 GENIUS CUTTING HACKS WE STOLE FROM INSTAGRAM
-
Frizz
Moisturizing Oil
-
Barbering
5 Genius Blonding, Color + Cutting Cheats To Try Now
-
Accessories
2022 Styling Trends To Know: Blowouts, Money Piece Braids + Hair Rollers
-
BTC Events
#thebtcshow 2021
-
BTC Events
Connection Center at #thebtcshow 2021
-
Beachwaves
Boho Bridal Crown Braid
-
Texture
Volumizing Spray Clay 15
-
Balayage
4 Tricks For Foilayage + Shadow Roots
-
Balayage
How To Cover Grays & Open Air Balayage At The Same Time
-
Blonde
Filling The Hair? Don’t Skip These 4 Steps!
-
Corrective Color
Curly Color Correction: Brassy Blorange To Smoky Silver
-
Balayage
Problems With Open Air Balayage? Read This!
-
Manufacturer
Henkel Launches Beauty Care United


YOU MIGHT LIKE THIS
-
Braids
How-To: Braided Flower Crown
-
Braids
How-To: West Coast Textured Tresses
-
Haircuts
Mod Stacked Pixie
-
Hair
Braided Fishtail Chignon
-
Braids
Braided Boho Downstyle


TRENDING NOW!
-
BTC Hair Trend Report
The Biggest Haircut Trends of 2024
-
Business
3 Reasons Why Today's Highlights Are So Expensive
-
Copper
What Is The "Cowboy Copper" Hair Trend? Here's What It Really Means...
-
Blonde
Toning: 5 Fast Purple Shampoo Ideas For Blondes, Silver & Gray
-
BTC Hair Trend Report
Quiet Luxury Blonde: The "Old Money" Trend Explained
-
Uncategorized
TikTok's Viral "Scandinavian Hairline" Is Actually Not New...
-
Business
Clients Complaining About Increased Prices? Send Them This!
-
Blonde
The Biggest Hair Color Trends of 2024


