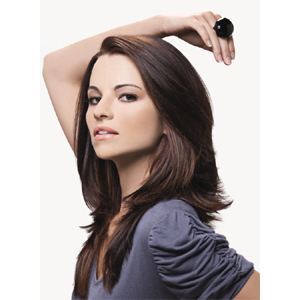
Razored Layers Cut and Color How-To from Pivot Point
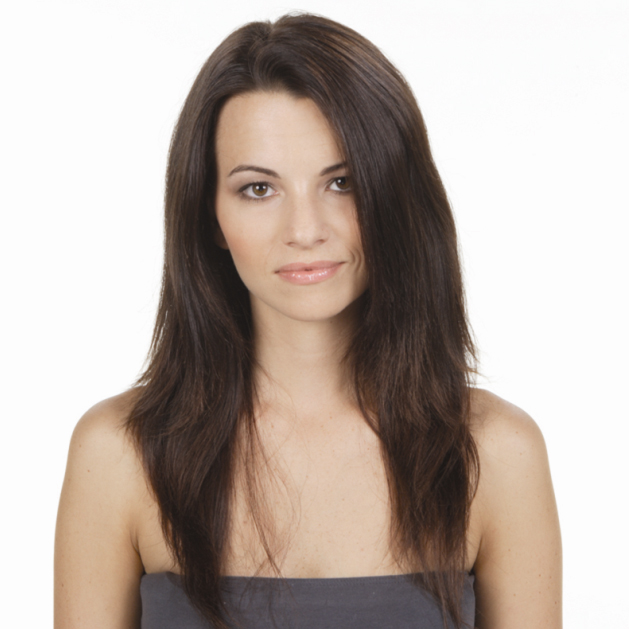
This look familiar? The model's hair has grown out from a previous cut, and she's in need of a new shape and color, and fast!
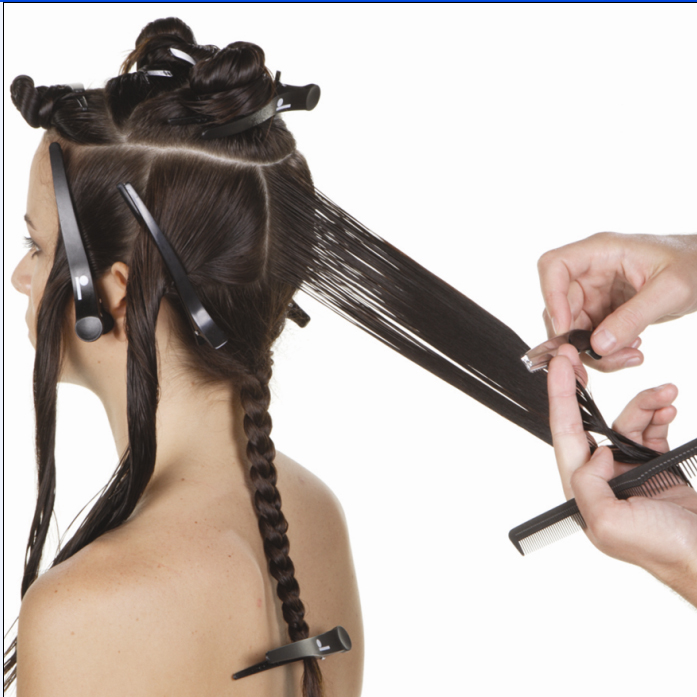
In the back exterior, converge wide vertical partings. Project at a 45-degree angle and razor etch vertically. Work to one side, sculpting each parting individually, then work to the other side.
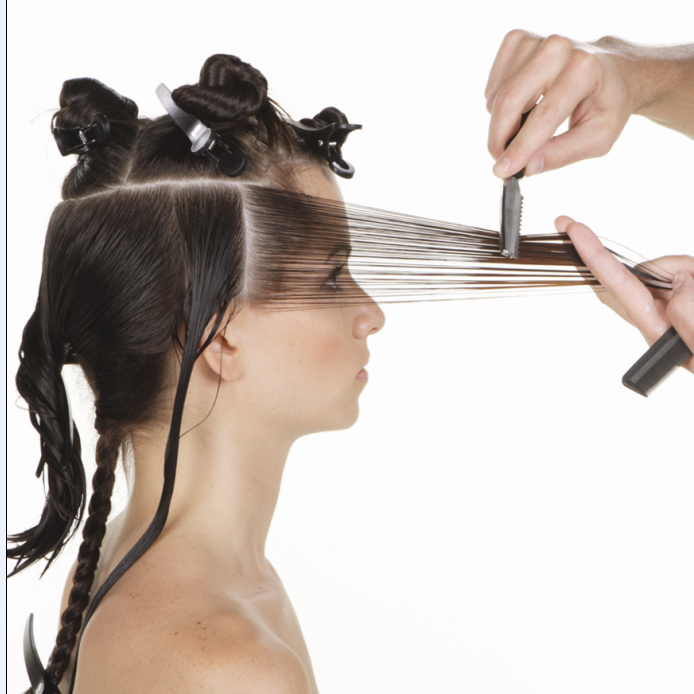
Use vertical partings on one side and distribute forward. Converge to a nonparallel stationary design line and razor etch. Repeat on the opposite side.
In the interior sculpt a uniform, stationary design line. Converge subsequent diagonal partings to the stationary line.
Advertisement
Air form the hair. Sculpt the nape lengths in solid form. Then, take vertical partings and slide cut to blend the increase layers to the solid perimeter.
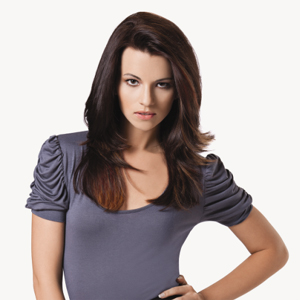
Alternate natural hair with diagonal slices of Level 6 red copper and lightener. Use two slices of lightener to every slice of copper. Apply Level 5 caramel brown to the remaining lengths, excluding the hair between the foils. Process, rinse, shampoo and condition prior to styling.
Finished Look
Finished Look
Razored Layers Cut and Color How-To from Pivot Point
This long, layered look from Pivot Point International is an absolute must for any stylist to master. Why? While the look may be a common request, it’s also a cut that allows you as the stylist the chance to personalize, to tailor the cut to suit your client’s needs. In this case, the cut features soft, razor-cut layers that reduce bulk while maintaining a strong perimeter form line. To accent the layers, subtle mahogany tones were added. Click through and learn how you can replicate this classic!
HOW-TO STEPS
-
1
This look familiar? The model’s hair has grown out from a previous cut, and she’s in need of a new shape and color, and fast!
-
2
In the back exterior, converge wide vertical partings. Project at a 45-degree angle and razor etch vertically. Work to one side, sculpting each parting individually, then work to the other side.
-
3
Use vertical partings on one side and distribute forward. Converge to a nonparallel stationary design line and razor etch. Repeat on the opposite side.
-
4
In the interior sculpt a uniform, stationary design line. Converge subsequent diagonal partings to the stationary line.
-
5
Air form the hair. Sculpt the nape lengths in solid form. Then, take vertical partings and slide cut to blend the increase layers to the solid perimeter.
-
6
Alternate natural hair with diagonal slices of Level 6 red copper and lightener. Use two slices of lightener to every slice of copper. Apply Level 5 caramel brown to the remaining lengths, excluding the hair between the foils. Process, rinse, shampoo and condition prior to styling.
-
7
Finished Look
-
8
Finished Look
TRENDING NOW!
-
BTC Hair Trend Report
The Biggest Haircut Trends of 2024
-
Glossing/ Toning
5 Purple Shampoo Hacks For The “I Still See Yellow” Client
-
Glossing/ Toning
Blonde Toning Guide: 3 Key Tips & 5 Formulas To Save
-
Blowouts
Bob Styling Guide: 5 Ways To Style Short Hair
-
Copper
What Is The "Cowboy Copper" Hair Trend? Here's What It Really Means...
-
Blonde
How to Get Sabrina Carpenter’s Golden Blonde & Curtain Bangs—From Her Hairstylist
-
Business
6 Saving & Investing Tips To Grow Your Profit
-
Haircuts
WWYD: How Long Is Too Long For A Haircut?