Last updated: November 01, 2022
VIEW ALL PHOTOS
VIEW SLIDESHOW
GET THE HOW-TO
Show Steps
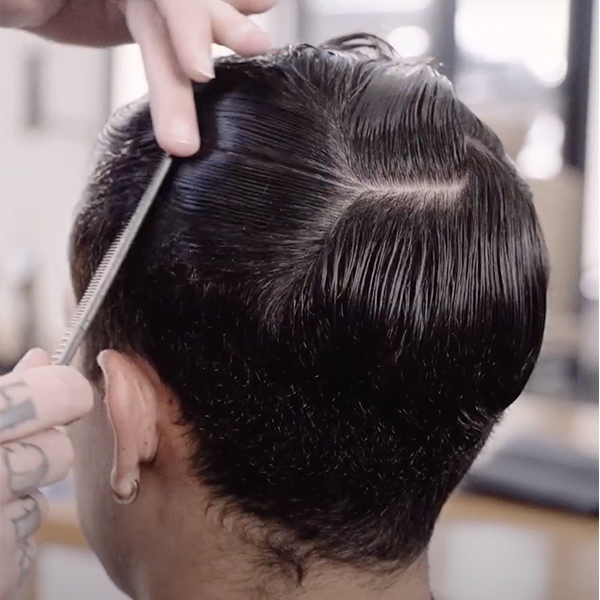
Begin by sectioning the hair at the round of the head to separate the top and bottom. This will give the fade a smoother transition from the top.
Show Steps
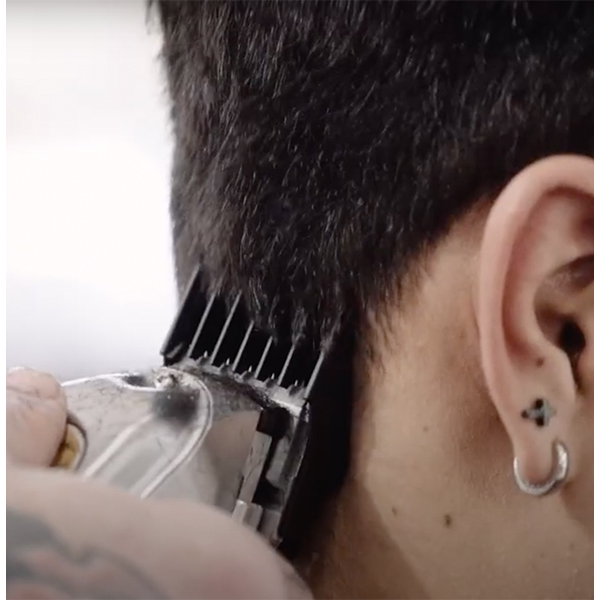
Attach a #2 premium guide to the WAHL 5-Star All-Metal Cordless Senior and use the ridge of the guard to flick out in a "C" motion. This technique creates a guideline for where you want to see the fade's dark-to-light transition.
Show Steps
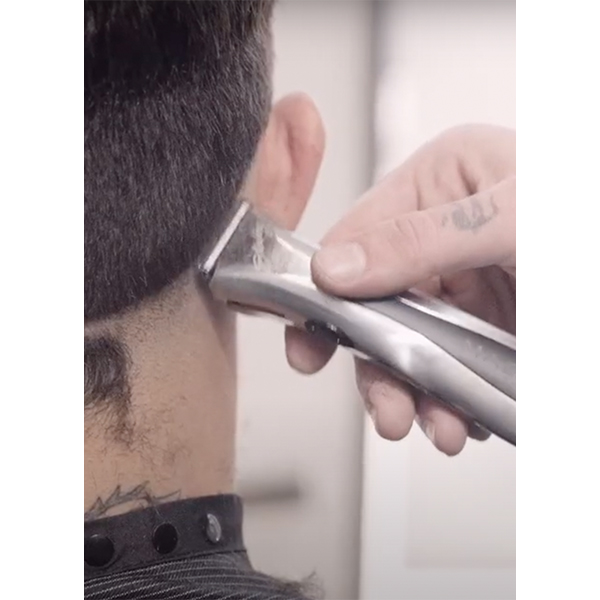
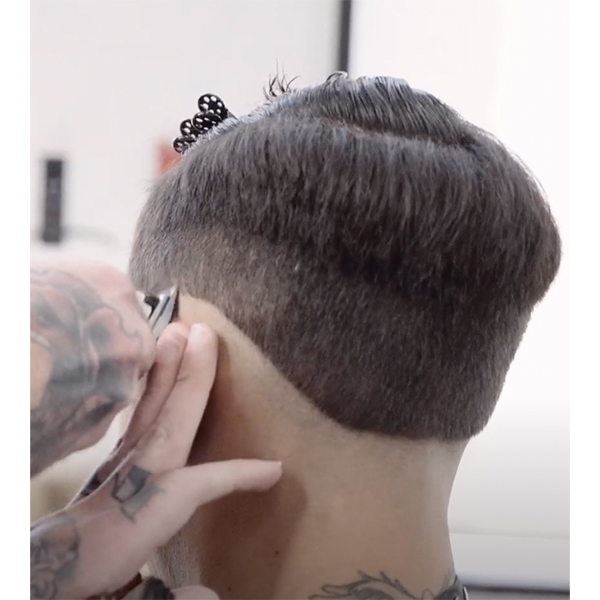
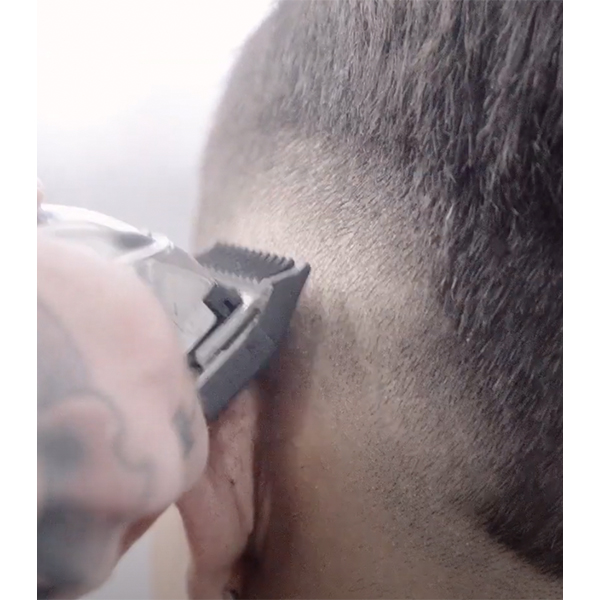
Switch to the WAHL Sterling Mag Trimmer to establish a zero guideline around the head, dropping the guidelines slightly at the back of the head. Be sure to leave a small amount of hair at the front of the hairline in order to create definition in the lineup.
Pro tip: Because of how the blade on the WAHL Sterling Mag Trimmer is set, you can confidently go in with the trimmer upside down and not risk taking the zero line too short.
Show Steps
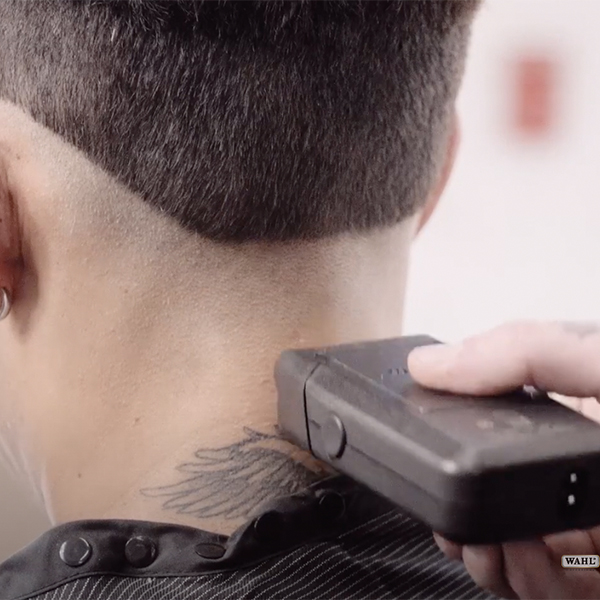
Clean up the surrounding area with the WAHL 5-Star Finale Shaver. This makes sure the skin is smooth and gives the fade a cleaner appearance.
Show Steps
Create the first guideline a quarter to a half inch above the zero line, using the lever to establish an open position. Afterwards, adjust the lever to half open, a quarter open and then closed to complete the guideline.
Show Steps
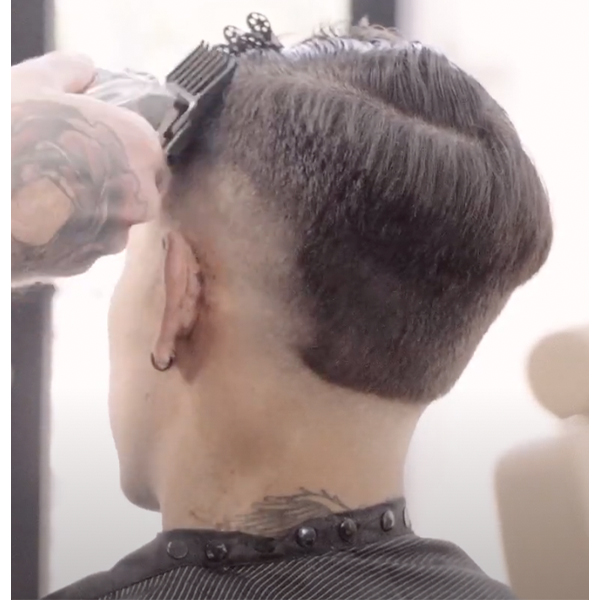
For the next guideline, use a #1 premium guide with the lever open. Then, switch to the #½ premium guide and open up the lever, moving the lever as many times as necessary to fade out the guideline. Repeat the same process using the #1½ with the lever open. Once the guideline is established, switch back to the #1 premium guide and use the lever to blend out.
Show Steps
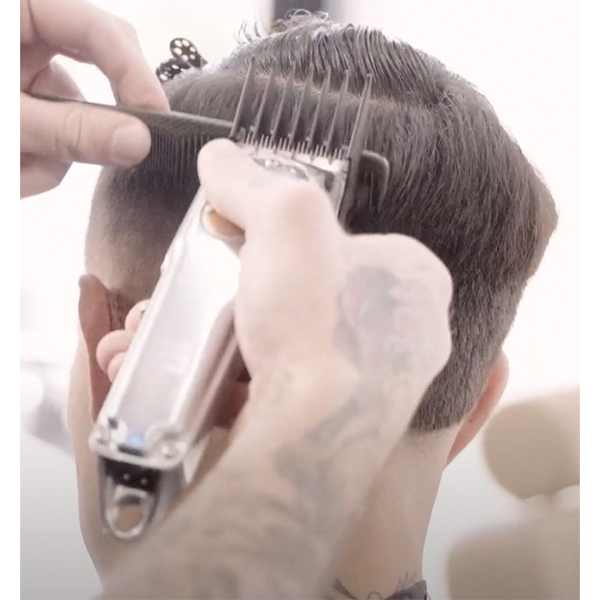
Next, switch to a #4 premium guide and move up the head square to remove bulk from the parietal ridge.
Show Steps
Using a #3 premium guide, continue fading back down to the #2 premium guide. Remember to use the lever as often as necessary to give the client the smoothest blend possible.
Show Steps
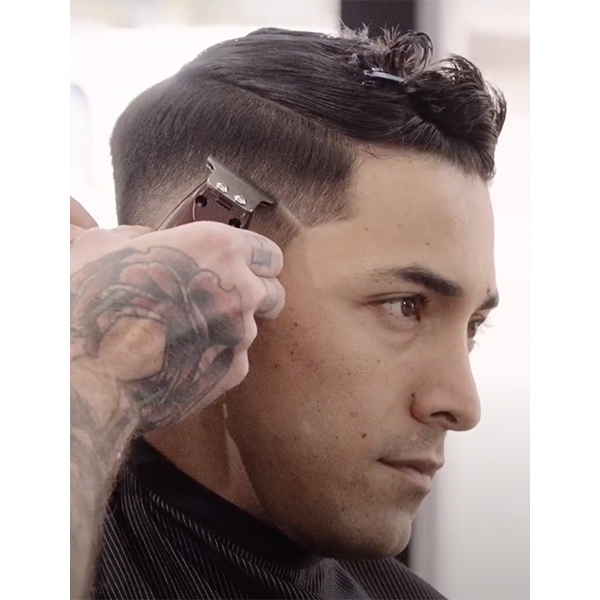
Next, use the WAHL 5-Star Cordless Detailer LI to outline the hairline in order to create definition and personalize your blend to the client's head shape. This is also where you'll add any additional detailing and customizations before moving on to the top section.
Show Steps
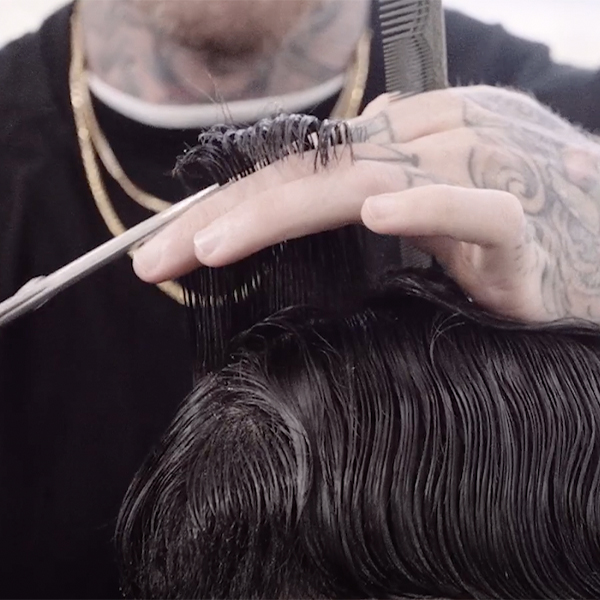
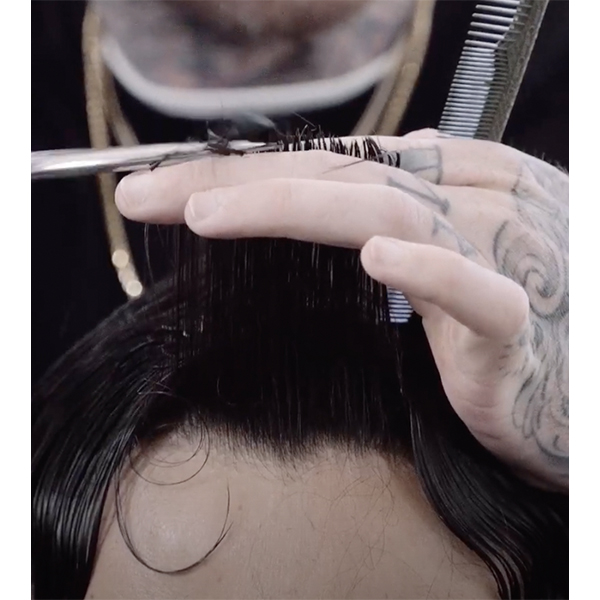
Prep the top by saturating the hair with water for clean, accurate sections. Then, create a profile section starting at the middle of the head no bigger than the width of a comb. Establish your desired length through elevation and the desired shape using the angle of your fingers. Be sure to cut from short to long, working towards the front of the head.
Show Steps
Take horizontal sections starting at the hairline and cut square to the round of the head. Then, comb your profile section to the left and use the middle as your guide. Comb to the right and repeat.
Show Steps
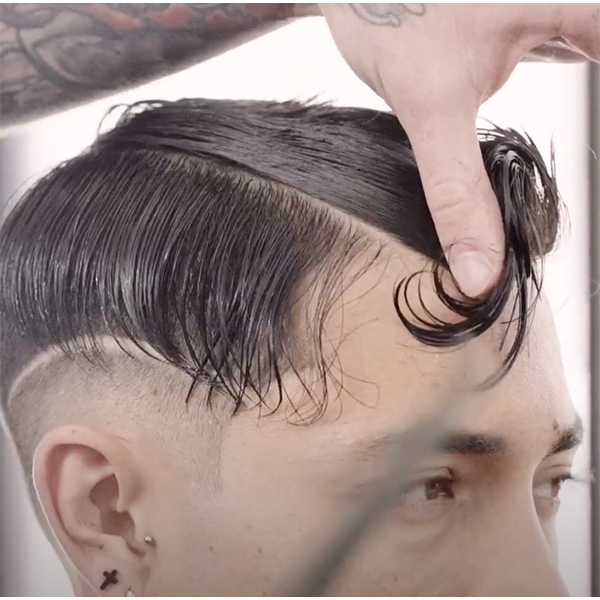
Take vertical sections and elevate horizontally to the round of the head, using the section at the round of the head as a guide. When you reach the section above the ear, switch to a diagonal finger angle and work from short to long, creating disconnection. This will ensure that you can maintain enough length at the recession to create the desired shape when styling.
Show Steps
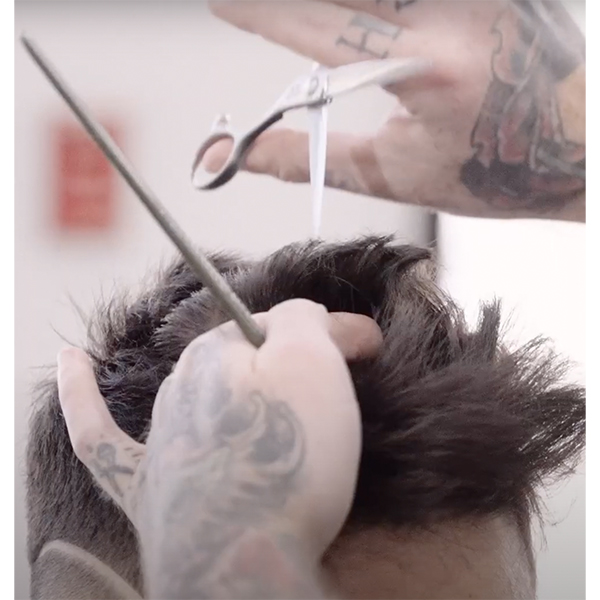
Style the hair to the desired finish with the WAHL Five Star Barber Blow Dryer, then point cut the top section to add texture and separation.
Pro tip: Removing bulk with point cutting also makes for easier at-home styling for the client after they leave the shop.
Show Steps
The finished look, styled with a dry texture powder and strong hold matte finish paste of choice.
Want more barbering education? Click here to watch John's timeless fade technique in action!
Timeless Detailed Fade
Going shorter definitely doesn’t mean going out of style. The fade is here to stay, and we have WAHL® Professional educator John Carmona (@titan_barber) to thank for this timeless step-by-step guide for the perfect blend, every time. Keep scrolling to see how it’s done!
Your shop is missing one of WAHL’s favorite tools: Click here to check out the 5-Star Gold Cordless Magic Clip!
HOW-TO STEPS
-
-
2
Begin by sectioning the hair at the round of the head to separate the top and bottom. This will give the fade a smoother transition from the top.
-
3
Attach a #2 premium guide to the WAHL 5-Star All-Metal Cordless Senior and use the ridge of the guard to flick out in a “C” motion. This technique creates a guideline for where you want to see the fade’s dark-to-light transition.
-
4
Switch to the WAHL Sterling Mag Trimmer to establish a zero guideline around the head, dropping the guidelines slightly at the back of the head. Be sure to leave a small amount of hair at the front of the hairline in order to create definition in the lineup.
Pro tip: Because of how the blade on the WAHL Sterling Mag Trimmer is set, you can confidently go in with the trimmer upside down and not risk taking the zero line too short.
-
5
Clean up the surrounding area with the WAHL 5-Star Finale Shaver. This makes sure the skin is smooth and gives the fade a cleaner appearance.
-
6
Create the first guideline a quarter to a half inch above the zero line, using the lever to establish an open position. Afterwards, adjust the lever to half open, a quarter open and then closed to complete the guideline.
-
7
For the next guideline, use a #1 premium guide with the lever open. Then, switch to the #½ premium guide and open up the lever, moving the lever as many times as necessary to fade out the guideline. Repeat the same process using the #1½ with the lever open. Once the guideline is established, switch back to the #1 premium guide and use the lever to blend out.
-
8
Next, switch to a #4 premium guide and move up the head square to remove bulk from the parietal ridge.
-
9
Using a #3 premium guide, continue fading back down to the #2 premium guide. Remember to use the lever as often as necessary to give the client the smoothest blend possible.
-
10
Next, use the WAHL 5-Star Cordless Detailer LI to outline the hairline in order to create definition and personalize your blend to the client’s head shape. This is also where you’ll add any additional detailing and customizations before moving on to the top section.
-
11
Prep the top by saturating the hair with water for clean, accurate sections. Then, create a profile section starting at the middle of the head no bigger than the width of a comb. Establish your desired length through elevation and the desired shape using the angle of your fingers. Be sure to cut from short to long, working towards the front of the head.
-
12
Take horizontal sections starting at the hairline and cut square to the round of the head. Then, comb your profile section to the left and use the middle as your guide. Comb to the right and repeat.
-
13
Take vertical sections and elevate horizontally to the round of the head, using the section at the round of the head as a guide. When you reach the section above the ear, switch to a diagonal finger angle and work from short to long, creating disconnection. This will ensure that you can maintain enough length at the recession to create the desired shape when styling.
-
14
Style the hair to the desired finish with the WAHL Five Star Barber Blow Dryer, then point cut the top section to add texture and separation.
Pro tip: Removing bulk with point cutting also makes for easier at-home styling for the client after they leave the shop.
-
15
The finished look, styled with a dry texture powder and strong hold matte finish paste of choice.
Want more barbering education? Click here to watch John’s timeless fade technique in action!
More from
Wahl Professional