
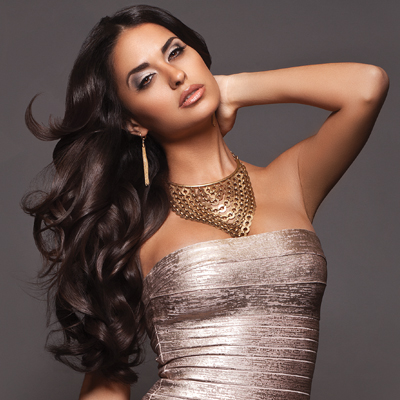
Photo-Ready Curls from Hotheads

Advertisement
Advertisement
Photo-Ready Curls from Hotheads
HOW-TO STEPS 
-
 1
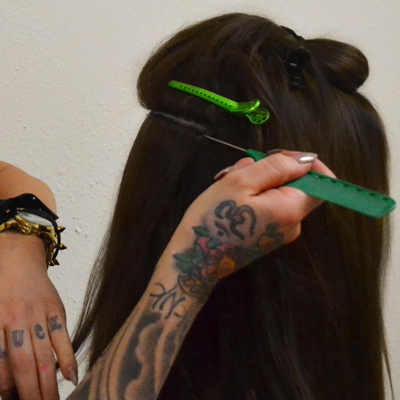
1Step 1: Begin by taking a section of hair the same width and density as the extension.
-
 2
2Step 2: Place the first extension facing up, about 1/8-inch below the section, roll the hair over the adhesive and place the second extension with the adhesive facing down on top of the first. Contine this, row by row, to apply a full head for length & volume (roughly 30 complete extensions).
-
 3
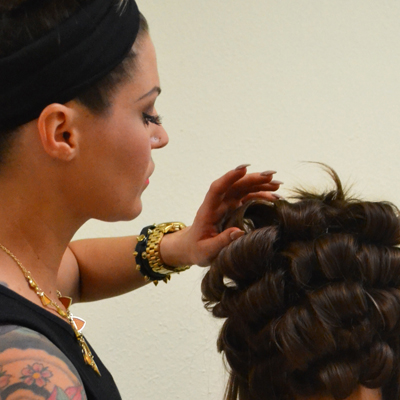
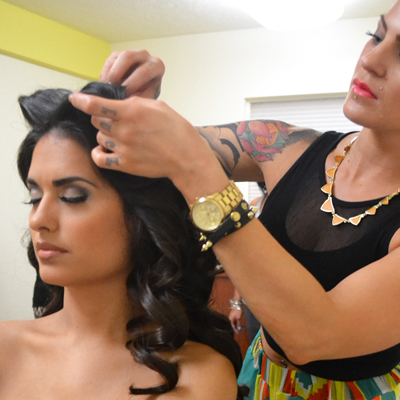
3Step 3: To begin styling, section hair into a t-part. Start at the bottom of the nape, taking horizontal sections. Using a curling iron, place the iron at the root and wrap hair around the rod, setting each section as a barrel roll. Alternate each row with curls facing upwards and then downwards on the next row to achieve more volume.
-
 4
4Step 4: When you reach the sides, make sure your curls are curled away from the face, and continue to alternate making the curls face upwards and downwards.
-
 5
5Step 5: Let the set cool down while applying makeup to achieve maximum curl; roughly 20-30 minutes.
-
 6
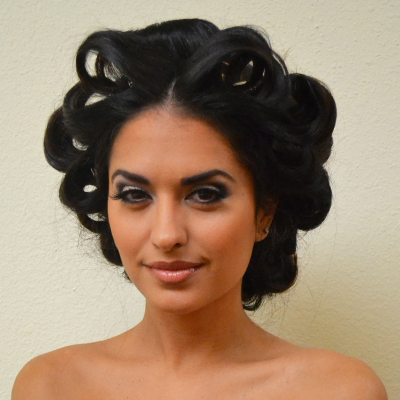
6Step 6: After cooling, remove curls starting from the nape area and moving on to the crown and front.
-
 7
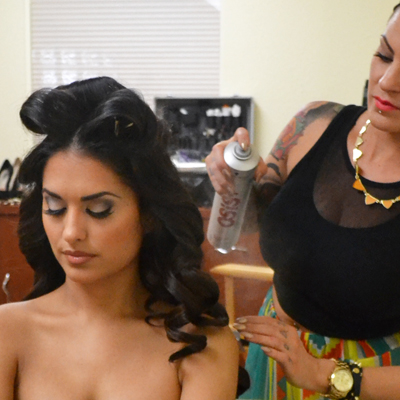
7Step 7: Spray each section using Schwarzkopf Osis Elastic Hairspray to get a flexible, yet durable hold.
-
 8
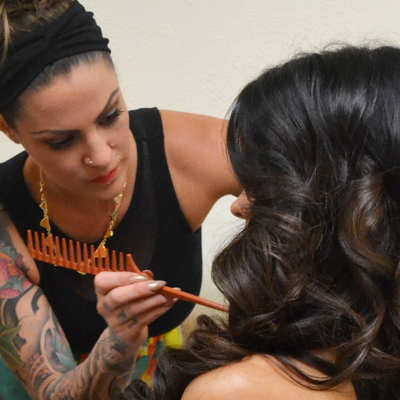
8Step 8: Now that all the curls have been let down, use a wide-tooth tail comb to separate the curls.
-
YOU MIGHT LIKE THIS
-
Hair Extensions
Balayage with Extensions from Hotheads
-
Bridal
Boho Half-Up Rope Braid
-
Hair
Textured Faux Hawk Braid
-
Hair Extensions
How-To: Longer Locks in Minutes
-
Hair
The Most Requested Hair Extensions Look from Hairdreams
TRENDING NOW!
-
BTC Hair Trend Report
The Biggest Haircut Trends of 2024
-
Copper
What Is The "Cowboy Copper" Hair Trend? Here's What It Really Means...
-
Business
3 Reasons Why Today's Highlights Are So Expensive
-
Uncategorized
TikTok's Viral "Scandinavian Hairline" Is Actually Not New...
-
BTC Hair Trend Report
Quiet Luxury Blonde: The "Old Money" Trend Explained
-
Blonde
Toning: 5 Fast Purple Shampoo Ideas For Blondes, Silver & Gray
-
Blonde
3 Purple Toning Tips For Clear, Bright Blondes
-
Bobs
How to Avoid a Bulky Bob: 4 Techniques To Try

