Last updated: June 19, 2017
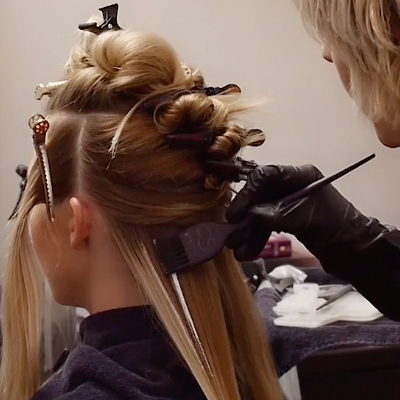
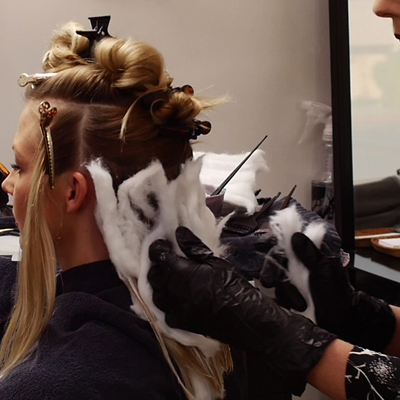
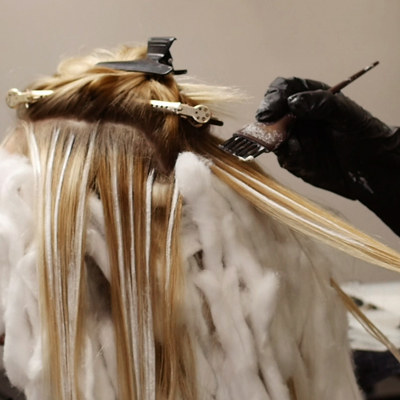
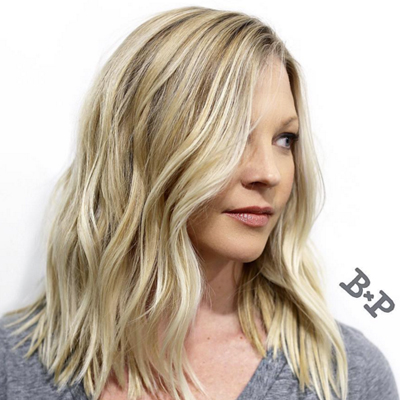
Lived-In Blonde Balayage
Lived-In Blonde Balayage
HOW-TO STEPS 
More from
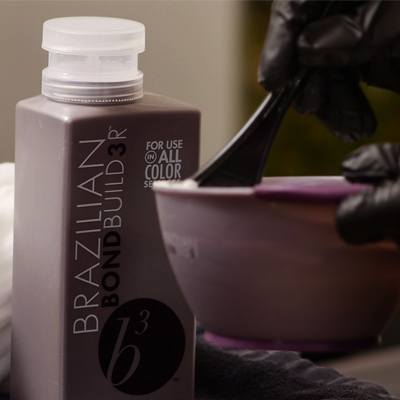
b3 Brazilian Bond Builder
-
BTC Hair Trend Report
Your Complete Guide To Color Blocking
-
Hair Color
Pink Tri-Melt Technique
-
Blonde
MOONSTONE MELT FORMULA
-
WWYD- What Would You Do?
Removing Red Haircolor: 3 Things To Know
-
Balayage
Dimensional Caramel Ribbons On A Level 4 Base
-
Curls
Wig Wearing Secrets: Caring For The Hair Underneath
-
Balayage
11 Money Piece Formulas That Will Bring In the Dough 💰
-
Blonde
From Black To Smoky Silver Platinum
-
Pink
Sparkling Rose and Silver Bob
-
Blonde
Shadow Blonde Foilayage
-
Hair Color
Deep, Dimensional Red Wine
-
Hair Color
Box Dye Correction: Sterling Silver
-
Balayage
Brunette Creme Balayage
-
Blonde
Beige Shadow Root
-
Best of 2018
These Pink Formulas Defined #haircolorgoals In 2018
-
Bond Builders
Cool-Toned, Ashy Brunette Foilayage
-
Hair Color
Pumpkin Spice
-
Color Melt
Vibrant Autumn Sunset
-
Balayage
Blood Orange Melt
-
Hair Color
Soft Baby Pink
-
Balayage
Color Correction: Smoky Babylights
-
Balayage
Rich & Rooty Red Balayage
-
Hair Color
9 Platinum White Color Formulas
-
Blonde
COLOR CORRECTION: Ash Blonde


YOU MIGHT LIKE THIS
-
Balayage
Shadow Root + Blonde Balayage
-
Balayage
Journey To Rooty Blonde Balayage
-
Balayage
Flawless Blonde Balayage Blend
-
Balayage
Lived-In Blonde with Johnny Ramirez
-
Balayage
Blended Balayage


TRENDING NOW!
-
BTC Hair Trend Report
The Biggest Haircut Trends of 2024
-
Copper
What Is The "Cowboy Copper" Hair Trend? Here's What It Really Means...
-
Business
3 Reasons Why Today's Highlights Are So Expensive
-
Uncategorized
TikTok's Viral "Scandinavian Hairline" Is Actually Not New...
-
BTC Hair Trend Report
Quiet Luxury Blonde: The "Old Money" Trend Explained
-
Blonde
Toning: 5 Fast Purple Shampoo Ideas For Blondes, Silver & Gray
-
Blonde
3 Purple Toning Tips For Clear, Bright Blondes
-
Bobs
How to Avoid a Bulky Bob: 4 Techniques To Try


