
Honey Blondes: 3 Things To Know When Lifting

Blonding Education: How to Lift for Warm Blondes
Warmth—aka THE hair color trend of 2023—is taking over client inspo pages, must-know celebrity trends and stylists’ appointment requests. We’ve been covering everything you need to know about this year’s hottest hue, from sharing our fave looks to must-know formulas. So, we tapped BTC Team Member Eric Coyle (@ericmichaelhair) to talk about the (most important part) LIFT.
He’s sharing three tips to know when lifting for warm blondes and honestly, our minds are blown. Keep scrolling for saturation strategies, how to make blonde toners last longer and why you should embrace warmth in the transition area—yes we said it.

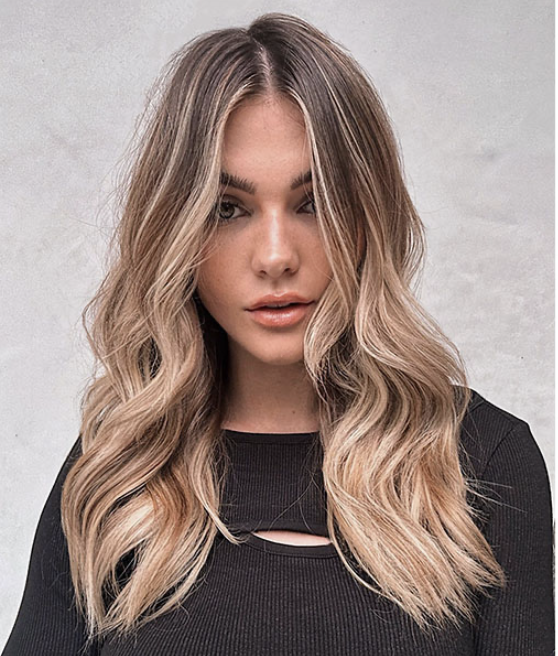
#1: Lift to the OUTSIDE of a banana
Lifting to a pale yellow (or inside a banana peel) is the tried-and-true hue for blondes, but honey blondes require a bit more warmth when toning. That’s why Eric turns his banana peel comparison inside out and looks for a lift similar to the outside of the peel.
“Your lift is everything with blondes,” explains Eric. “You don’t want to lift to a Level 10, because you want some pigment for the tone to adhere to. So leaving warmth is super important,” he adds.
Related: Formulating Toners for Honey Blondes
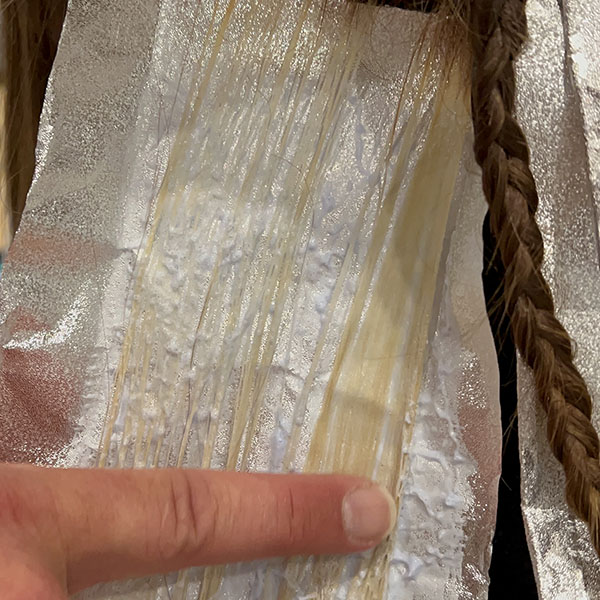
#2: Spot Uneven Saturation With a Fine-Tooth Comb
Clumped lightener or a messy application can lead to uneven lift—which results in tones that are spotty. That’s why Eric combs through the hair after his initial application with a fine-toothed comb.
“This [extra step] gives me a good visual of saturation,” explains Eric. “After I comb through, I am able to see those darker pieces, and I know where I need to work my product in a little bit more to achieve a nice clean, even lift.”
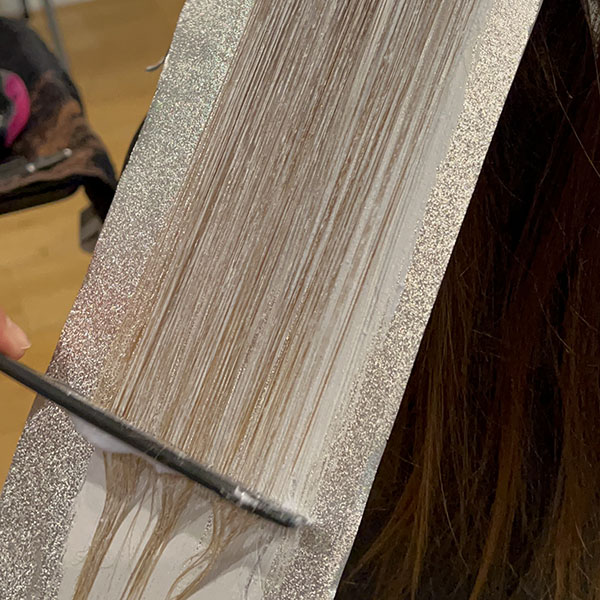

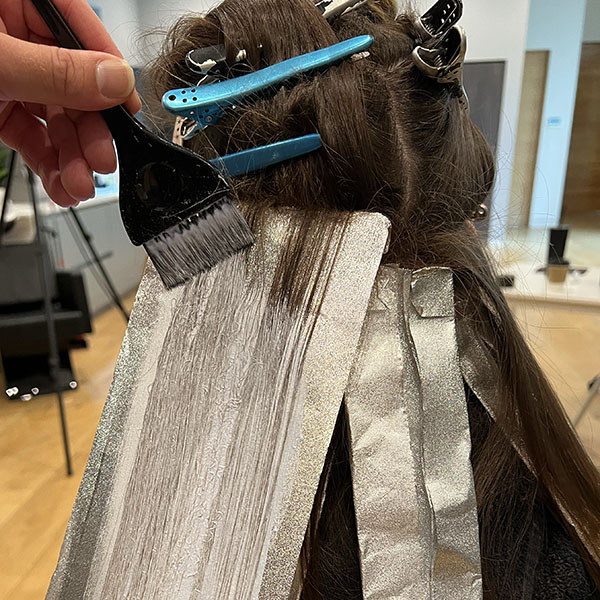
#3: Don’t Be Afraid of Warmth in the Transition Area
This is your sign to not panic if lightener gets on the teased area. ”Warmth in the transition isn’t a bad thing to me,” Eric explains. “This is where formulation comes into play, having warmth in the root area means there is pigment left in the hair. So when I apply my root melt, my color has better coverage.”
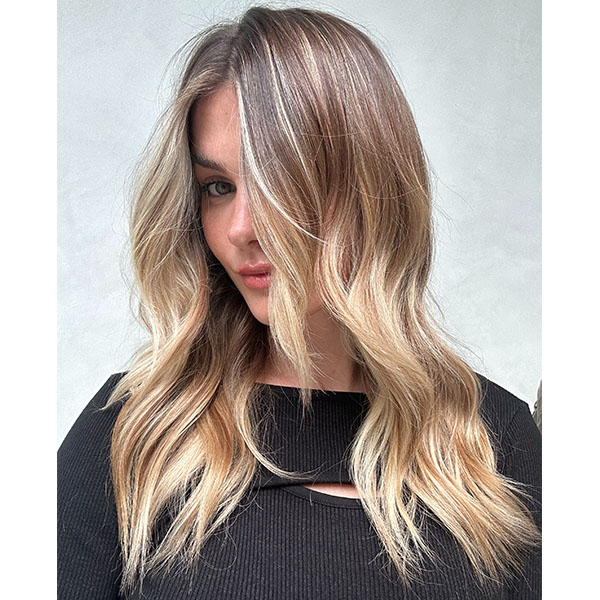
Scroll for the gorgeous before & after!
Tap the beaker for Eric’s full formula breakdown!
More from
BTC University
-
Business
Emotional Discounting: How It Works & Why You’re Losing Money
-
Best of the Year
10 Hair Tutorials To Binge Watch in 2024
-
BTC Events
6 BUSINESS & SOCIAL MEDIA TRUTHS EVERY HAIRDRESSER NEEDS TO HEAR
-
BTC University
3 Consultation Questions To Ask Curly Clients Before Lightening
-
Bridal
Bridal Business: 3 Things To Have in A Bridal Contract
-
BTC University
3 Steps To Get Clients With Instagram
-
Bridal
4 Bridal Styling Mistakes & How To Solve Them
-
Bobs
The French Bob: How to Cut it
-
BTC University
Toning with Permanent Color: How to Avoid Banding
-
BTC "On Tour"
3 Things You Didn’t Know About Justin Anderson
-
BTC University
3 Perm Rules to Break!
-
BTC University
Stylists: Earn 6 Figures Behind The Chair With This ONE Schedule Change
-
BTC Hair Trend Report
Your Complete Guide To Color Blocking
-
BTC University
4 Styling Secrets For Butterfly Layers
-
BTC Laugh Blast
10 Instagram Funnies & Feel-Goods For 2023
-
Styling
The HOTTEST Styling Trends Of Fall 2022
-
#ONESHOT HAIR AWARDS
The BTC Show 2022: 10 Things We Saw
-
The BTC Show
#THEBTCSHOW 2022

