Last updated: October 16, 2017
Brazilian Blowout
VIEW ALL PHOTOS
VIEW SLIDESHOW
GET THE HOW-TO

Show Steps
1
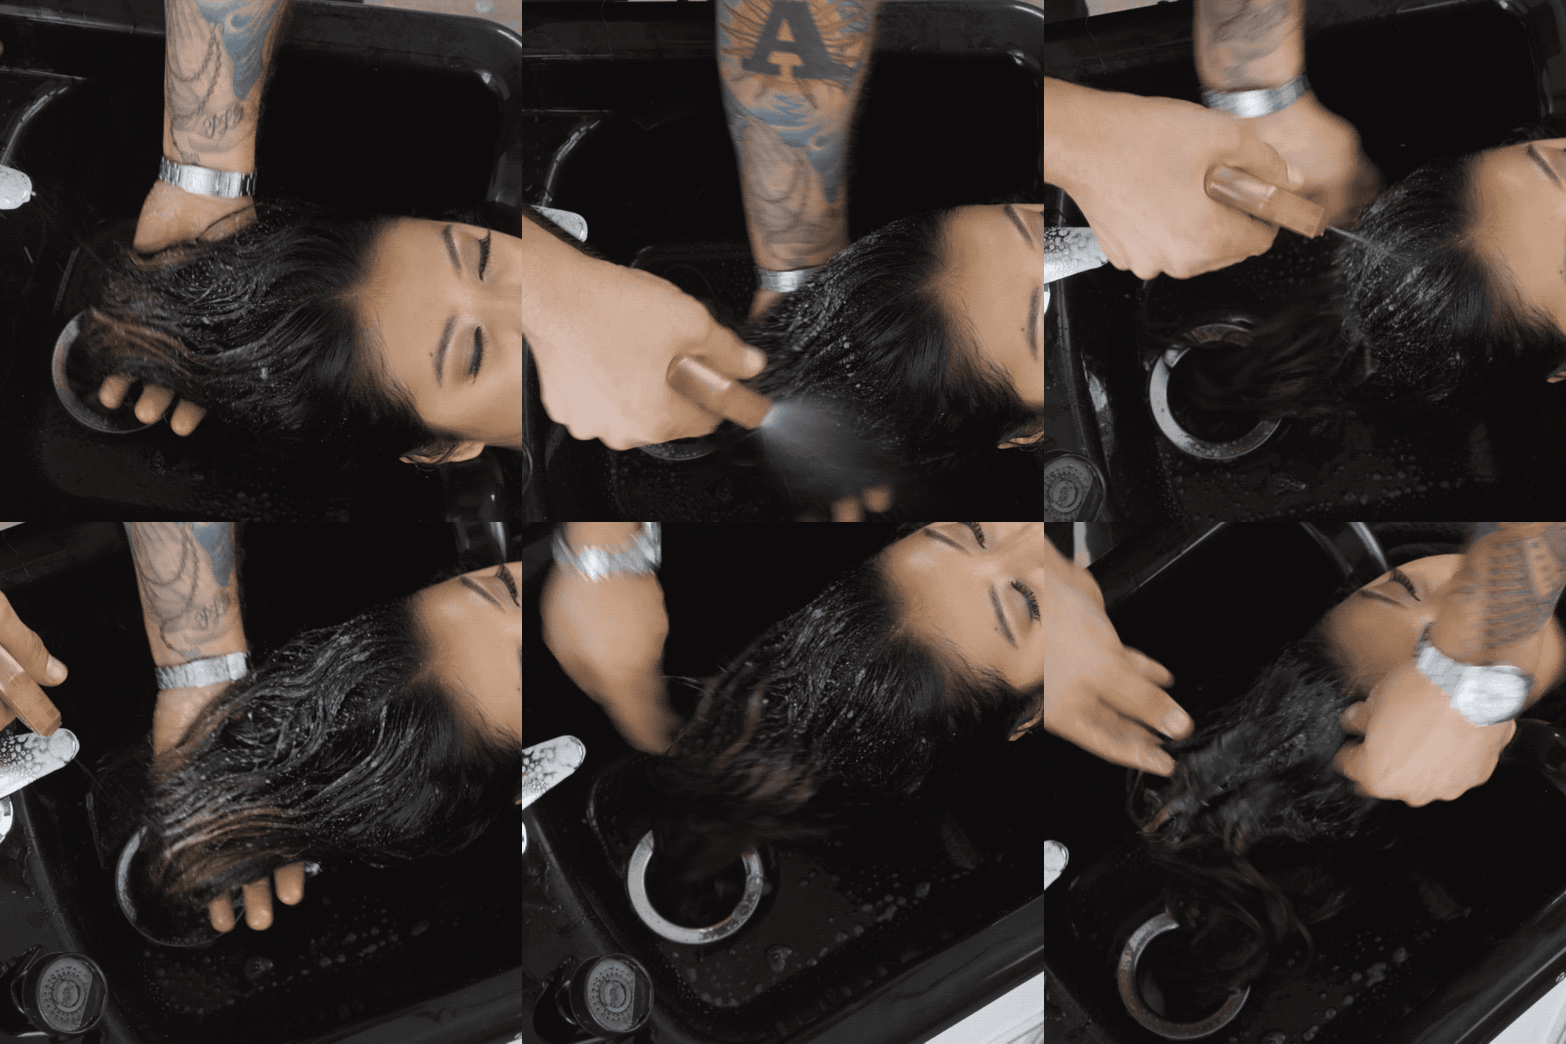
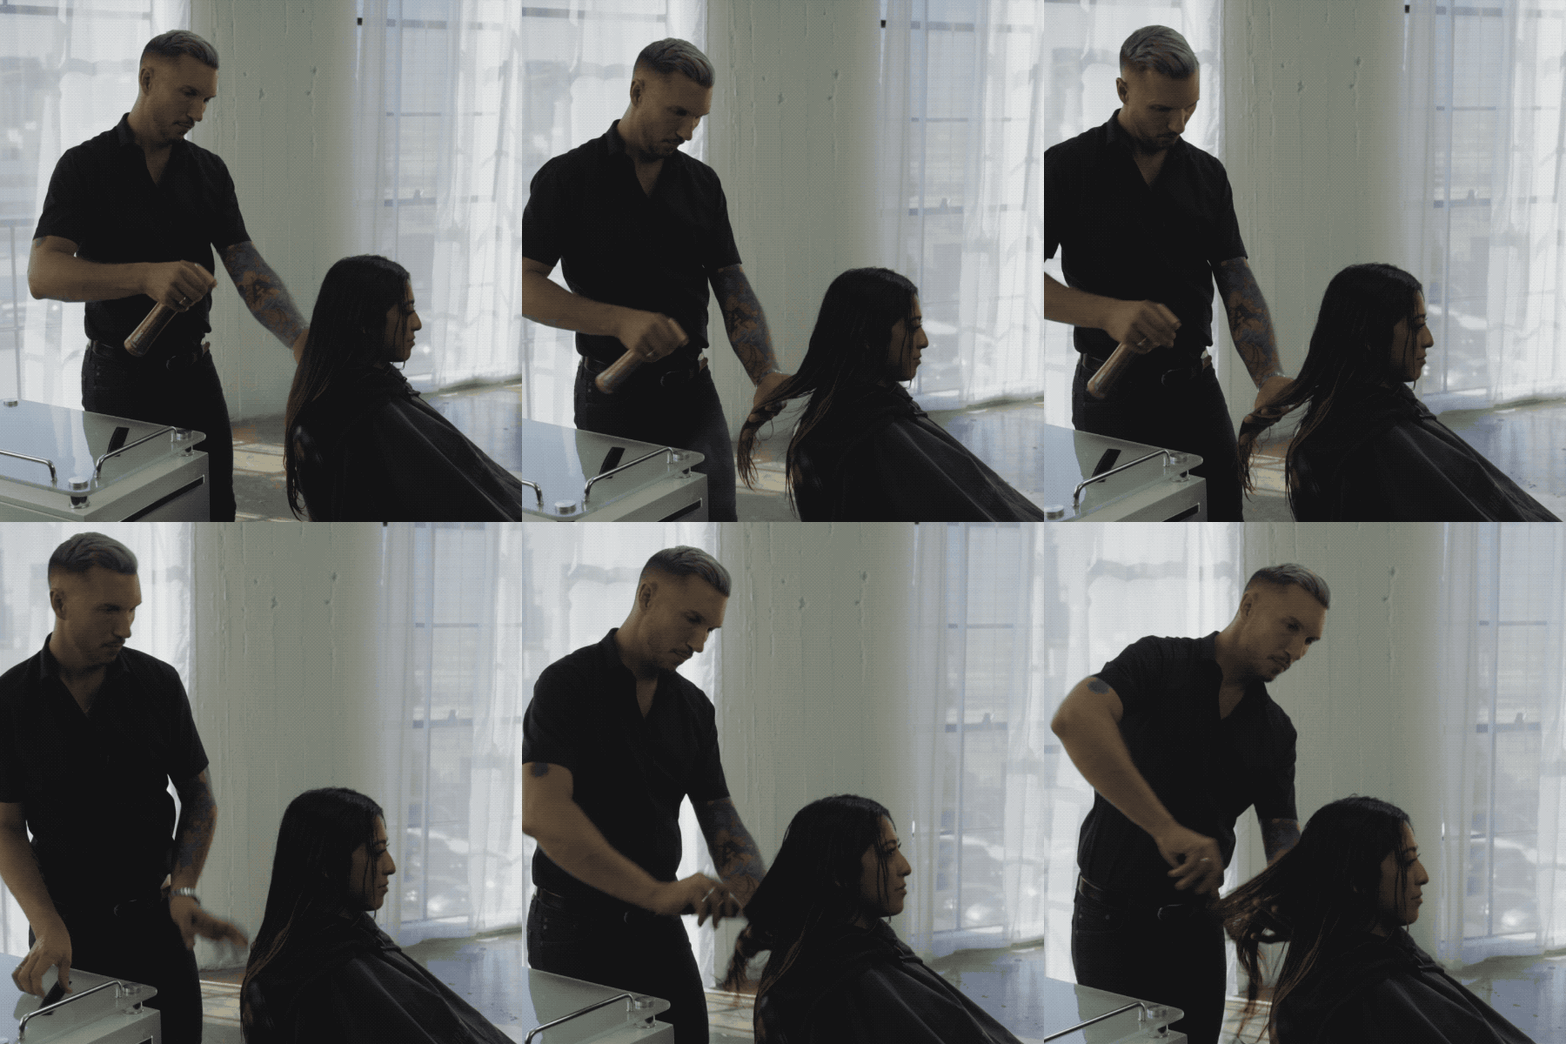
Get the hair soaking wet, spray with Ionic Cleanser and massage vigorously until a foam forms, then thoroughly rinse. This cleanser replaces the Anti-Residue Shampoo, the original Brazilian Blowout first step. It’s a color-safe, sulfate-free and oxide-free spray cleansing system that is ionically charged, so it removes cationic buildup and unblocks the cuticle in as little as one wash (versus the original step, which could take five shampoos!). In other words, the cleanser acts like a reverse magnet and pulls buildup from the hair for a totally clean slate, prepping the hair for step 2.
Show Steps
2
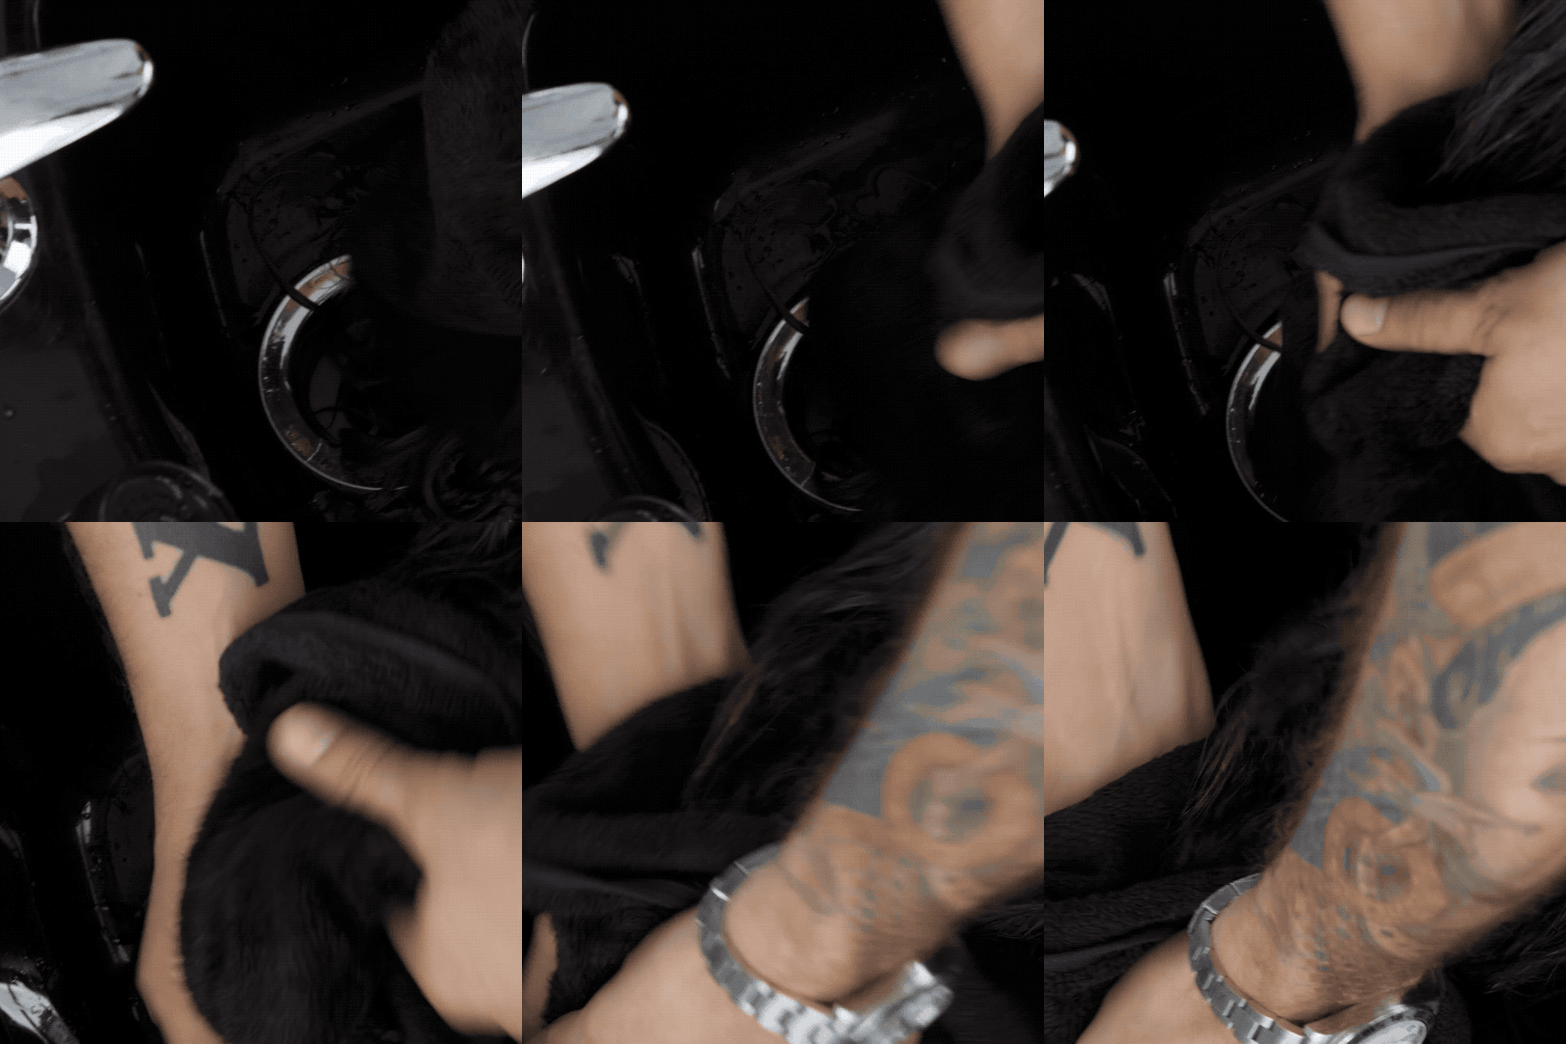
Lightly towel-dry the hair, leaving most of the moisture in the hair. This is necessary for the solution to absorb and spread evenly. If the hair dries during application, use a water bottle to spray the hair.
Show Steps
3
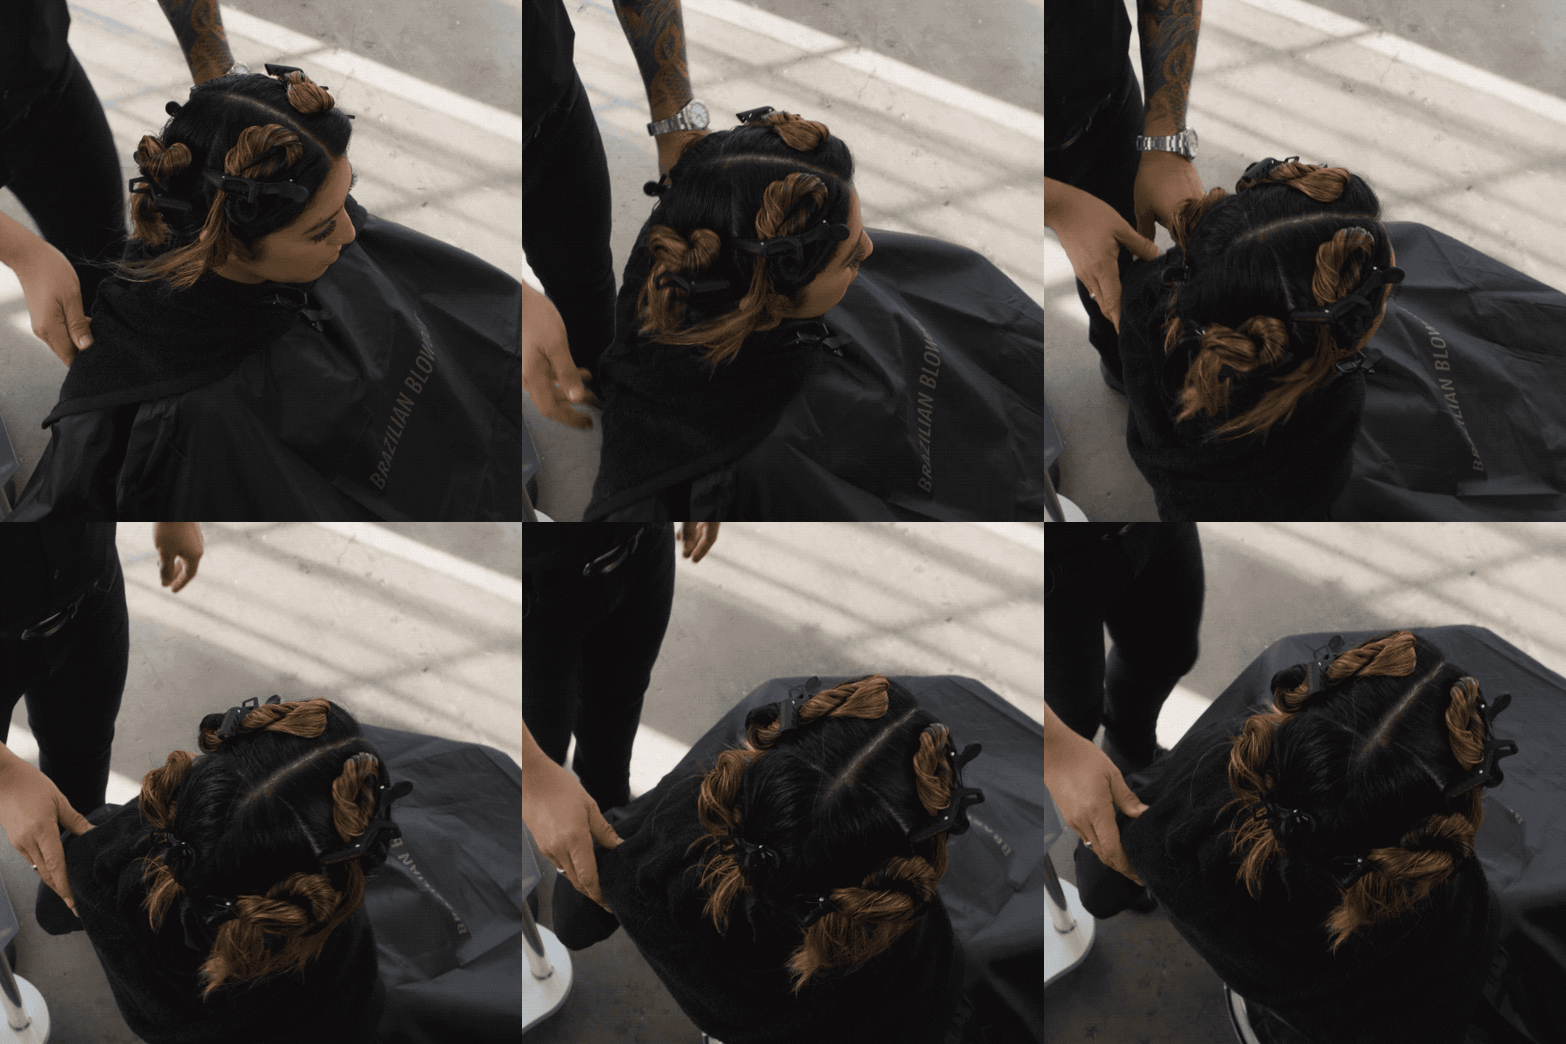
Divide the hair into quadrants, with two panels at the base and two at the top. Start at the base of the head.
Show Steps
4
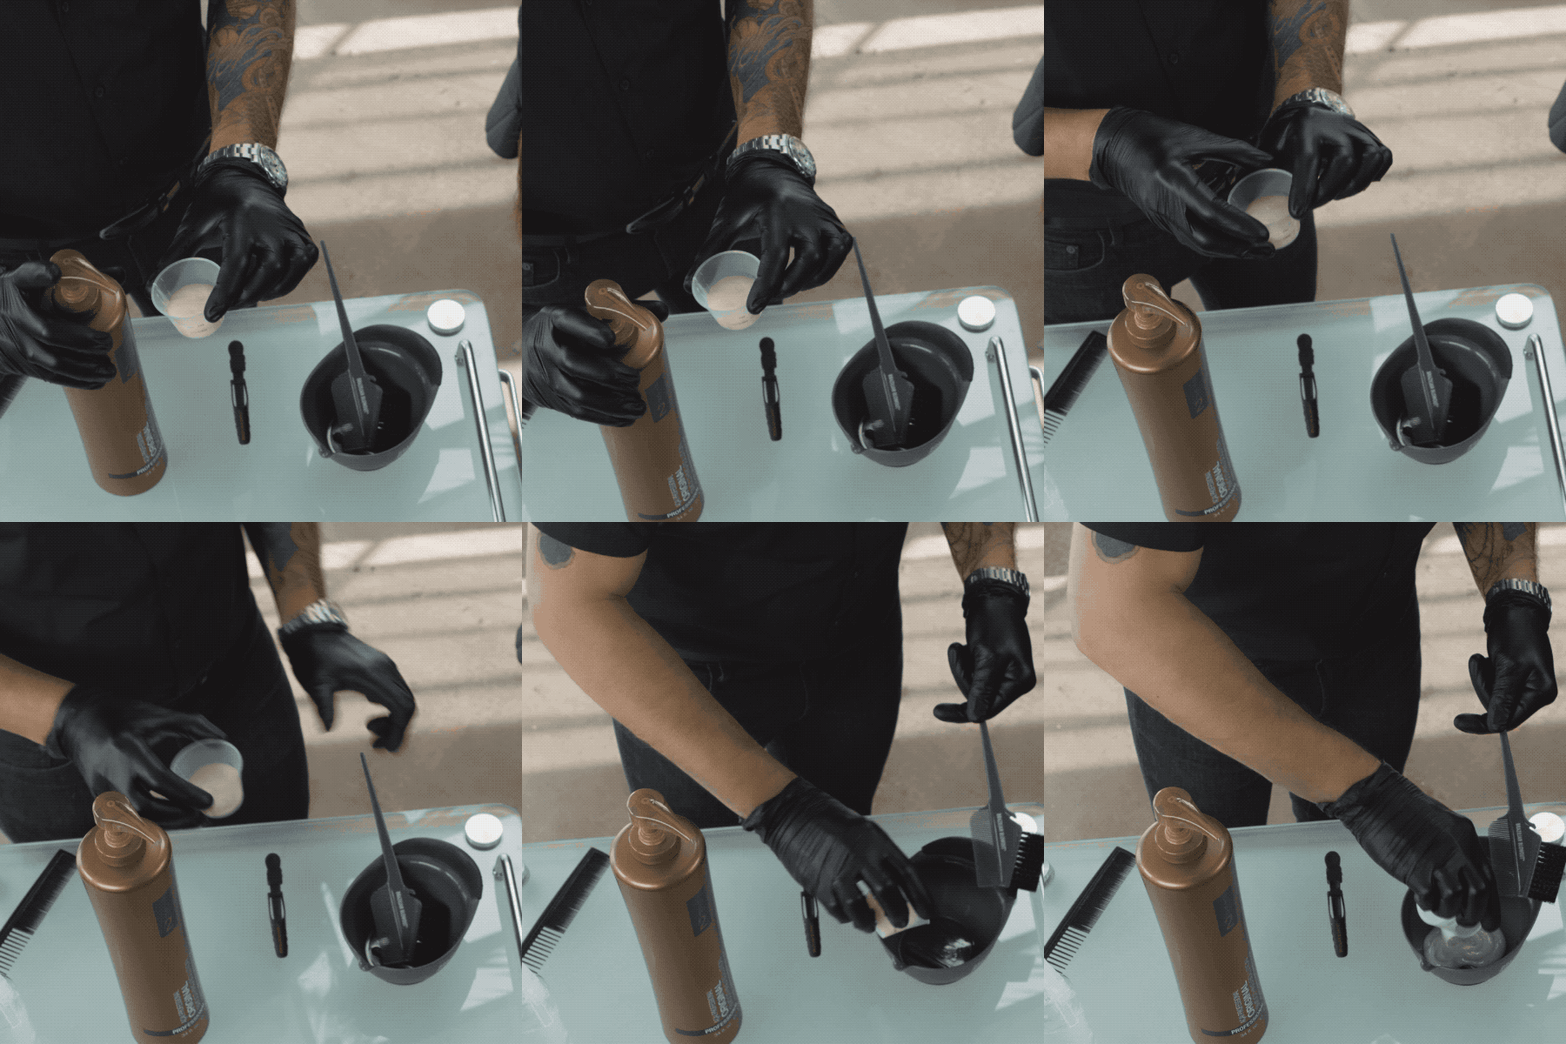
Put on protective eyewear, and make sure your client is wearing protective eyewear, too. Measure the appropriate amount of Brazilian Blowout Professional Smoothing Solution. Measure using quarter ounces as the guide. The length of the client's hair determines how much solution to use:
- Short hair: ¼ to ½ oz.
- Medium hair: ½ to ¾ oz.
- Long hair: ¾ to 1 oz.
Show Steps
5
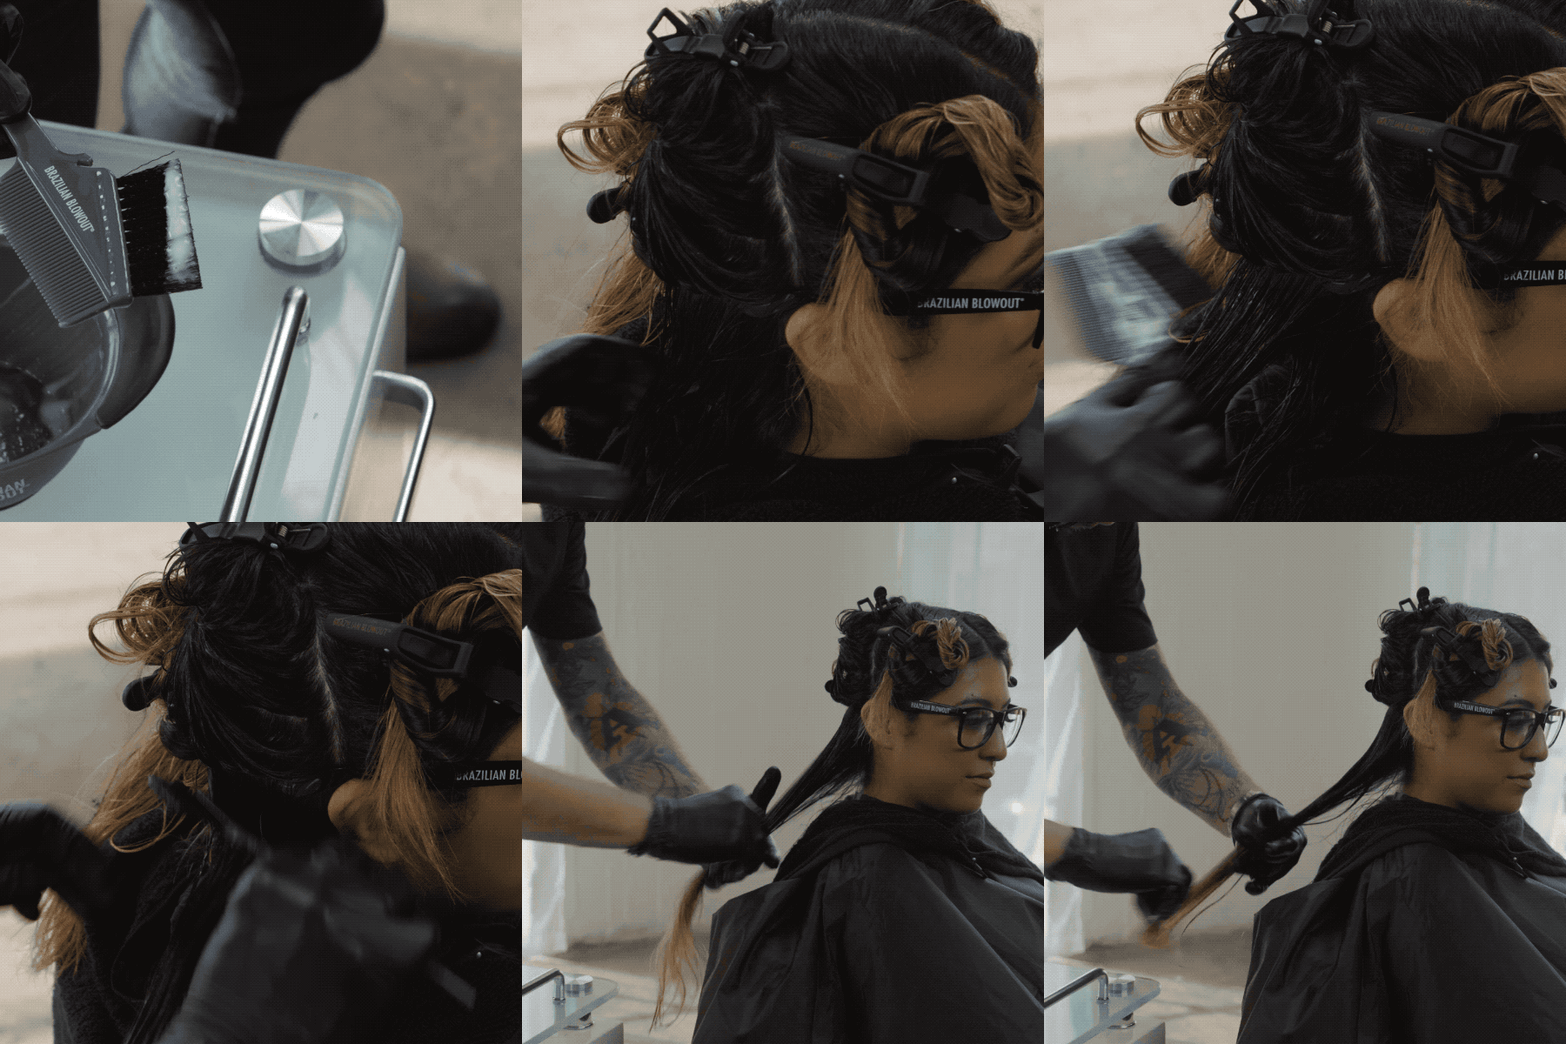
Begin applying the solution to the hair starting in the back, working in ¼- to ½-inch sections depending on texture, type and thickness of the hair. Apply the solution ¼ to ½ inch off the scalp. Use a color applicator brush to lightly dust the solution onto the hair, being careful not to oversaturate, then pull the solution through each section with a fine-tooth comb. In the front sections, keep the solution ½ to 1 inch off the scalp. The solution is specially formulated with an amino acid-enriched, super-nutrient complex and a proprietary polymer system that smooths and conditions, creating a protective protein layer around the hair shaft to eliminate frizz and smooth the cuticle.
Show Steps
6
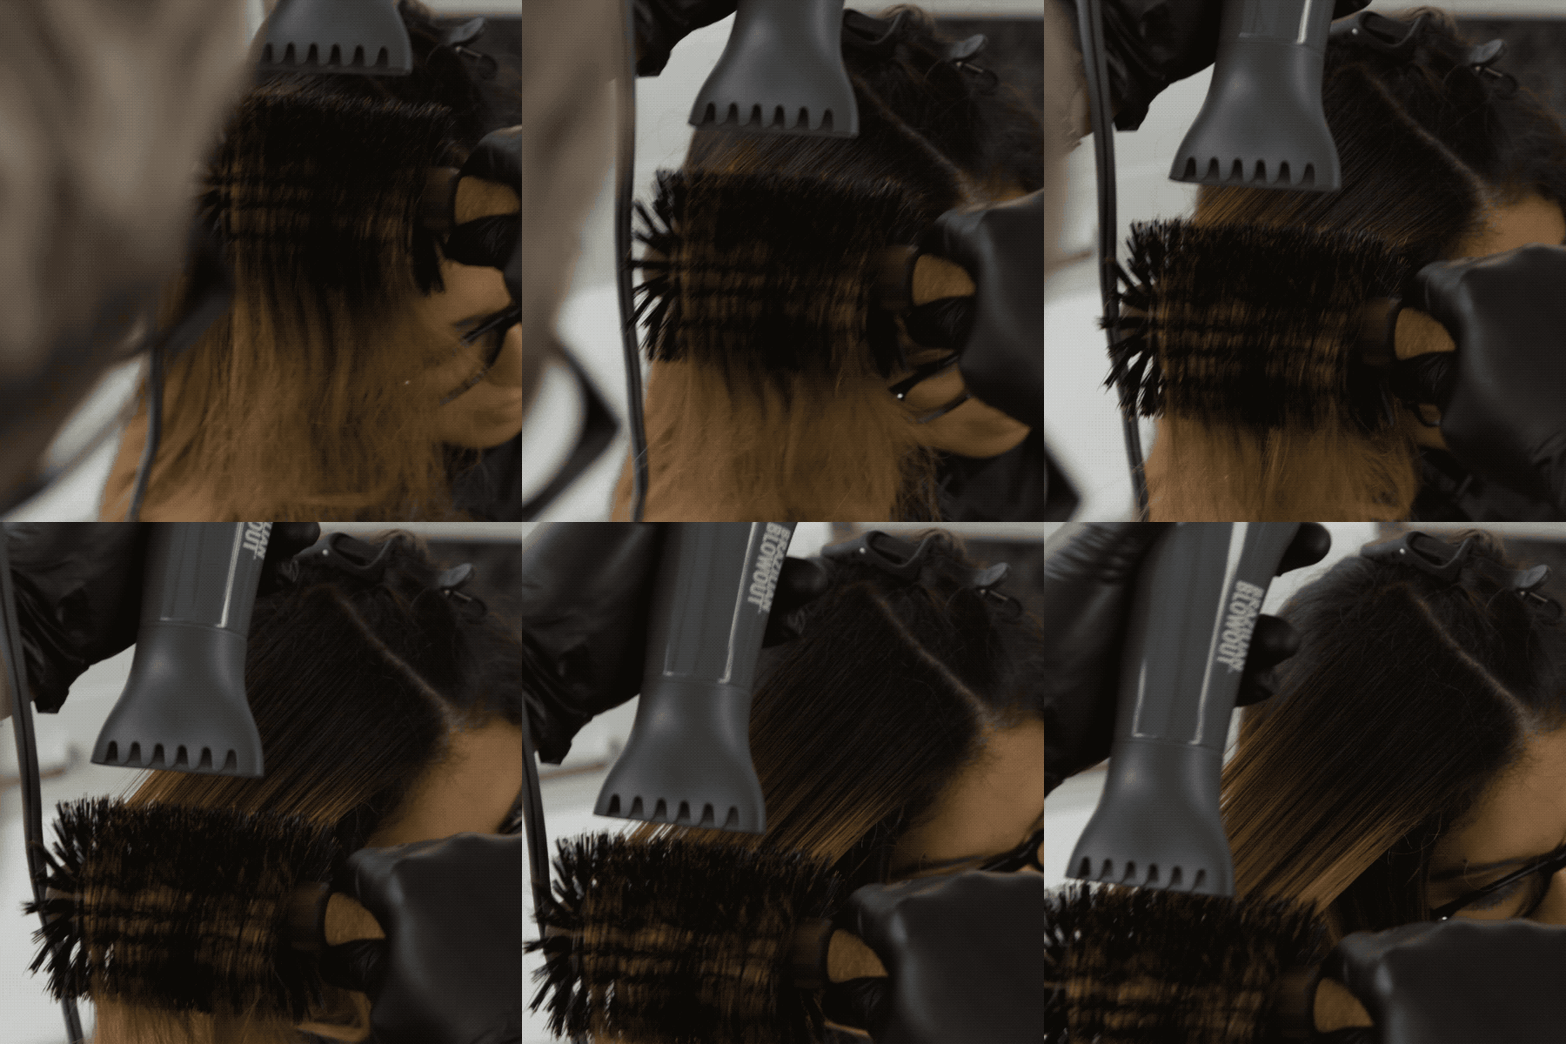
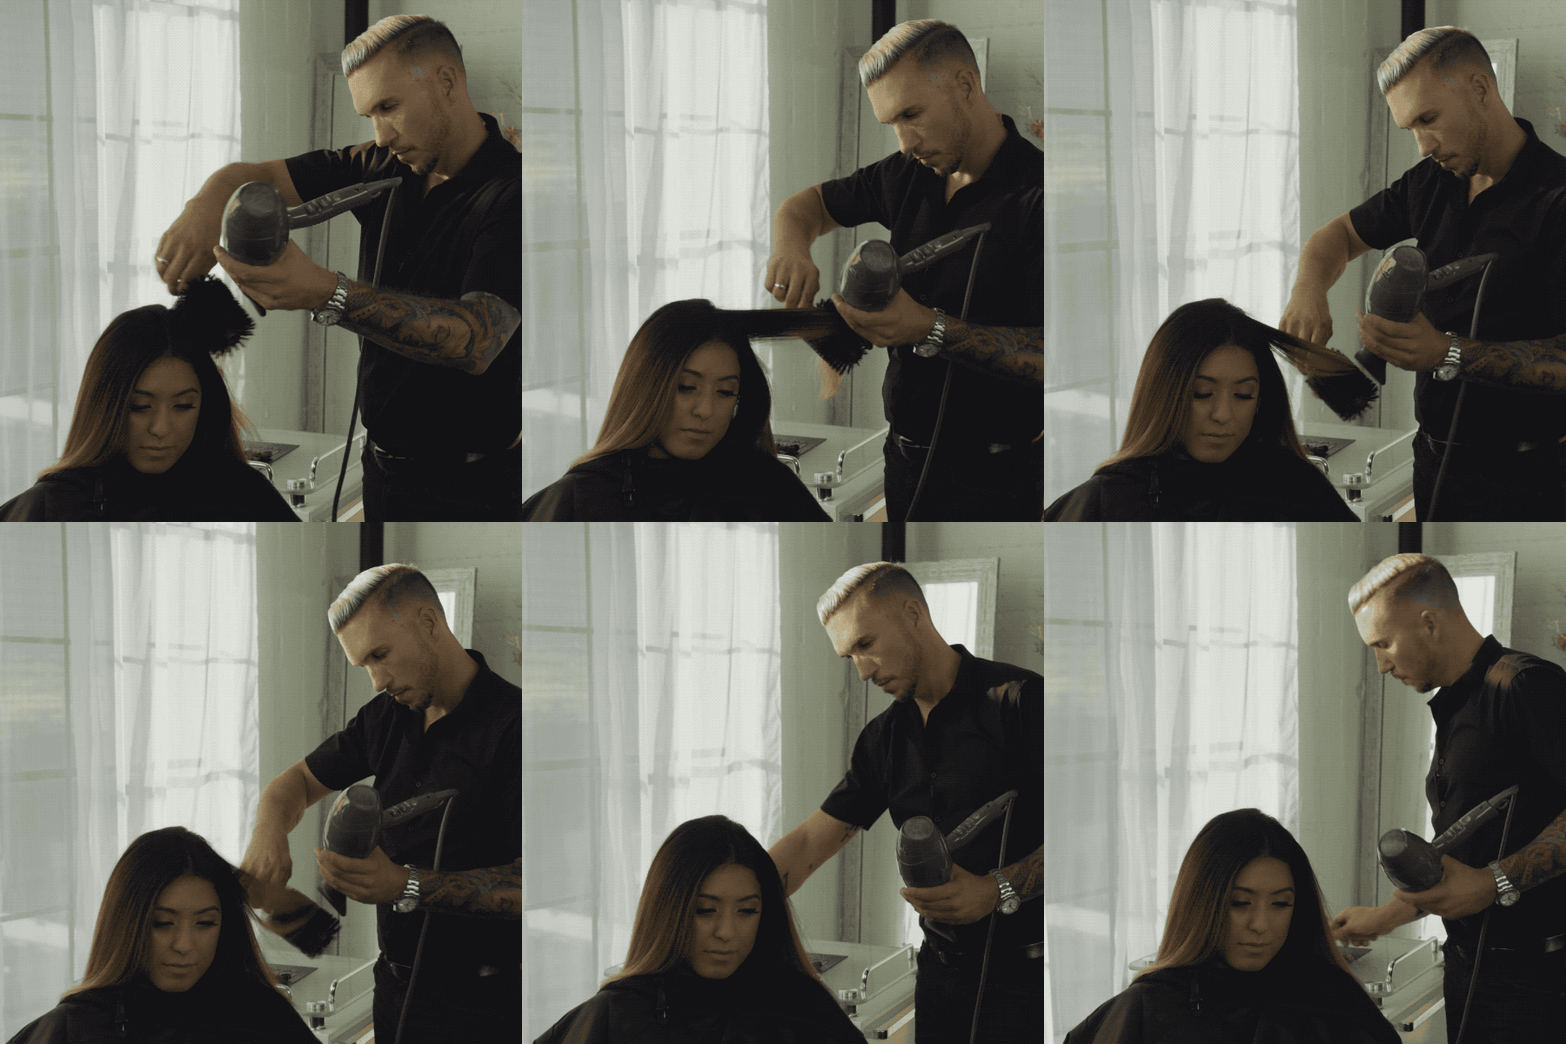
When you’ve completed the solution application, perform a proper blow-dry with a round boar bristle brush to get the hair as smooth as possible with as much tension as possible. Keep the dryer at least 2 inches away from the hair to minimize the release of steam.
Show Steps
7
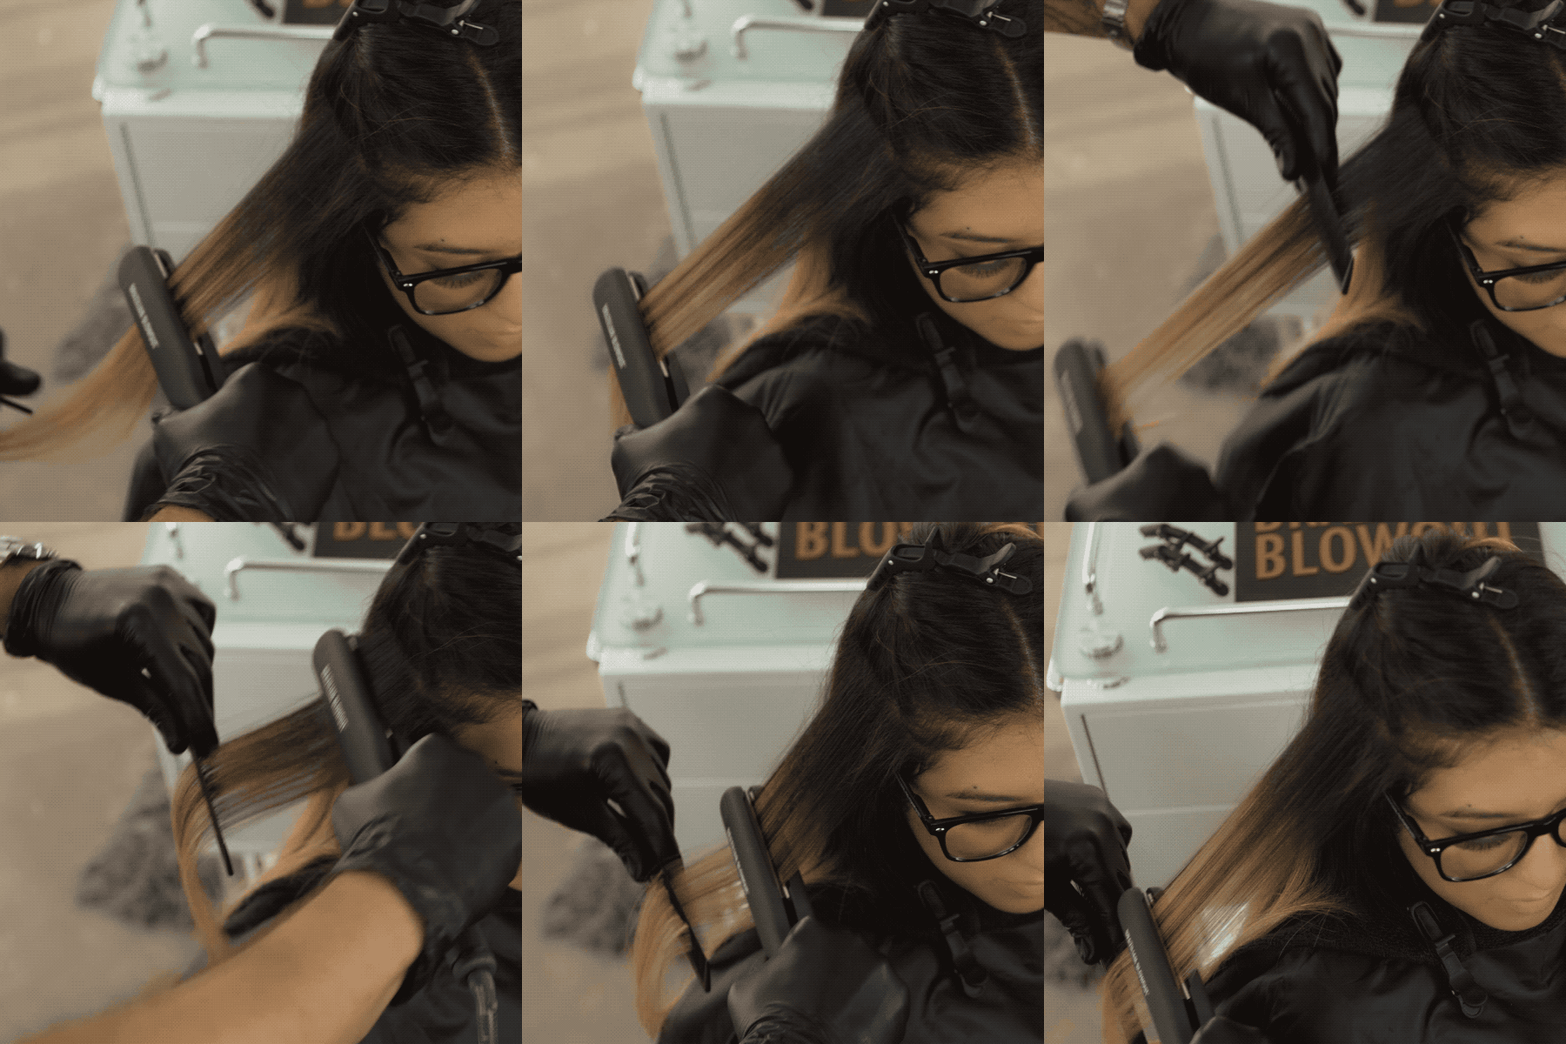
When the hair is 100 percent dry and as smooth as possible, it’s time for the most important step—the flat iron process. This seals the solution in the hair and allows for the longest-lasting result possible. Use a professional flat iron that allows for temperature control, working with a temp between 380 and 450 degrees (use a lower temp on hair that is more porous or damaged). Divide the hair into four sections as before and again start at the back of the head. Flat iron from root to end with the same tension through the shaft and easing off the tension on the ends.
- For the smoothest results, take 1/8- to ¼-inch subsections and pass over each section seven or more times with higher heat and more tension.
- To maintain a natural wave, work in 1- to 1 ½-inch subsections and pass over each section four to five times with lower heat and less tension.
Show Steps
8
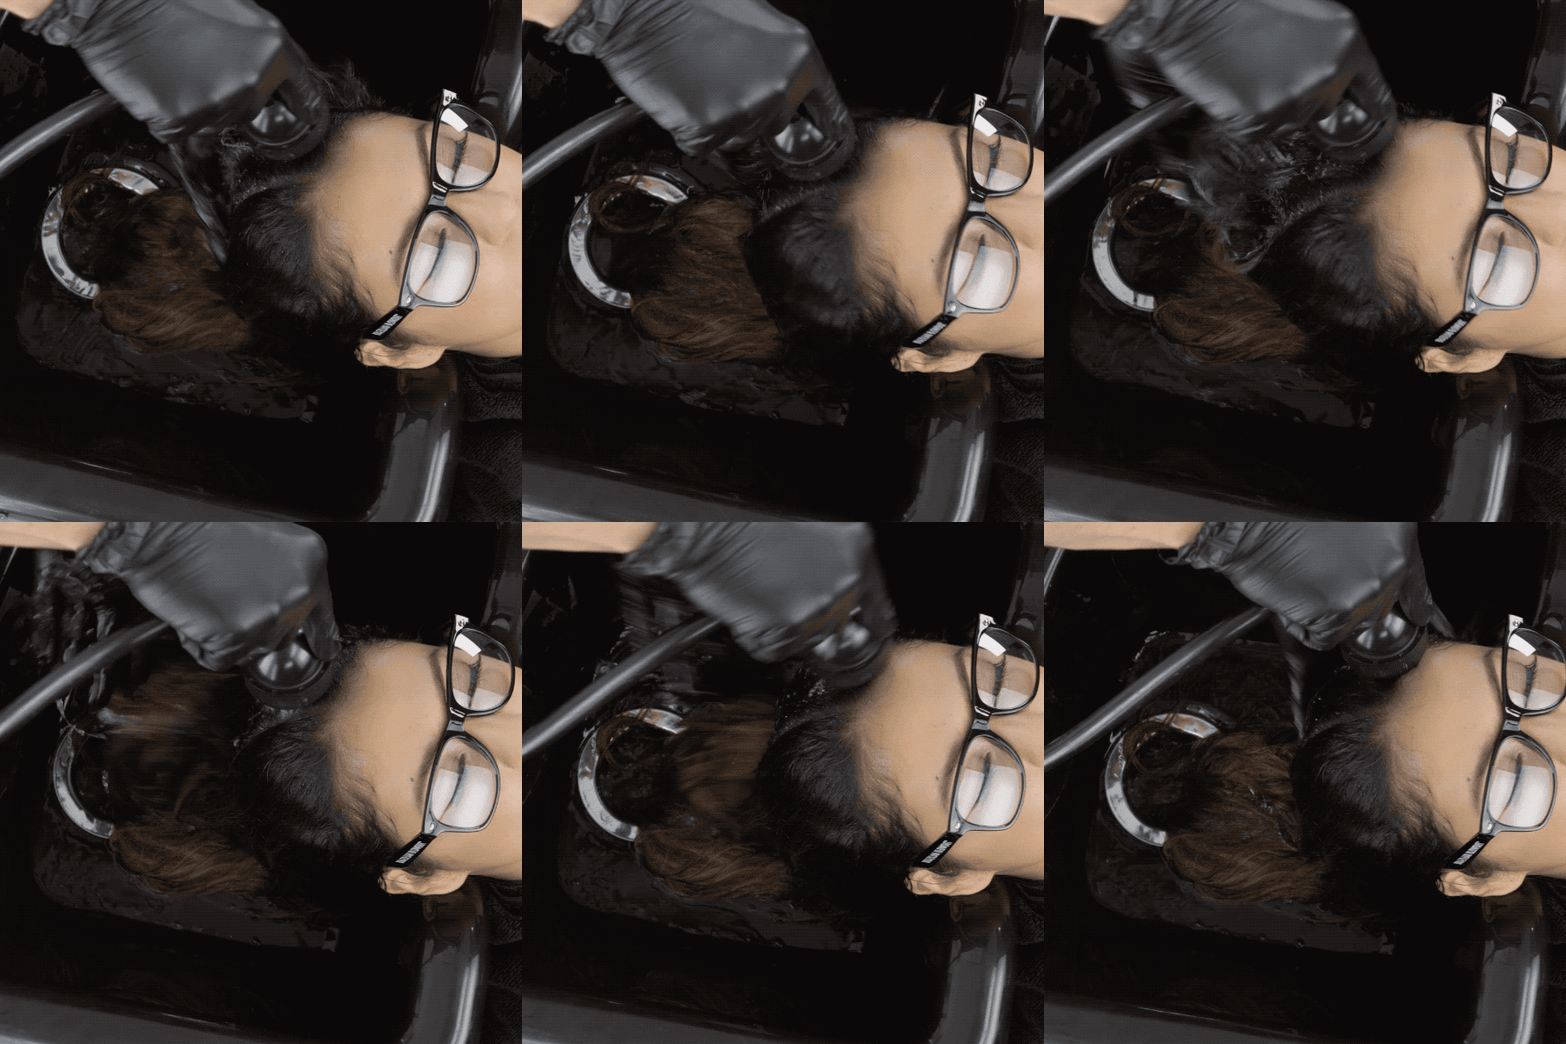
When you’re finished flat ironing the hair completely straight, rinse the hair (do not shampoo) with warm water for 1 to 2 minutes.
Show Steps
9
Lightly towel-dry to remove excess moisture and apply the Ionic Bonding Spray. Thoroughly shake the bottle and generously apply to the hair, combing through. Do not rinse. This step replaces the masque from the original treatment process and acts as a color-safe, dual-phase protective system. It’s the reverse of the Step 1 Ionic Cleanser—it has a super positive charge to close the cuticle and lock in the treatment. Clients take this home (include the cost of the product in your service price) and use it once a week to maintain their results for up to 12 weeks, instead of the treatment slowly fading out of the hair each week.
Show Steps
10
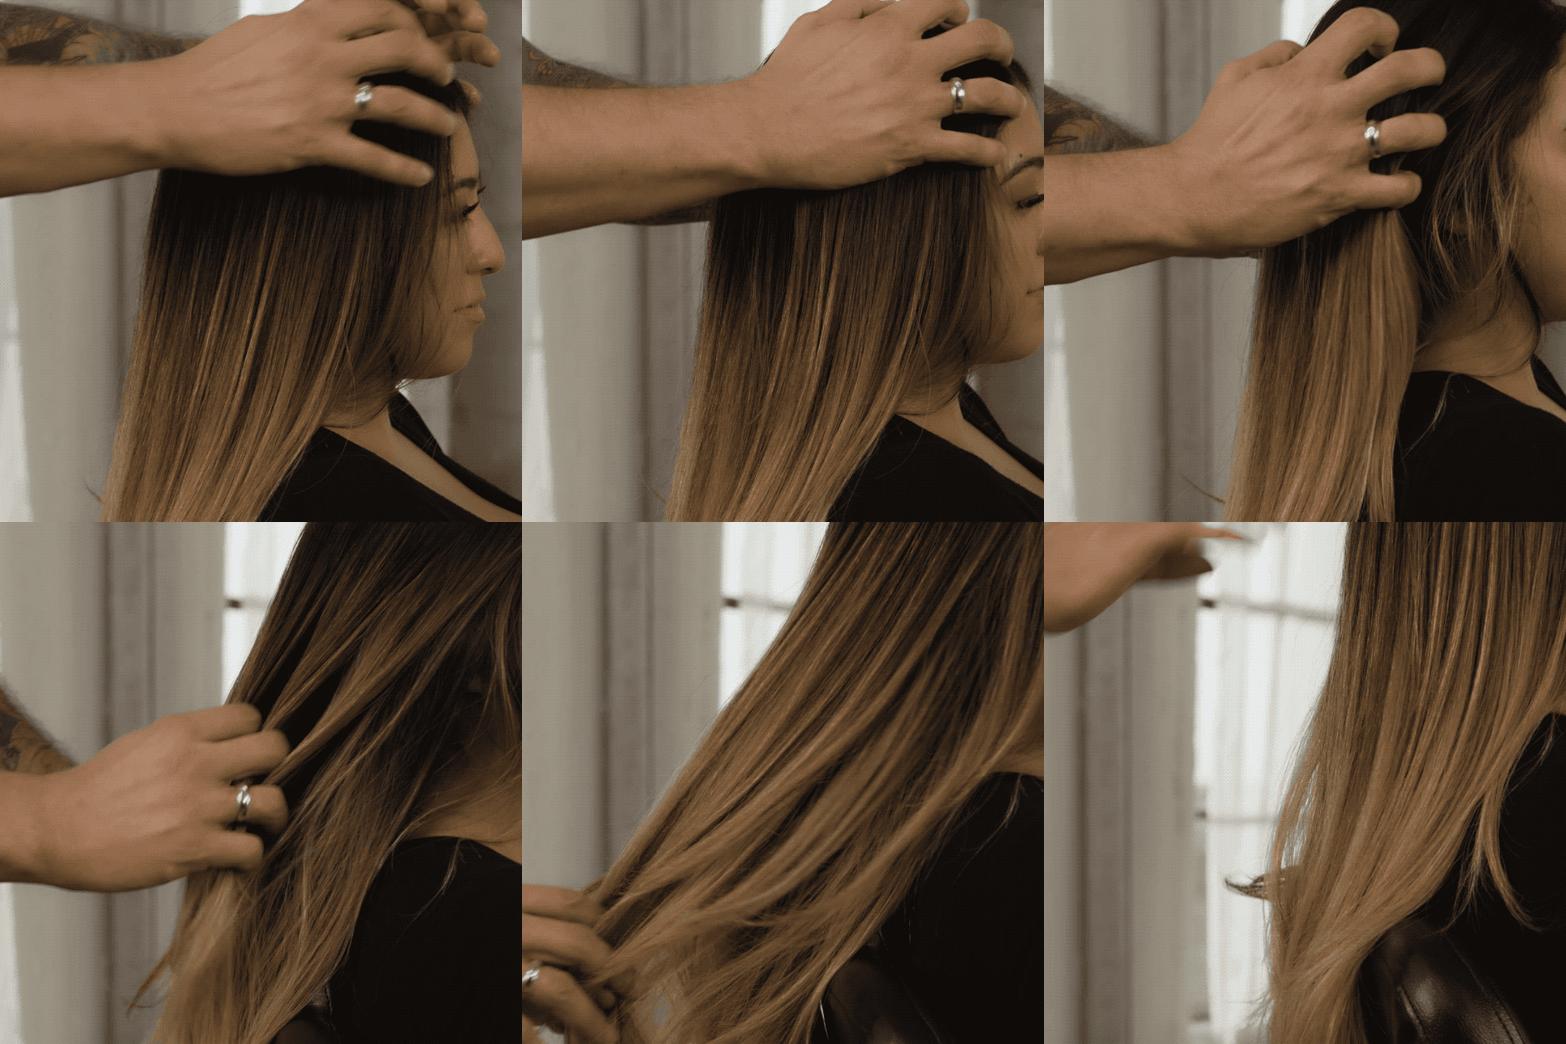
Apply a nickel-sized amount of Brazilian Blowout Smoothing Serum, starting at the ends and working up. Then blow-dry the hair as desired, using a round or flat brush for the smoothest, sleekest outcome.
Show Steps
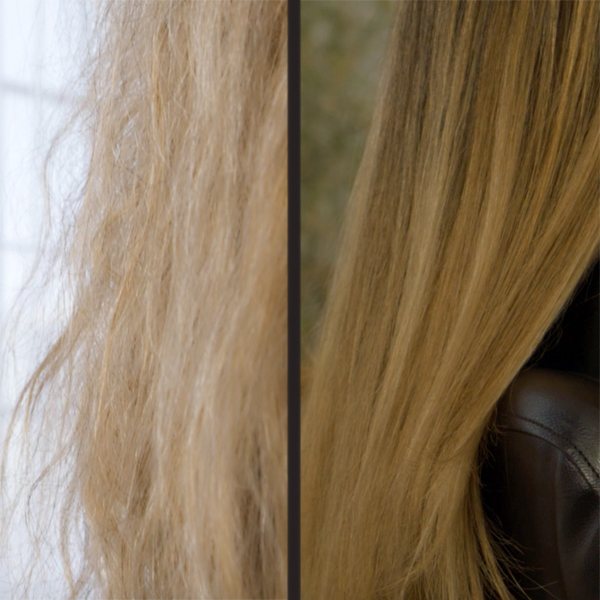
Close-up of before and after.

Brazilian Blowout
Smoothing treatments are money-makers, no question. But some hairdressers are hesitant to perform them because of the time they take, or because clients must go hours or days without touching or washing their hair. Brazilian Blowout just upgraded their three-step process to eliminate those concerns, meaning you can complete the treatment in as little as 80 minutes AND your client can immediately put her hair in a ponytail, work out and wash her hair. Check out the entire process below, and get certified in the Brazilian Blowout 3 Step Professional Smoothing System!
VIDEO 
HOW-TO STEPS 
-
1
Get the hair soaking wet, spray with Ionic Cleanser and massage vigorously until a foam forms, then thoroughly rinse. This cleanser replaces the Anti-Residue Shampoo, the original Brazilian Blowout first step. It’s a color-safe, sulfate-free and oxide-free spray cleansing system that is ionically charged, so it removes cationic buildup and unblocks the cuticle in as little as one wash (versus the original step, which could take five shampoos!). In other words, the cleanser acts like a reverse magnet and pulls buildup from the hair for a totally clean slate, prepping the hair for step 2.
-
2
Lightly towel-dry the hair, leaving most of the moisture in the hair. This is necessary for the solution to absorb and spread evenly. If the hair dries during application, use a water bottle to spray the hair.
-
3
Divide the hair into quadrants, with two panels at the base and two at the top. Start at the base of the head.
-
4
Put on protective eyewear, and make sure your client is wearing protective eyewear, too. Measure the appropriate amount of Brazilian Blowout Professional Smoothing Solution. Measure using quarter ounces as the guide. The length of the client’s hair determines how much solution to use:
- Short hair: ¼ to ½ oz.
- Medium hair: ½ to ¾ oz.
- Long hair: ¾ to 1 oz.
-
5
Begin applying the solution to the hair starting in the back, working in ¼- to ½-inch sections depending on texture, type and thickness of the hair. Apply the solution ¼ to ½ inch off the scalp. Use a color applicator brush to lightly dust the solution onto the hair, being careful not to oversaturate, then pull the solution through each section with a fine-tooth comb. In the front sections, keep the solution ½ to 1 inch off the scalp. The solution is specially formulated with an amino acid-enriched, super-nutrient complex and a proprietary polymer system that smooths and conditions, creating a protective protein layer around the hair shaft to eliminate frizz and smooth the cuticle.
-
6
When you’ve completed the solution application, perform a proper blow-dry with a round boar bristle brush to get the hair as smooth as possible with as much tension as possible. Keep the dryer at least 2 inches away from the hair to minimize the release of steam.
-
7
When the hair is 100 percent dry and as smooth as possible, it’s time for the most important step—the flat iron process. This seals the solution in the hair and allows for the longest-lasting result possible. Use a professional flat iron that allows for temperature control, working with a temp between 380 and 450 degrees (use a lower temp on hair that is more porous or damaged). Divide the hair into four sections as before and again start at the back of the head. Flat iron from root to end with the same tension through the shaft and easing off the tension on the ends.
- For the smoothest results, take 1/8- to ¼-inch subsections and pass over each section seven or more times with higher heat and more tension.
- To maintain a natural wave, work in 1- to 1 ½-inch subsections and pass over each section four to five times with lower heat and less tension.
-
8
When you’re finished flat ironing the hair completely straight, rinse the hair (do not shampoo) with warm water for 1 to 2 minutes.
-
9
Lightly towel-dry to remove excess moisture and apply the Ionic Bonding Spray. Thoroughly shake the bottle and generously apply to the hair, combing through. Do not rinse. This step replaces the masque from the original treatment process and acts as a color-safe, dual-phase protective system. It’s the reverse of the Step 1 Ionic Cleanser—it has a super positive charge to close the cuticle and lock in the treatment. Clients take this home (include the cost of the product in your service price) and use it once a week to maintain their results for up to 12 weeks, instead of the treatment slowly fading out of the hair each week.
-
10
Apply a nickel-sized amount of Brazilian Blowout Smoothing Serum, starting at the ends and working up. Then blow-dry the hair as desired, using a round or flat brush for the smoothest, sleekest outcome.
-
-
12
Close-up of before and after.
More from
Brazilian Blowout


