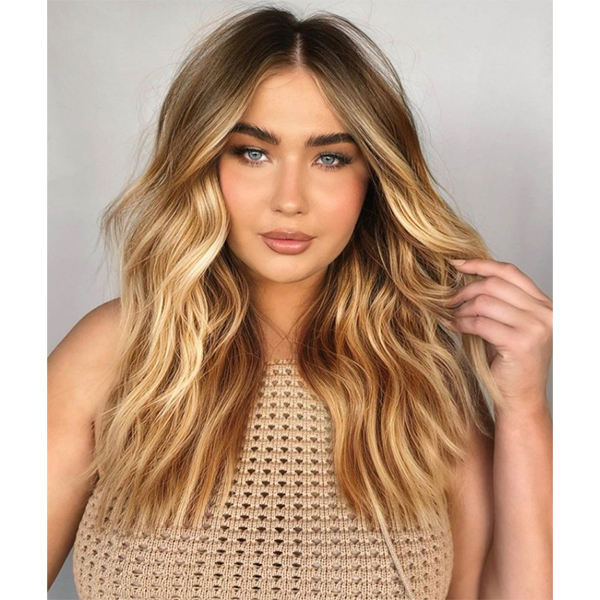
High-Contrast Blonde In Just 21 Foils—Here’s How!
5 Foilayage Tips For Painting Bold Dimension
Looking to refine your foliayage skills? Redken Brand Ambassador Daniel Mora (@danielmbeauty) is using his signature blonding techniques to create a high-contrast paint job in under 30 minutes with just 21 foils. Keep scrolling to learn the essentials for reaching these three-dimensional warm tones—without the usual bold money piece!
Tap the beaker for Daniel’s color formulas!

Pro tip: Daniel’s go-to for foilayage is Redken Flash Lift Power 9 Bonder Inside because of its built-in bonder that minimizes breakage. He uses a 1:1.5 mixing ratio. Here’s why. The more developer in the mixture, the more gentle it becomes and the more cushion time you gain to finish up all your foils.
1. Always start foiling at the back of the head
For Daniel’s 21-foil technique, only about six or seven of them should be placed in the back of the hair. Most of the foils will be situated in the front, so doing the back foils first not only saves time, but also energy for when you reach the foilayage’s focal point.
2. Use teasylights to blend into the base
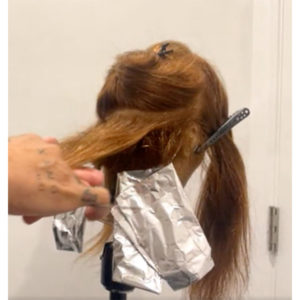
Teasing the hair before painting will add dimension to larger sections of hair and avoid massive pockets of depth. To get a good tease that stays in place:
- Hold the section straight out from the head.
- Pinch or ruffle the midlengths of the section with your thumb.
- Insert the comb and push up from just below your target blending mark.
- Use a gentle hold and clip the tease with your comb to hold it in place.
Pro tip: Be careful not to tease too much! It can be really hard to brush out and adjust later on.
3. Aim for a high-contrast lift
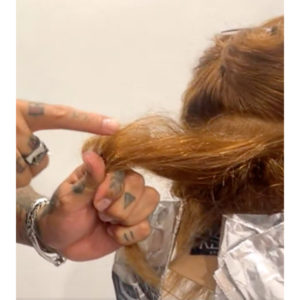
To avoid your end result looking more like blended highlights, Daniel suggests looking at the hair as needing both negative and positive space. To do this, the client would need to be lifted at least 3 levels lighter than their base.
For example, a Level 6 would need to be lifted to at least a Level 9 or Level 10 to achieve contrast; lifting to a Level 7 or Level 8 would instead create soft, blended tones.
Click Here To Learn More About Redken’s New Flash Lift Lightener!
4. Create a “V” shape while painting tip-outs
Pro tip: Daniel likes to close his foils with a flat wrap. This lets him see exactly where everything is and allows him to pull the foils down as needed.
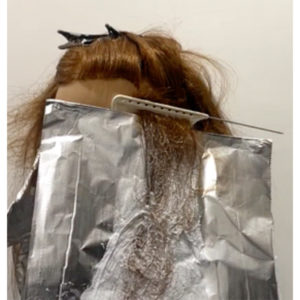
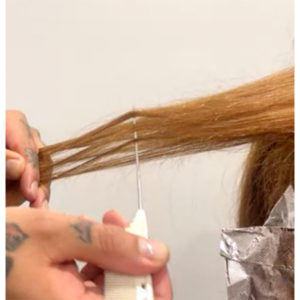
5. Use “deep foiling” to create more dimension with less foils
When foiling the high points at a diagonal back, Daniel only uses two foils. Since this is where the hair will be blondest, he utilizes deep foiling to add pops of color throughout the thicker sections without creating a classic highlighted look. To do this, use a high-high, low-low weave to grab hair from the top and bottom of the section.
BTC University Members Get Unlimited Access To…
- Brightening Brunettes With @xo.farhana.balayage
- High Contrast Foilyage By @danielmbeauty
- Babylights, Balayage & Toning With @hairbychrissydanielle
- And more! Click here to subscribe.
Products Used
More from
Redken
-
Celebrity
11 Questions With Celebrity Colorist Tracey Cunningham
-
Blonde
Lived-In Blonde With Warm Vivid Pops
-
Glossing/ Toning
How To Achieve “Glass Hair”: Smart Hacks From Hairdressers
-
Monthly Product Launch List
The Best Hair Launches Of March 2024
-
Blonde
The Biggest Hair Color Trends of 2024
-
Brunette
Caramel Chocolate Brunette With Gray Coverage
-
Awards Shows
The Best Celebrity Hair Colors & Formulas From The 2024 Golden Globes
-
Blonde
Guide To Gray: 5 Tips To Blend or Cover Stubborn Grays
-
News
How Maui Hairdressers Are Rebuilding Post-Lahaina Fires
-
Blonde
Blonde Ribboned Root Smudge
-
Balayage
Warm Glow Lived-In Blonde Balayage
-
BTC Hair Trend Report
Quiet Luxury Blonde: The “Old Money” Trend Explained
-
Blonde
Dear Colorists, Do You Enforce A Healthy Hair Policy?
-
BTC Hair Trend Report
Your Guide To Fall & Winter 2023’s Hair Color Trends
-
Blonde
Muted Honey Blonde
-
Industry News
Redken’s Safe Space Course Creates A More Inclusive Salon Experience
-
Haircare
ACIDIC BONDING CONCENTRATE 5-MINUTE LIQUID MASK
-
BTC Events
AI, Mental Health & Social Media: 7 Business Tips You Can’t Live Without
-
Copper
What Is The “Cowboy Copper” Hair Trend? Here’s What It Really Means…
-
Celebrity
Margot Robbie’s ’60s-Inspired Ponytail at the “Barbie” Premiere
-
Additive
4 Tricky Hair Color Scenarios & What You Should Do!
-
Gray Coverage
These 8 Steps Will Soften & Cover Grays In Just A Few Minutes
-
Hair Color
WWYD: How To Stop Your 6N From Turning Orange
-
Glossing/ Toning
Coral Crush


