
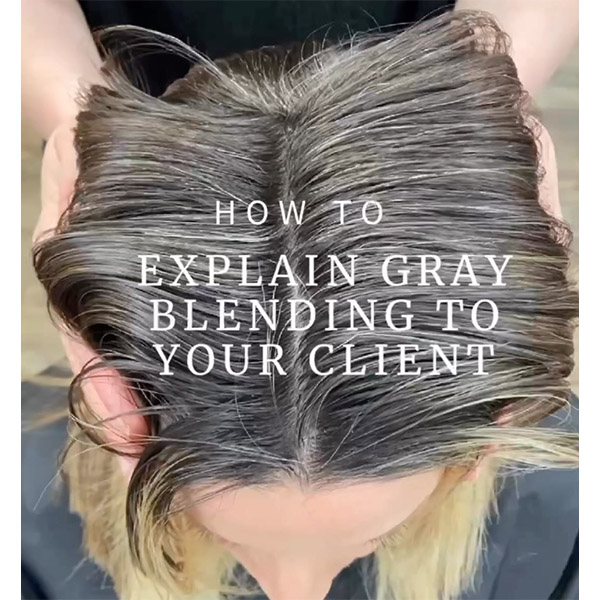
Guide to Gray: 5 Tips to Blend or Cover Stubborn Grays
Gray Coverage vs. Gray Blending: Read This Fast Guide
We all learned about gray coverage in cos school, but it’s not a one-formula-fits-all service. It’s time to stop treating all grays the same and customize our approach for each client. Below, learn the ideal client for a gray blending or gray coverage technique, how to avoid banding, application tips for better coverage and formulas to save for the salon.
1. Gray Coverage Versus Gray Blending: The Ideal Client
To gray blend or gray cover—deciding which service is best is usually obvious, but BTC Team Member Melissa Maloney (@live_love_dohair) shared her quick checklist that helps solidify her decision for each client below.
Melissa prefers a gray blend technique for clients who:
- Have 50 percent (or less) gray hair
- Have a Level 6 natural base or lighter
- Wants to feel blonde overall
- Is OK with some gray showing
- Wants a low-maintenance routine
Melissa opts for full gray coverage when clients:
- Have more than 50 percent gray hair
- Have a Level 6 natural base or darker
- Wants rich, dark roots with grays fully covered
- Doesn’t mind warmer dimension
- Can maintain a four to eight week maintenance schedule
“We often want a black-and-white answer to which one is better, but in this case, there is a TON of gray area,” Melissa explains. “As stylists, it is so important to listen to the client’s wants, needs and lifestyle. We can give [them] beautiful hair either way, but it needs to be what is best for them.”
Redken Brand Ambassador and educator Adrienne Dara (@adriennedara) likes to break it down for clients like this: Save her script for later!
Advertisement

“‘When you look in the mirror do you want to not see a single gray hair? Or do you not mind seeing some gray, but having it less visible to the eye?’ Let’s say they come back and say COVERAGE. [I will reply:] ‘Sounds good! To help manage your expectations of the grow out, when your color grows out you will have a visible line of demarcation and the upkeep will be around every six to eight weeks. However, should you wish for gray blending, the color will simply fade out of your hair.'”

Photo Credit: Instagram via @adriennedara
2. Liquid Versus Cream Permanent Color
Why should you consider using a liquid permanent color over your typical cream? Adrienne loves using liquid permanent color because it melts well with your gloss—plus, this will blend and eliminate any unwanted color transfer.
Color Consultation Checklist
The Why: “The benefit of Redken Color Gel Oils Liquid Permanent Color is that it has a no-drip consistency. It congeals,” Adrienne explains. “As long as you immediately apply your Zones 2 and 3 with Redken Shades EQ gloss, it will completely dissipate and eliminate any color transfer. I have a lot of permanent coverage clients that want to still be lived-in [and] dimensional, and I will do that with them.”

Photo Credit: Instagram via @adriennedara
Pro Tip: Adrienne’s typical gray coverage formula will include 10-volume developer and she will process for 20 minutes. “For resistant gray, I’ll use 20-volume and process for 30 minutes,” she explains. Remember: After you apply the roots, wait 10 minutes and apply Zones 2 and 3 when using 20-volume developer so you can rinse all at once.

Photo Credit: Instagram via @adriennedara
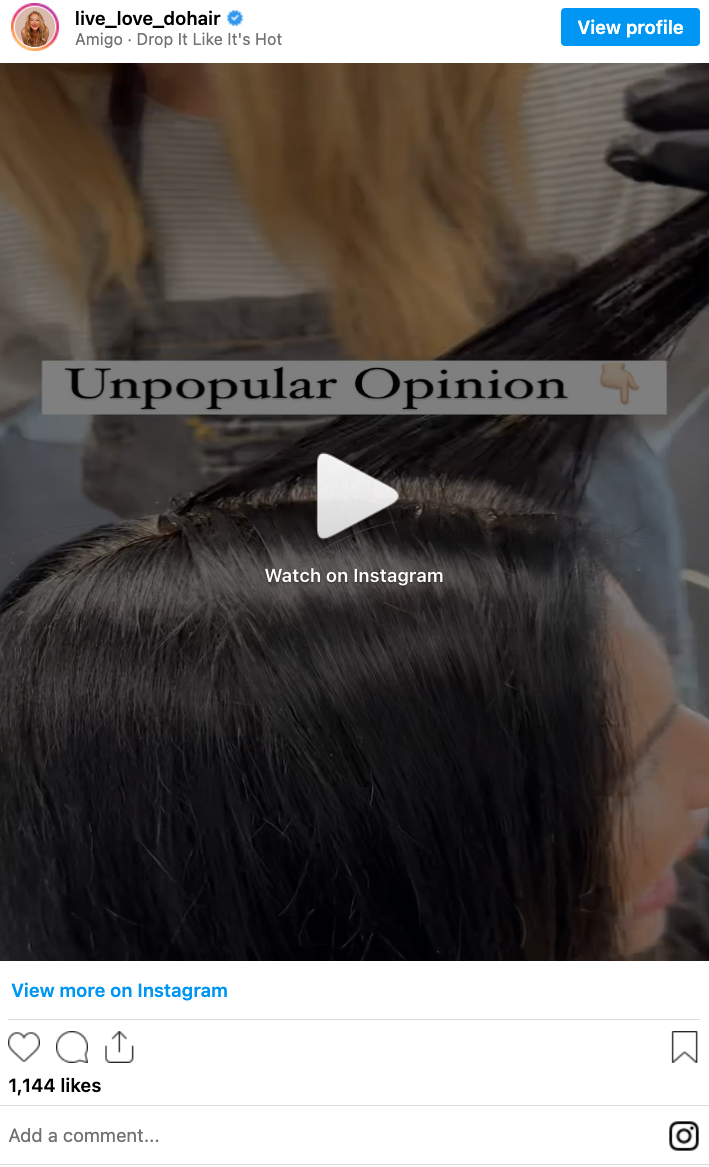
3. Correcting Bands When Covering Grays
If you’ve ever had a client with tons of resistant grays that consistently struggles with banding and full coverage, you’re not alone. That’s what Melissa’s client of 13 years dealt with until she tried Color Gels Oils. Check out the banding in her client’s before:

Photo Credit: Instagram via @live_love_dohair
Advertisement

The result? “I honestly could have cried when I blow-dried her. She had 100 percent coverage, the color was rich and absolutely no banding. We were both so excited and so impressed by how shiny and healthy her hair looked and felt,” Melissa shared.
Did You Know? You can soften the wirey feel that comes with gray hair: That’s why Melissa swears by using Color Gels Oils to cover and soften grays to match the texture of the rest of the colored hair—they’re infused with apricot oil, offering 78 percent more shine, 30 percent increased conditioning and 100 percent gray coverage.
Click the beaker to get Melissa’s formula!

Photo Credit: Instagram via @live_love_dohair
Struggling to cover resistant grays? Try Color Gels Oils Permanent Liquid Color!
4. Your Gray Coverage Checklist: 6 Tips For Better Coverage
Balayage specialist Lisa Hart-Walker (@lisalovesbalayage) took to IG and shared her top tips for the best gray coverage: Screenshot these to save for later…
- For resistant grays: Apply in the front first—this is usually where the most stubborn grays live. Pro Tip: “Use two separate formulas if the color gets too dark around the hairline,” Lisa says
- For increased coverage: Use more warmth. The warmer the formula, the better the coverage
- For a clean application: Be sure to use small sections, saturate well and always cross-check
- For resistant grays: Increase your developer and drop a level
- For high percentages of gray hair (or resistant grays): Don’t use higher than a Level 8. “The higher you go in level, the less deposit you’ll get,” Lisa explains
- For increased blend: Stay within two levels of the natural

Photo Credit: Instagram via @lisalovesbalayage
5. Bonus Tutorial: Balanced Caramel & Gray Coverage
Melissa has gone viral on IG dozens of times for her blended, lived-in color work: Get the steps below and keep scrolling to get the formulas!
Advertisement
Step 1: Apply gray coverage retouch with Formula A.
Step 2: Use a foilayage technique with Formula B and process to a Level 8.
Step 3: Rinse and shampoo.
Step 4: Apply a root smudge with Formula C, making sure to drop the root at least one inch past the start of the highlight.
Step 5: Gloss with Formula D, using a brush to melt together the root smudge and gloss.
Step 6: Rinse, condition, blow-dry and style. “I used an XL one-inch curling iron for this look,” Melissa says.
Advertisement

Click the beaker to get her formulas:

Photo Credit: Instagram via @live_love_dohair
Say goodbye to banding… Try Color Gels Oils Permanent Liquid Color!

This content is sponsored.
Join BehindTheChair
Access the industry’s #1 source for hair trends, education and community now.


