
Money Piece Foilayage: 5 Tips For A Perfectly Painted Hairline

Money Piece Foilayage: 5 Tips For A Perfectly Painted Hairline
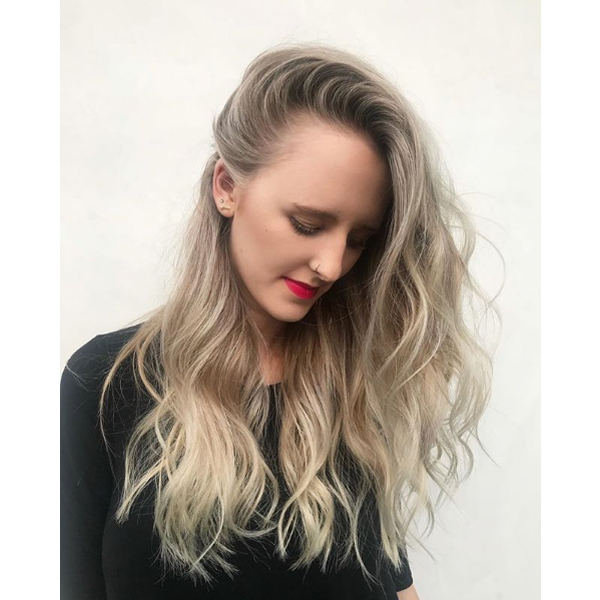
Her locks could use a refresher, but your low-maintenance client also wants you to work with her natural regrowth. THIS is the highlighting technique you’ll want to use. Not only is a money piece foilayage totally customizable, it’s quick and focuses on mimicking how the sun would organically lighten the front hairline. So BTC Team Member Briana Cisneros (@brianacisneros) stopped by The BTC House in West Hollywood to share her money piece foilayage technique—and we pulled her top five tips below!
Click Here To Purchase Briana’s Detailed Foilayage Technique Video!
1. Analyze The Hairline First
Before she starts foilayaging, Briana always pulls the hair back and analyzes the hairline first. Why? A close look at qualities like baby hairs, widows peaks, whorls and cowlicks allow her to customize the technique for each client.
2. Start Low
The lowest part of the front hairline is usually the lightest because these hairs are naturally lightened by the sun. To mimic that, Briana starts foilayaging there with the lowest volume developer to ensure they’ll be the lightest section in the end.
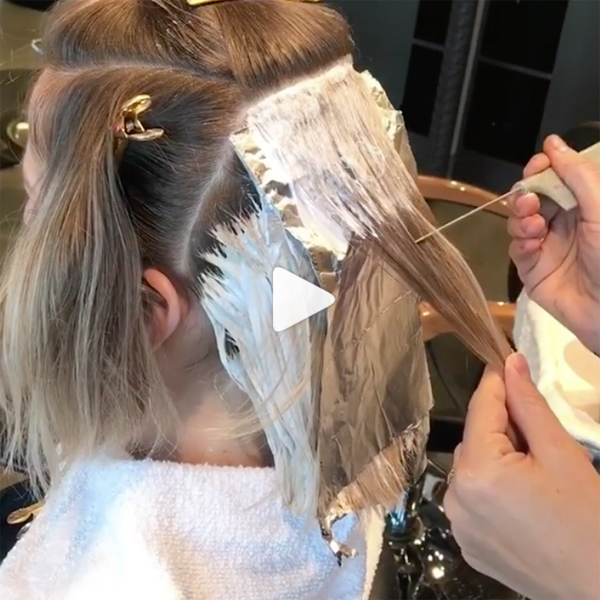
3. Briana’s Foil Folding Technique
To help fight slippage when detailing the hairline, Briana follows her “Anti-Gravity Fold” because it prevents the foils from budging as she works. Here’s what she does:
- Double-fold the foil first, then crease each side where you painted the hairline.
- Then, the key is to bend the bottom up just a little.
- See how Briana does it in the gif below!
Note: For baby hairs and shorter pieces, Briana pre-rips smaller sized foils. For longer pieces on the hairline, she’ll use a regular sized foil.
4. Work With The Client’s Part
Starting in the front hairline area and making sure every hair is lightened there first helps to not to dictate your client’s parting, as she can move it and not worry about the lightened pieces being hidden.
5. Controlling The Side Sections
Are the side sections getting in your way? Use the top foils to hold them out of the way since it’s pretty much impossible to fit a clip there. Doing this helps with your control and allows you to seamlessly paint around the head.

Check out the gorgeous finished look below!

Learn the entire step-by-step process from Briana! Click here to purchase the livestream!
Want more tips from Briana? Check out how she avoids bleach overlap with this quick technique!
More from
Briana Cisneros
-
Bobs
The Bixie: 3 Cutting Techniques to Master the Look
-
BTC Hair Trend Report
2023 Fringe Guide: How To Cut This Year’s Biggest Trends
-
Best Of 2022
10 Toning Tips You’ll Need in 2023
-
Bobs
The Biggest Winter Haircut Trends To Kick Off 2023
-
Haircuts
These Haircut Trends Will Be Everywhere In 2022
-
Bobs
How to Avoid a Bulky Bob: 4 Techniques To Try
-
Bobs
The Bixie Haircut Trend Is All Over The Internet—But What Is It?
-
Bobs
The 10 Biggest Haircut Trends Of Winter 2021
-
Business
5 Tips To Keep Clients Coming Back
-
Blonde
Audrina Patridge’s Foiled Blonde + Shadow Root
-
Best of 2020
25 INSANE MANNEQUIN IMAGES WE SAW IN 2020
-
Haircuts
How To Style A Pixie Cut
-
Manufacturer
#AmplifyDiverseHair For National Diversity Week With Wella—Here’s How!
-
Manufacturer
Wella Announces Virtual Fundraiser To Support Hairdressers
-
Fringe
3 Cutting Techniques For Creating Textured Fringe
-
Business
10 Tips For Growing Your Instagram
-
Balayage
7 Balayage Techniques To Learn Right Now
-
BTC Events
BTC “On Tour” Nashville—Here’s How We Closed Out Our 2019 Tour
-
BTC Events
BTC “On Tour” Nashville
-
Hair Color
5 Genius Haircolor Tips From Instagram
-
Haircuts
5 Satisfying Pixie Hair Cutting Videos
-
#thebtcshow 2019
Wella Professionals at #THEBTCSHOW 2019
-
#thebtcshow 2019
#THEBTCSHOW 2019: Day 1
-
BTC Quickies
Need a Pick-Me-Up? Watch These 5 Truly Satisfying Cutting Videos From Insta!

