
3 Cutting Techniques For Creating Textured Fringe

3 Go-To Cutting Techniques To Create Fringe With Movement
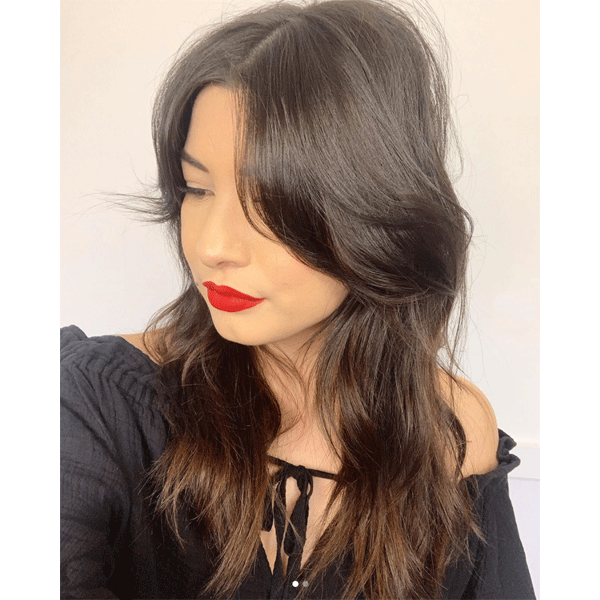
Picture this: A client comes in for their first post-quarantine appointment and they want a major change—what do you suggest? If you’ve been glued to Instagram like we have, you might have seen Briana Cisneros, aka @brianacisneros, share her fringe cutting tutorials and we can’t get enough. Scroll down to check out Briana’s three go-to techniques for creating fringe with texture and LOTS of movement.
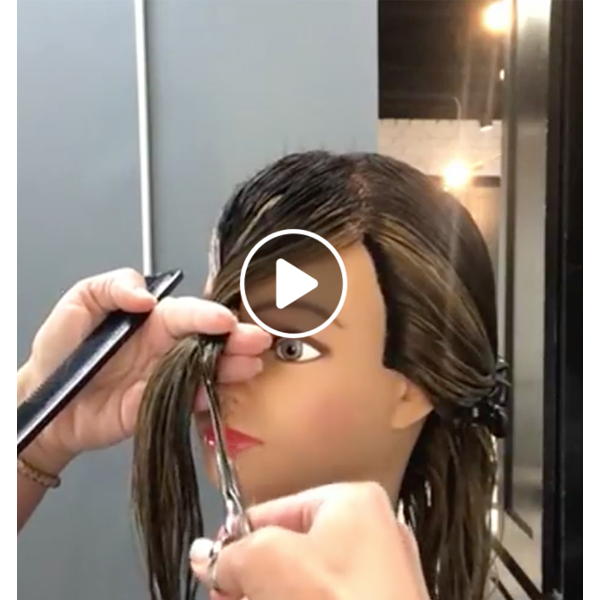
Check Out The Video Below!
View this post on Instagram
Briana’s scissor of choice? The PARAGON II from ARC™ Scissors!
Get 15% OFF—Use code ARC15
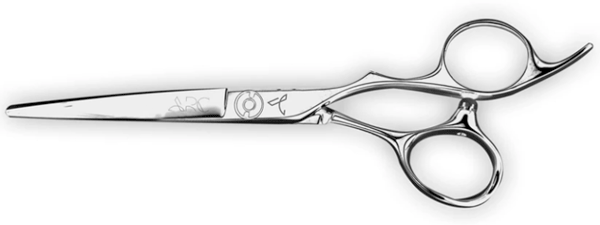
BUY NOW: Master Series PARAGON II
Start By Using Natural Fall To Determine Sectioning
Briana sections by following the natural fall of the hair to avoid forcing it into place. This will help clients style their hair at home without over-manipulating it. Here’s how to find a natural break:
- Comb the hair smooth and take a section from the hairline to just behind the ear using horizontal parting.
- Hold the section with minimal tension and lift it up until the hair starts to fall naturally (a vertical parting separates the section into two). The hair that is in front of the parting, closest to the face, will be the fringe section.

1. Create Separation With Slide Cutting
For the outer corner of the fringe, Briana uses a slide-cutting technique to create separation between the bangs and the rest of the haircut. Slide cutting will create Vs, which gives the fringe more room to move naturally around the hairline.
2. An Open And Close Technique = Razor Cutting Results
Want to give fringe softness but don’t have a razor on hand? No worries! Briana does a subtle open and close cutting technique using her PARAGON II from ARC™ Scissors o create softness and movement without switching tools. “My PARAGON II from ARC™ are great for this technique because the blade is sharp from the apex to the tip. So when I use a soft gliding technique, the scissors glide through the hair effortlessly instead of pulling and snagging the section,” she shares.
3. Detail With Point Cutting
Briana pointcuts into the perimeter to create more negative space and separation for additional movement and texture.
Check Out More Fringe Tutorials From Briana Below!
View this post on Instagram
Want more cutting education? Check out this modern shag how-to from ARC™ Scissors!
More from
ARC™ Scissors
-
Blowouts
Bob Styling Guide: 5 Ways To Style Short Hair
-
BTC Hair Trend Report
The Biggest Haircut Trends of 2024
-
Dry-Cutting
Bang Breakdown: How To Cut 2024’s Top Fringe Trends
-
Dry-Cutting
2024 Fringe Guide: How To Consult, Cut & Style Trendy Bangs
-
BTC University
10 Gifts & Stocking Stuffers on Every Hairdresser’s List This Year
-
BTC Events
BTC “On Tour” Nashville Recap: Everything You Missed
-
BTC Hair Trend Report
The Biggest Haircut Trends of Fall & Winter 2023
-
BTC Hair Trend Report
Layering Guide: How To Cut & Style With Confidence
-
Bobs
The ’90s Bob: How To Cut & Style This Trending Haircut
-
Facebook Lives
Volume Guaranteed: Try This Layering Technique For Fine Hair
-
Barbering
How To Style The Biggest Men’s Summer Trends
-
Bobs
The Biggest Haircut Trends of Summer 2023
-
Bobs
The French Bob: How to Cut it
-
Bobs
The Bixie: 3 Cutting Techniques to Master the Look
-
Brunette
Trend Breakdown: Hailey Bieber’s Glazed Brunette
-
Barbering
2023’s Top 9 Hair Trends For Men
-
BTC Hair Trend Report
2023 Fringe Guide: How To Cut This Year’s Biggest Trends
-
BTC Hair Trend Report
2023 Hairstyling: 11 Trends You Need To Know
-
BTC Hair Trend Report
Invisible Layers: What This Haircut Trend Really Means
-
BTC Hair Trend Report
2023’s Biggest Haircut Trends
-
Bobs
Hailey Bieber’s “Preppy, Contoured Bob” Trend: What You Should Know
-
BTC University
4 Styling Secrets For Butterfly Layers
-
This Year’s BIGGEST Products: 2022’s Most Talked About
-
Bobs
The Biggest Winter Haircut Trends To Kick Off 2023

