3 Techniques For Medium Length Haircuts
3 Cutting Techniques For Medium Length Hair
Chances are, there’s a long-haired client in your book who is itching to chop it all off in favor of a super chic midlength cut. So at the latest education event at The Salon At Ulta Beauty—one of the perks for Ulta stylists is attending small hands-on classes led by a Pro Team Member—Carmody Homan (@carmodyhoman) shared his top tips and tricks for cutting a medium length haircut with side-swept fringe. Keep scrolling to learn three of the techniques he shared!
1. A Trick For Removing Weight

You could just razor cut to remove weight, but you risk unclean lines. That’s why Carmody’s trick is to use the razor like a key. Holding the section out toward him, he’ll insert the razor at the midlengths and turn it (like you would a key in a lock) and then swipe to remove some hair. But here’s the thing, you have to insert the razor at the midlengths. If you go in at the roots, you’ll remove too much and it’ll look like bald spots. If you start at the ends, it’s not going to be enough.
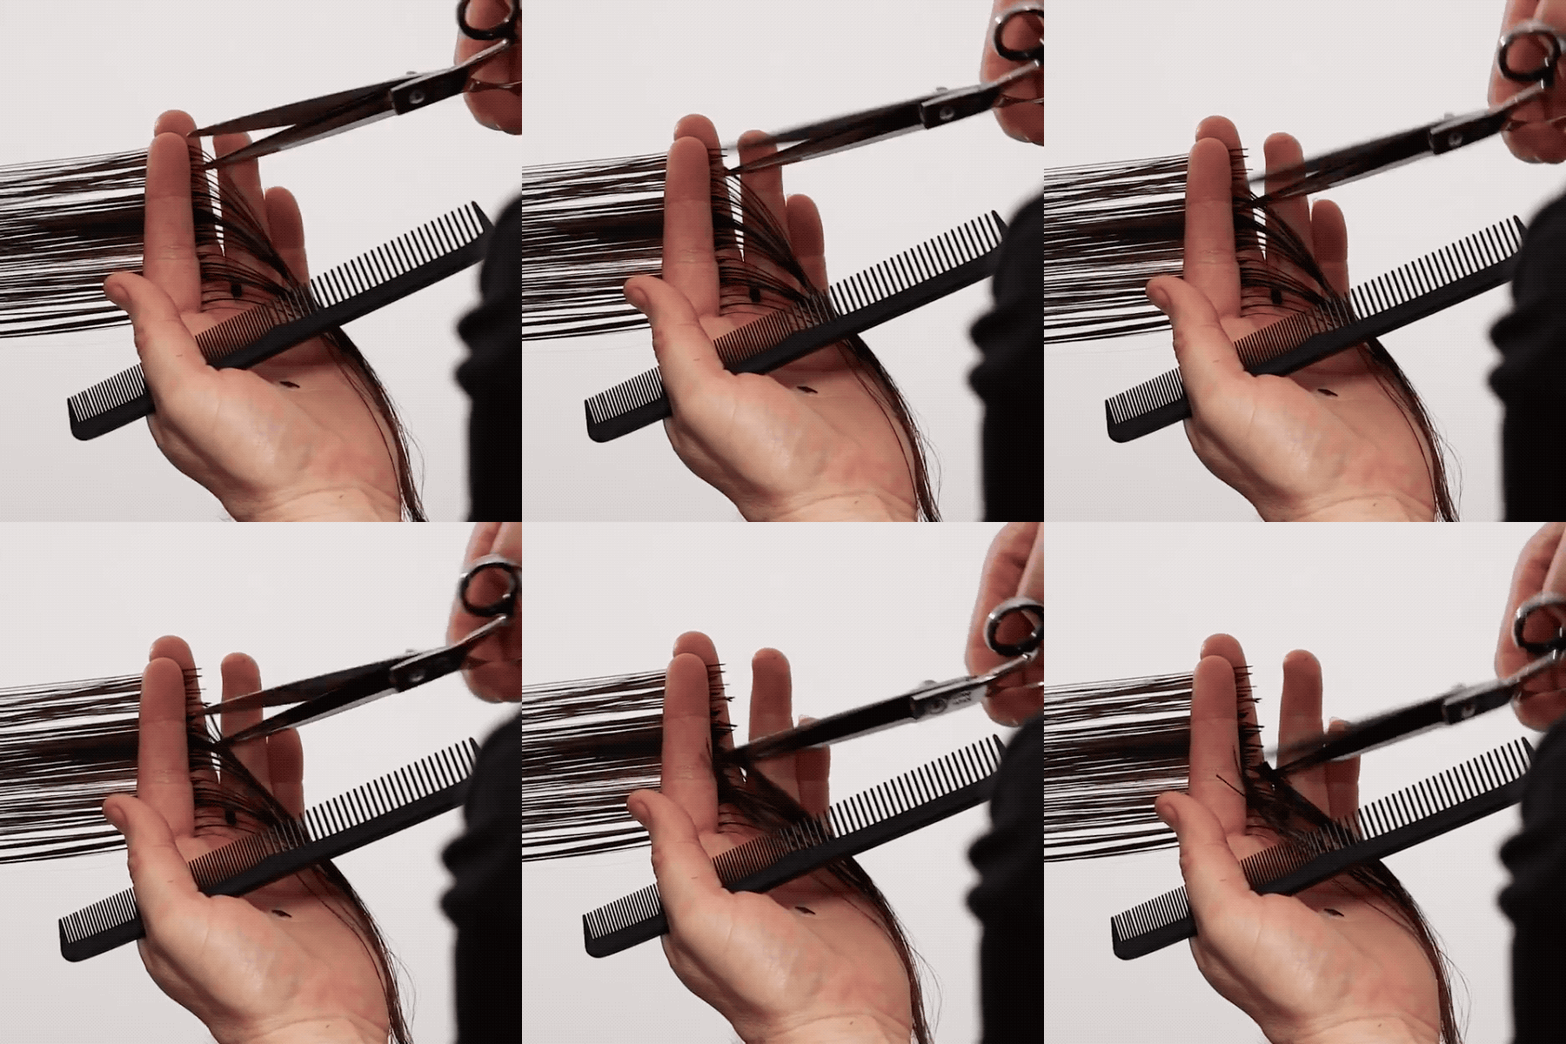
Note: Not comfortable using a razor? No worries! You can do this same technique using scissors. Just take a subsection, hold it at a low elevation, twist, pinch and cut from the midlengths down.
2. Carmody’s Technique For Building Graduation

Want to give her midlength cut some movement? You can, with graduation! Carmody will build graduation by holding the back section out at a diagonal and cutting from short to long so that the perimeter of this section falls at the nape and the top meets the rest of the haircut. Just make sure you don’t cut too much off. “I don’t want it to be too short that it looks so disconnected,” he advises.
3. How To Cut Side-Swept Fringe—Without The Bulk

Side-swept fringe is a great option if she wants to give bangs a try without the longterm commitment because they are longer AND she can switch up which side she wears them on. But side-swept fringe can often look heavy when pulled to one side, so here’s how Carmody approaches it to avoid that:
- Section out the fringe and divide it down the center. (This gives her the option to rock center-parted fringe, too!)
- Then, hold the subsection out at a slight diagonal.
- Tilt your fingers up from short to long and point cut the weight away.
- Repeat on the other side.
Tap through the slideshow below for a peek at the education event!
TAP HERE To Get 5 Tips That’ll Help You Prep For Any Haircut!
More from
Ulta Beauty
-
Hair Color
The Bubble Technique: 5 Tips To Create Rainbow Hair Color
-
BTC Hair Trend Report
The Biggest Haircut Trends of 2024
-
Business
New To Budgeting & Investing? Start Here!
-
Business
The Ins & Outs Of Assisting: How To Be & Choose The Right Hair Assistant
-
Curly
Curly Consultation & Haircutting: Watch The Full Tutorial!
-
News
How Maui Hairdressers Are Rebuilding Post-Lahaina Fires
-
Business
How To Make 6 Figures From Stylists Who Actually DID IT
-
BTC Events
AI, Mental Health & Social Media: 7 Business Tips You Can’t Live Without
-
Business
6 Saving & Investing Tips To Grow Your Profit
-
Facebook Lives
Volume Guaranteed: Try This Layering Technique For Fine Hair
-
Bobs
The Biggest Haircut Trends of Summer 2023
-
Industry News
Vernon François Joins Ulta Beauty Pro Team of Industry-Leading Artists & Educators
-
Industry News
6 Award-Winning Hairstylists Join the Ulta Beauty Design Team
-
BTC Hair Trend Report
2023 Hairstyling: 11 Trends You Need To Know
-
BTC Hair Trend Report
2023’s Biggest Haircut Trends
-
Business
5 Steps You Must Take To Build A Strong Salon Culture
-
Beachwaves
6 Tips For Faux Blowouts & Effortless Waves
-
Blonde
The Biggest Hair Color Trends Of Winter 2023
-
Accessories
15 Styling Trends That Will Be Everywhere in Winter 2023
-
Balayage
5 Tips To Upgrade Your Cutting, Blonding & Styling Techniques
-
#ONESHOT HAIR AWARDS
Modern Art
-
BTC University
Dear Stylists, 4 Smart Ways To Protect Your Income
-
Facebook Lives
25-Minute Butterfly Layers Cut & Style
-
Business
Client Retention Checklist: 7 Ways To Keep Them Coming Back


