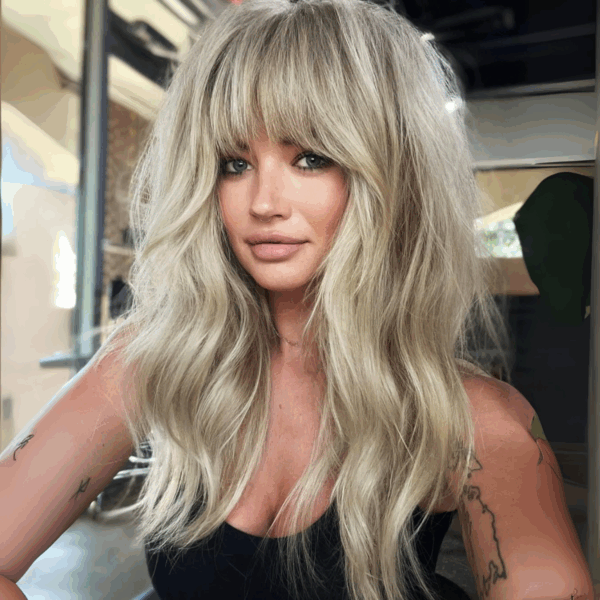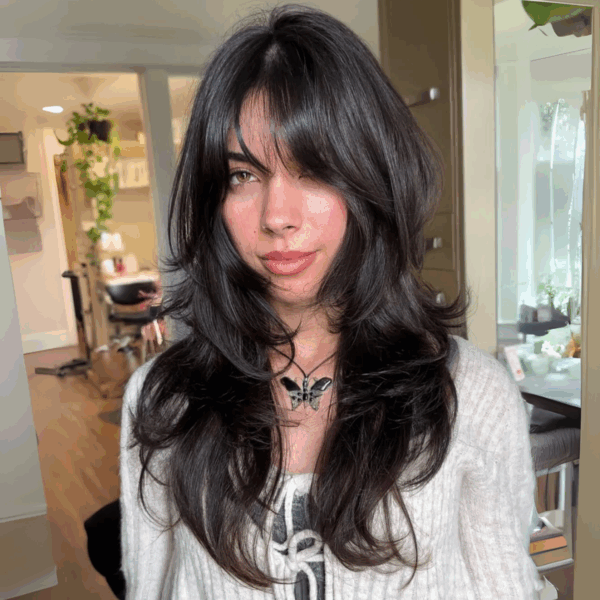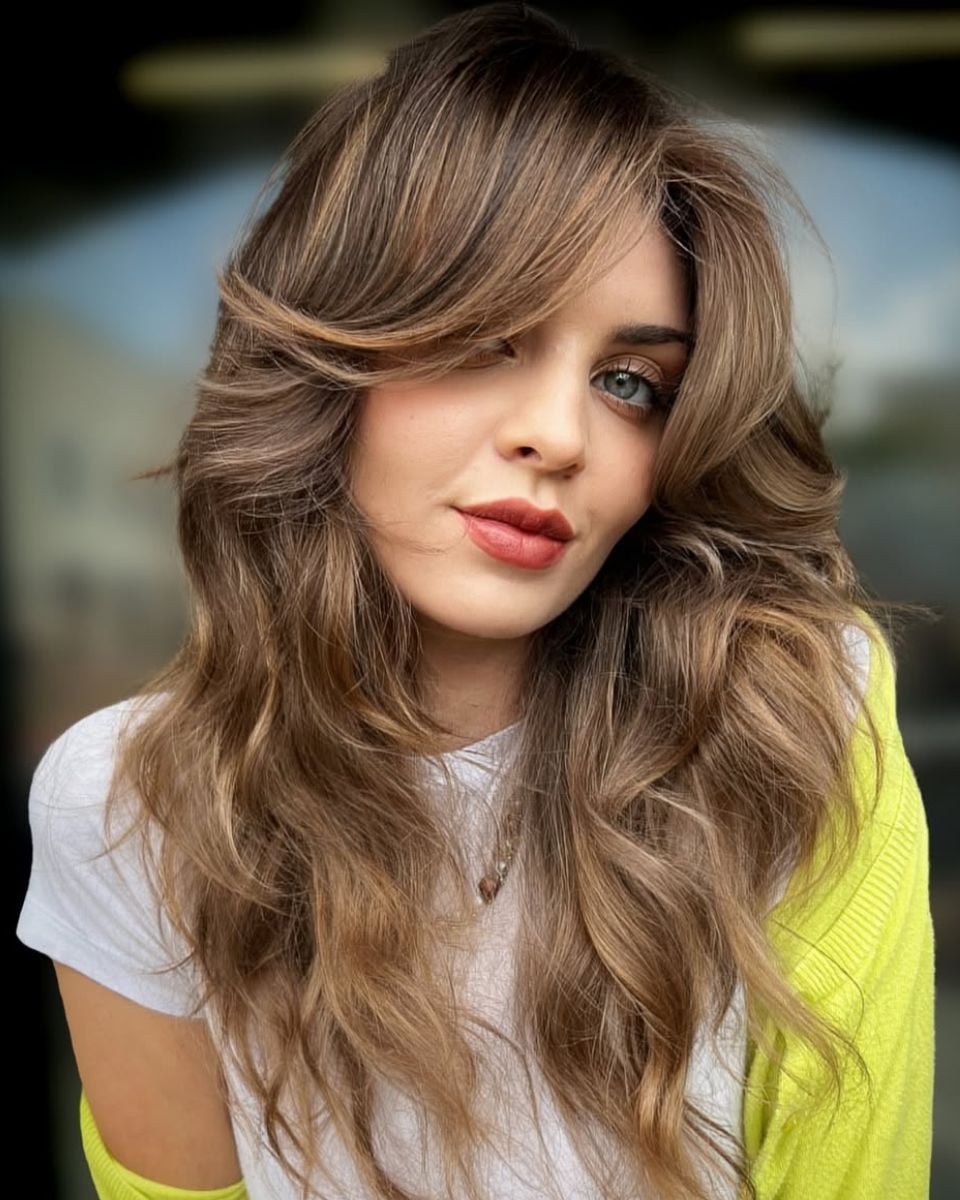
The Cheekbone Guide For Cutting Soft, Custom Curtain Bangs
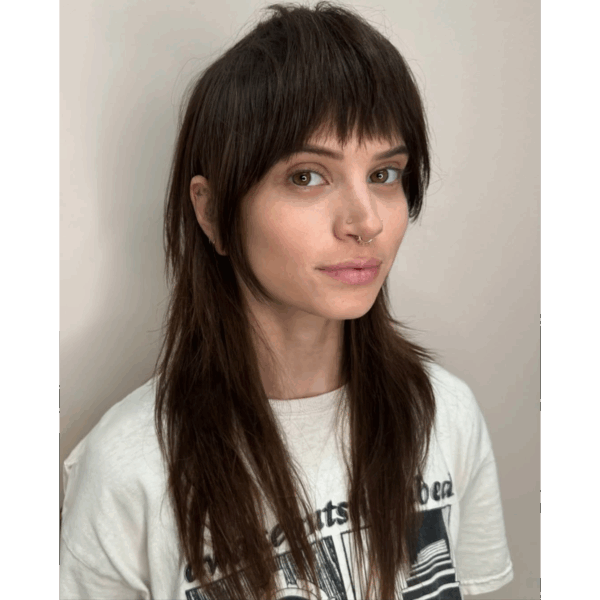
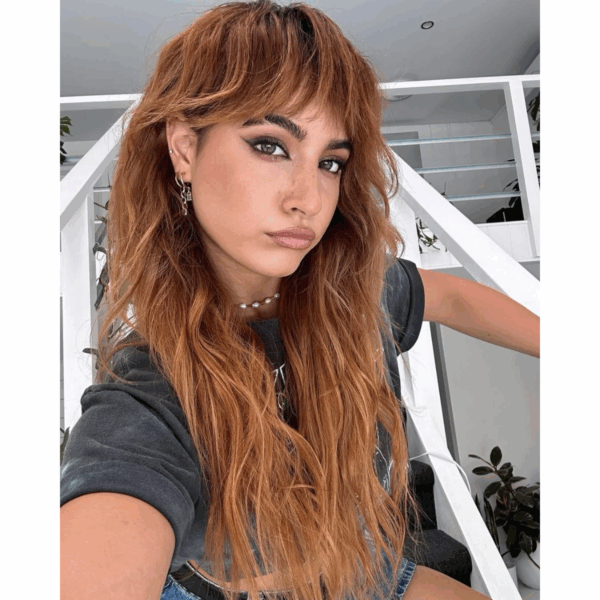
Curtain bangs are one of the most-requested fringe shapes behind the chair, but getting the right length and softness comes down to placement. In this BTC University class, “Curtain Bangs,” salon owner, #ONESHOT Shag-Mullet Winner and haircutting expert Rachel Williams (@rachelwstylist) breaks down a simple crisscross technique that uses the client’s facial features as the guide.
The key? Reference the client’s cheekbones to determine where the curtain fringe should begin. Find her full technique below.
Step 1: Start With A Triangle Parting
Rachel begins with a clean triangular section in the fringe area, then divides it down the middle. This gives the curtain bang its balanced shape and creates two sides that can be cut using the same reference point.
Advertisement

Once the section is split, Rachel clips one side away and starts cutting the opposite side.

Step 2: Overdirect To Save Length
Instead of cutting the section straight down where it naturally falls, Rachel overdirects the hair across the face toward the opposite cheekbone. This is what creates the soft curtain shape while helping preserve length.
“I’m going to overdirect this section, and overdirecting saves length,” Rachel says. She then uses the client’s cheekbone as a guide and follows its angle to create the fringe shape.

Pro Tip: Stand directly in front of the client so you can clearly see the face shape, cheekbone placement and angle of the cut. “Make sure the hair is nice and flat and combed out, too,” Rachel adds. This creates the perfect outline for a curtain fringe:

Step 3: Use Medium Tension
Rachel uses medium tension while cutting to keep control without pulling the hair too tight. This allows her to account for natural movement around the hairline.
“I’m keeping my tension at a medium level,” Rachel says. “I want to give it a little bit of ‘give and take’ in consideration of cowlicks and pull-up from the hairline.”
After cutting the first side, she repeats the same motion on the opposite side: overdirecting to the opposite cheekbone, flattening the section with her comb and cutting along the angle.
Step 4: Soften & Detail The Shape
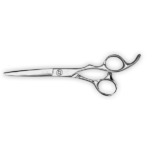
Once the outline is created, Rachel moves into detailing. She uses her ARC™ Scissors PHANTOM II to soften the corners and add light layering through the bang area.
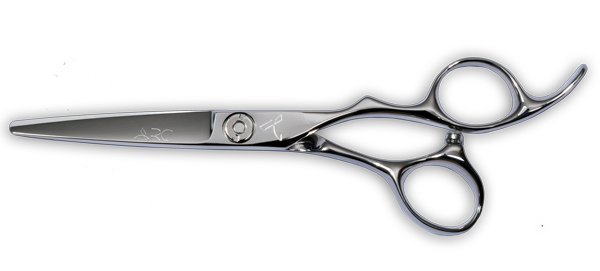
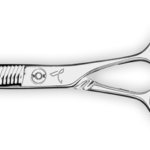
To remove weight and create movement, Rachel switches to her ARC™ Scissors 30/2 Reversible Blender. Her finishing technique is all about directing the bang where she wants it to live.
Advertisement
“I want it to have movement and open the face, so I’m going to direct it in that direction with my hands and curve it,” Rachel says. “I’m going to shear shatter—open, close, remove weight—and I’m softening, creating no lines as I’m texturizing and detailing it.”

After repeating the same detailing on both sides, Rachel lightly opens the bridge of the nose and finishes with a round brush to reveal the final shape.
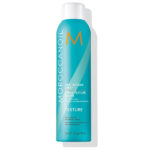
Product Pairing: To finish curtain bangs, Rachel reaches for Moroccanoil® Dry Texture Spray to add volume and texture.


Join BehindTheChair
Access the industry’s #1 source for hair trends, education and community now.