
Photo Credit: Instagram via @taylordidmyhair
Formulas
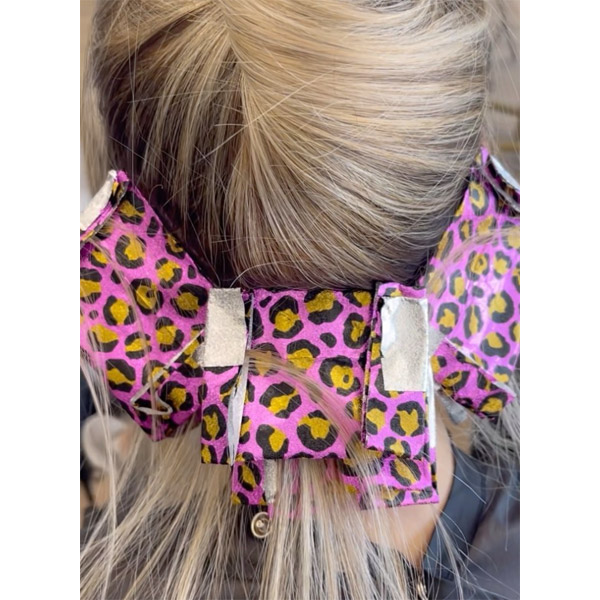
4 Foilayage Placements For Brighter Blends
Struggling to blend when foiling? Try these 4 techniques! Here at BTC, we believe in working smarter not harder. So if your foilayage is resulting in harsh lines of demarcation or disconnected sectioning—we're here to help! We tapped BTC Team Members to share their go-to foilayage placements to get the blend (and lift) you want. Keep scrolling for four must-know foil placements and the perfect client for each. Plus, snag some toning tips to complete any look. Flash toning blondes: You NEED this! Placement #1: V-Section Perfect for: Clients requesting a full highlight service Clients...
Keep reading for free
Create a free account or sign in to continue
Use the same email and password across behindthechair.com, BTC-U, oneshothairawards.com, and Who Does Your Hair — one set of credentials, every site.
OR
We'll check if you have an account, or create one if you don't.
To save this article, create a free account or sign in.
Join BehindTheChair
Access the industry’s #1 source for hair trends, education and community now.
OR
We'll check if you have an account, or create one if you don't.


")


