How To Create a Balayage Effect With Foils
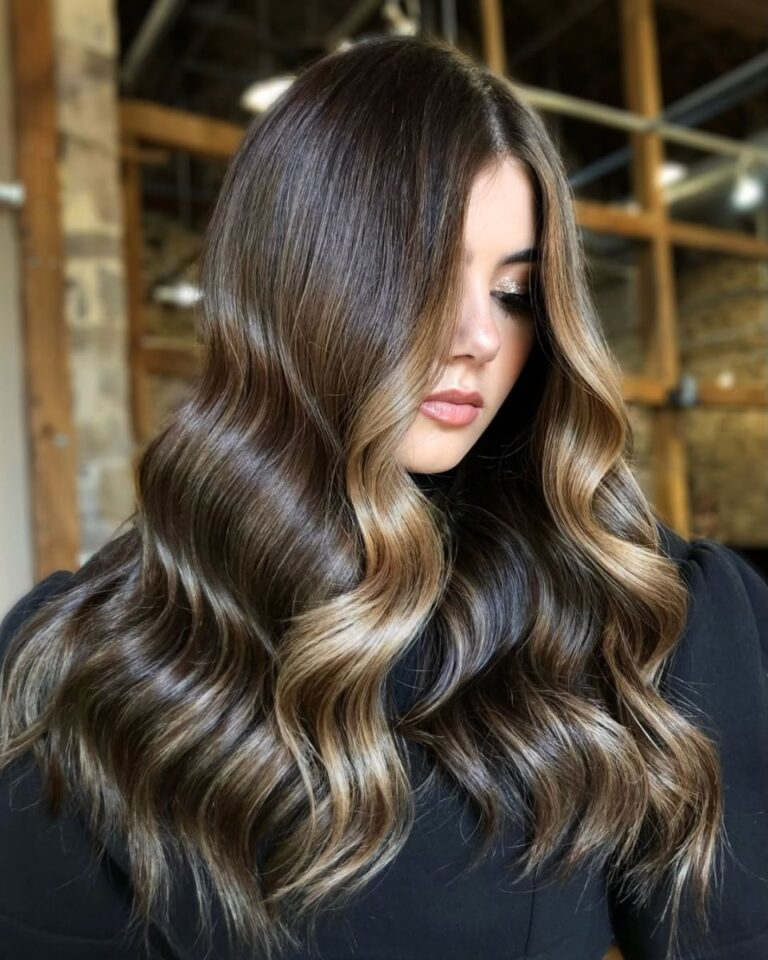
While many stylists rely on root melts and glosses to soften their blonding work, TRUSS Professional Ambassador and #ONESHOT Winner Marina Sellecchia (@colorbymarina) teaches that the most seamless balayage-inspired results are actually built inside the foil. At her TRUSS Class “Modern Brunette” at True Beauty Concept in Southampton, Pennsylvania, Marina shares:
“The blend is created in the foil,” Marina explains. “I do color melt everybody, but when I’m color melting, I’m not melting to create a blend. That blend is already going to be in there from the foil.”
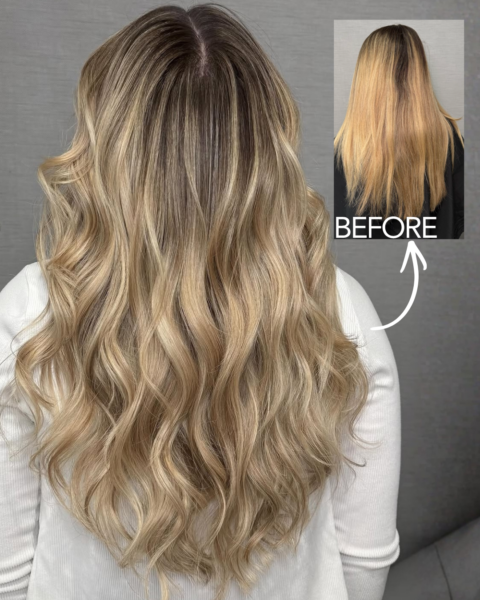
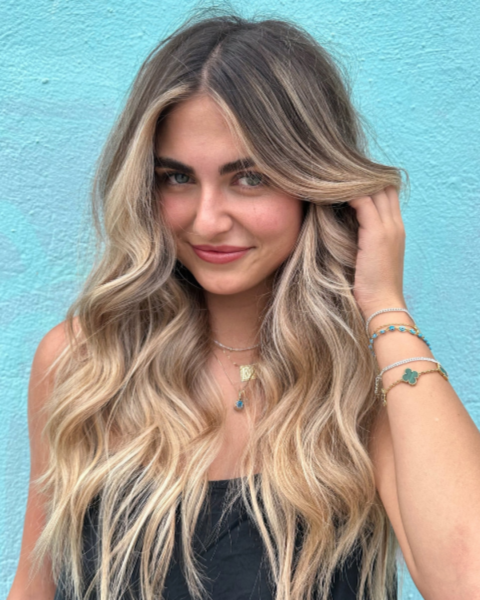
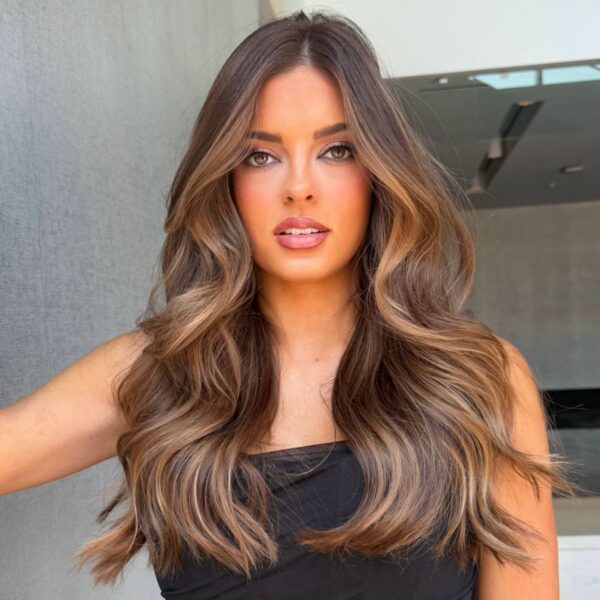
Today we’re refreshing the basics: Here’s how she creates soft, dimensional lightness with a foil application while maintaining the lived-in brunette look clients love.
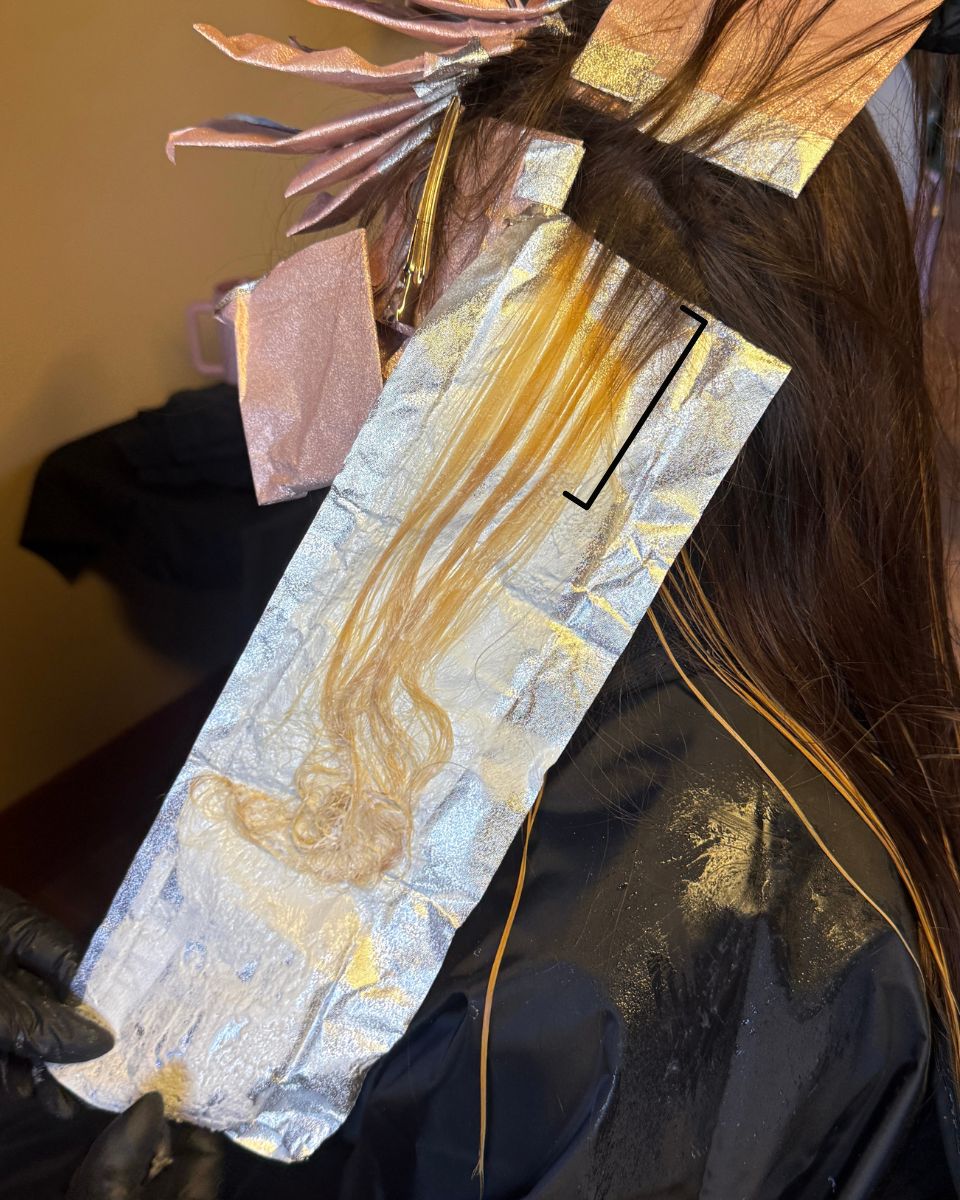
1. Create A Feathered Transition Zone
The key to achieving a balayage effect with foils is to avoid a harsh line of saturation and allow each section to lift to different levels.
Advertisement

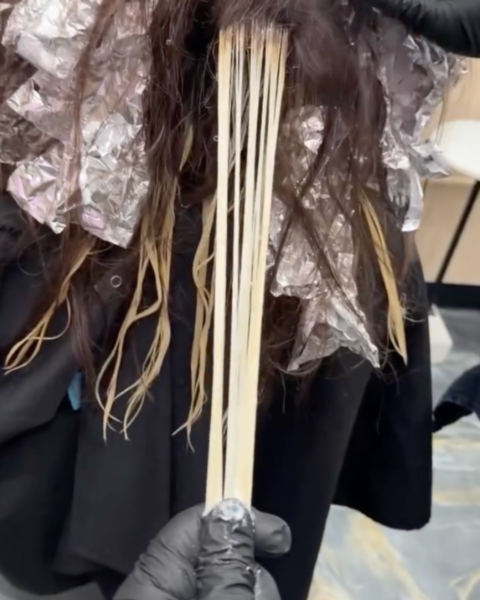
To achieve this, Marina first applies her lightener to the midsection, lightly feathers the product through the transition area and then fully saturates the ends.
“I want there to be a little bit of variation in this section,” she explains. “That is the transition area that’s going to move from her natural dark base into that highlight.” By allowing this zone to retain more warmth than the ends, the color transitions naturally from root to tip.
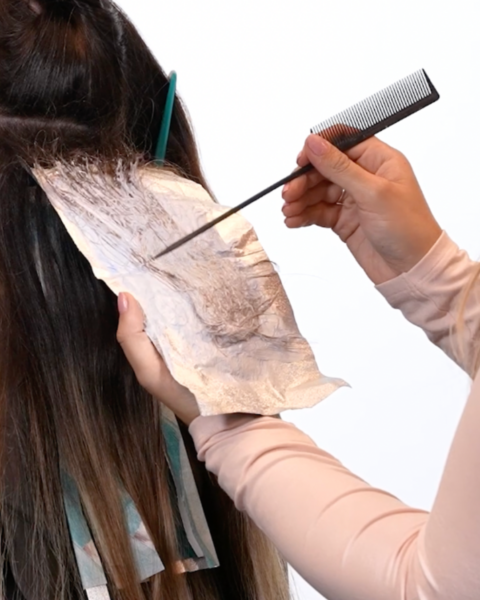
2. Paint On A Diagonal
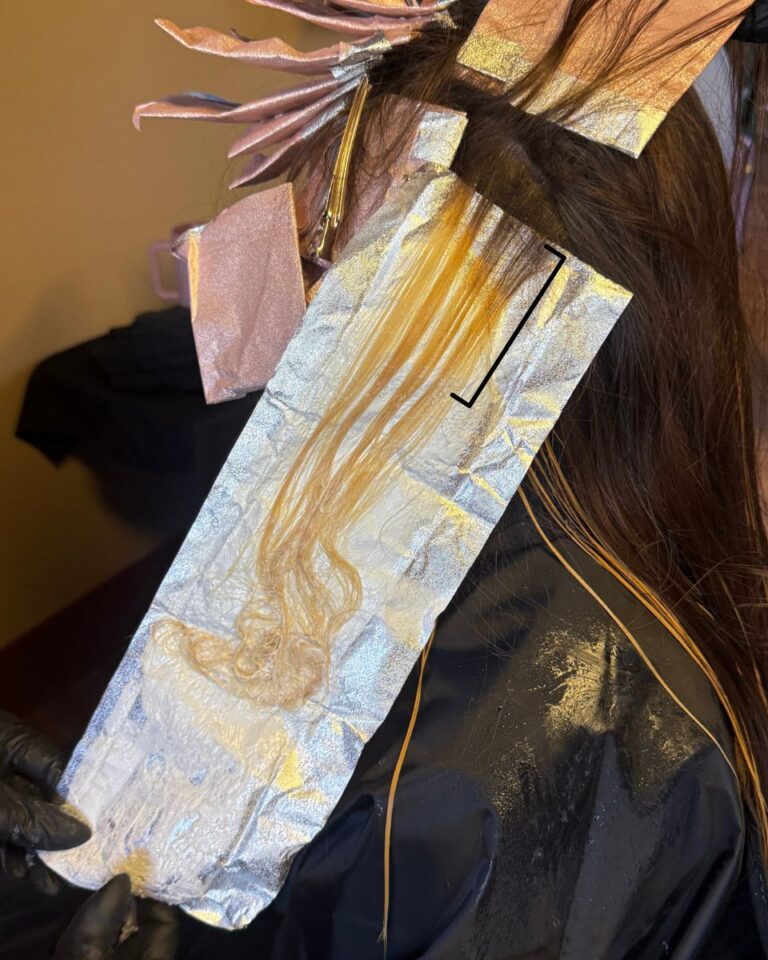
Placement is just as important as application. Marina paints on a diagonal throughout the service, creating brightness that appears higher around the face and softer through the back sections.

“Everything’s going to be on an angle,” she says. “We want to go higher toward the face and leave more depth toward the back.” This creates natural movement while preventing the color from looking stripy or over-highlighted.
3. Fully Saturate The Ends
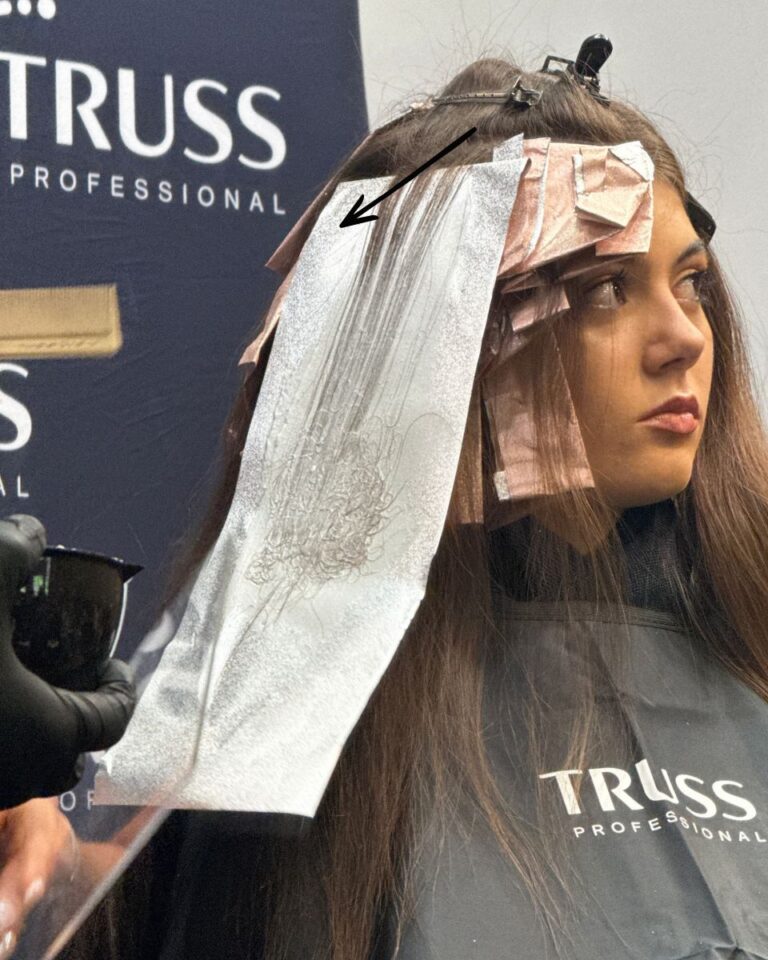
While the transition area remains softly feathered, the ends should be completely saturated.
This contrast is what creates that signature balayage effect—soft at the top, bright at the bottom.
Advertisement

“I want it to be soft and seamless from root to end,” Marina explains. “I don’t want it to be as light at the root as it is in the ends because then it’s just a highlight.”
4. Leave Depth To Make The Brightness Pop
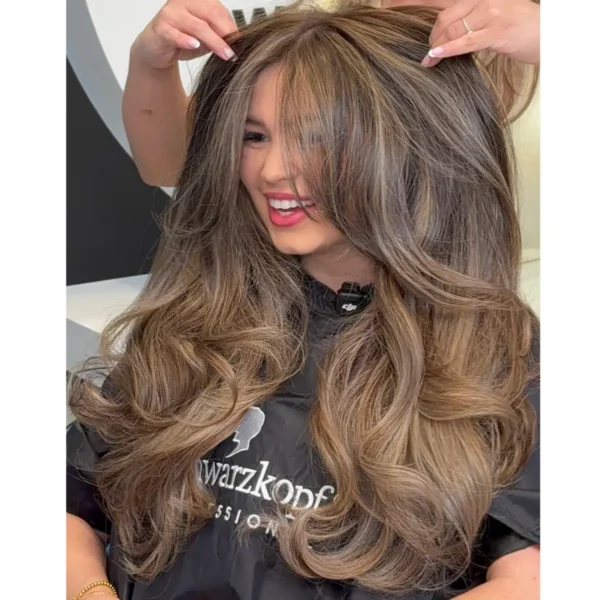
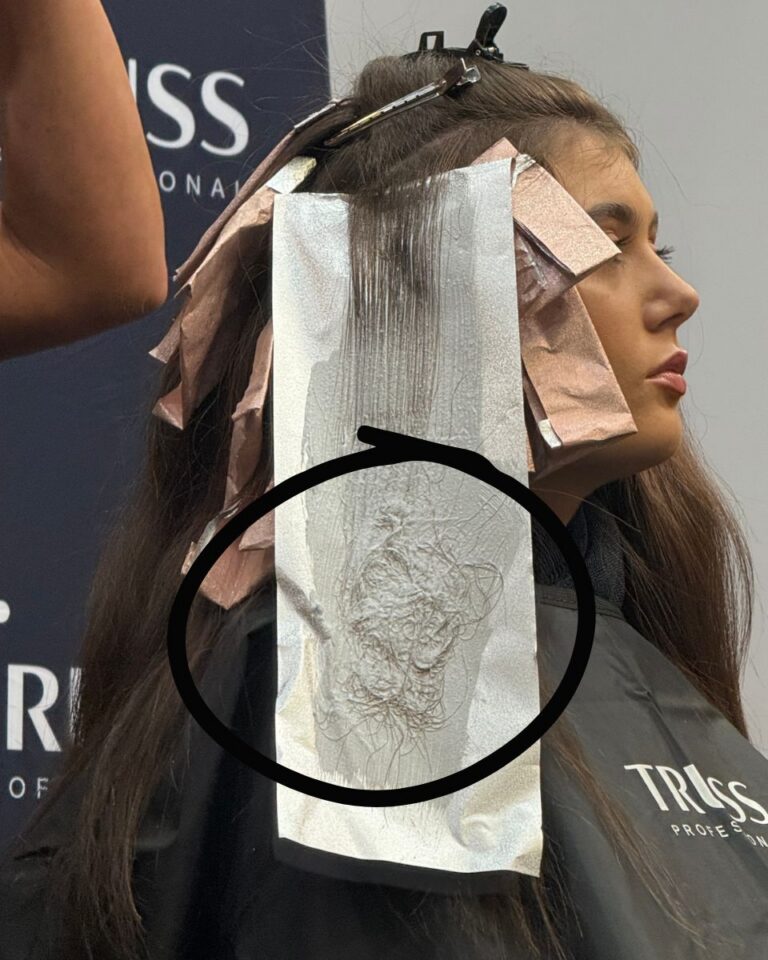
One of Marina’s biggest brunette color rules: Don’t sacrifice depth. “Most brunette clients complain about becoming too light,” Marina says. “Less is more when it comes to brunettes. I’m also leaving lots of depth underneath my highlights,” she explains.
Attend a TRUSS Class: Click here to find education near you.


Join BehindTheChair
Access the industry’s #1 source for hair trends, education and community now.