
The Gray Blending Mistake That Happens Before You Even Tone
Many stylists focus on the toner when creating a gray blend—but according to Redken Artist, global educator and expert in gray transformations Kaine Vakai (@kainevakaihair) one of the biggest mistakes happens much earlier in the process.
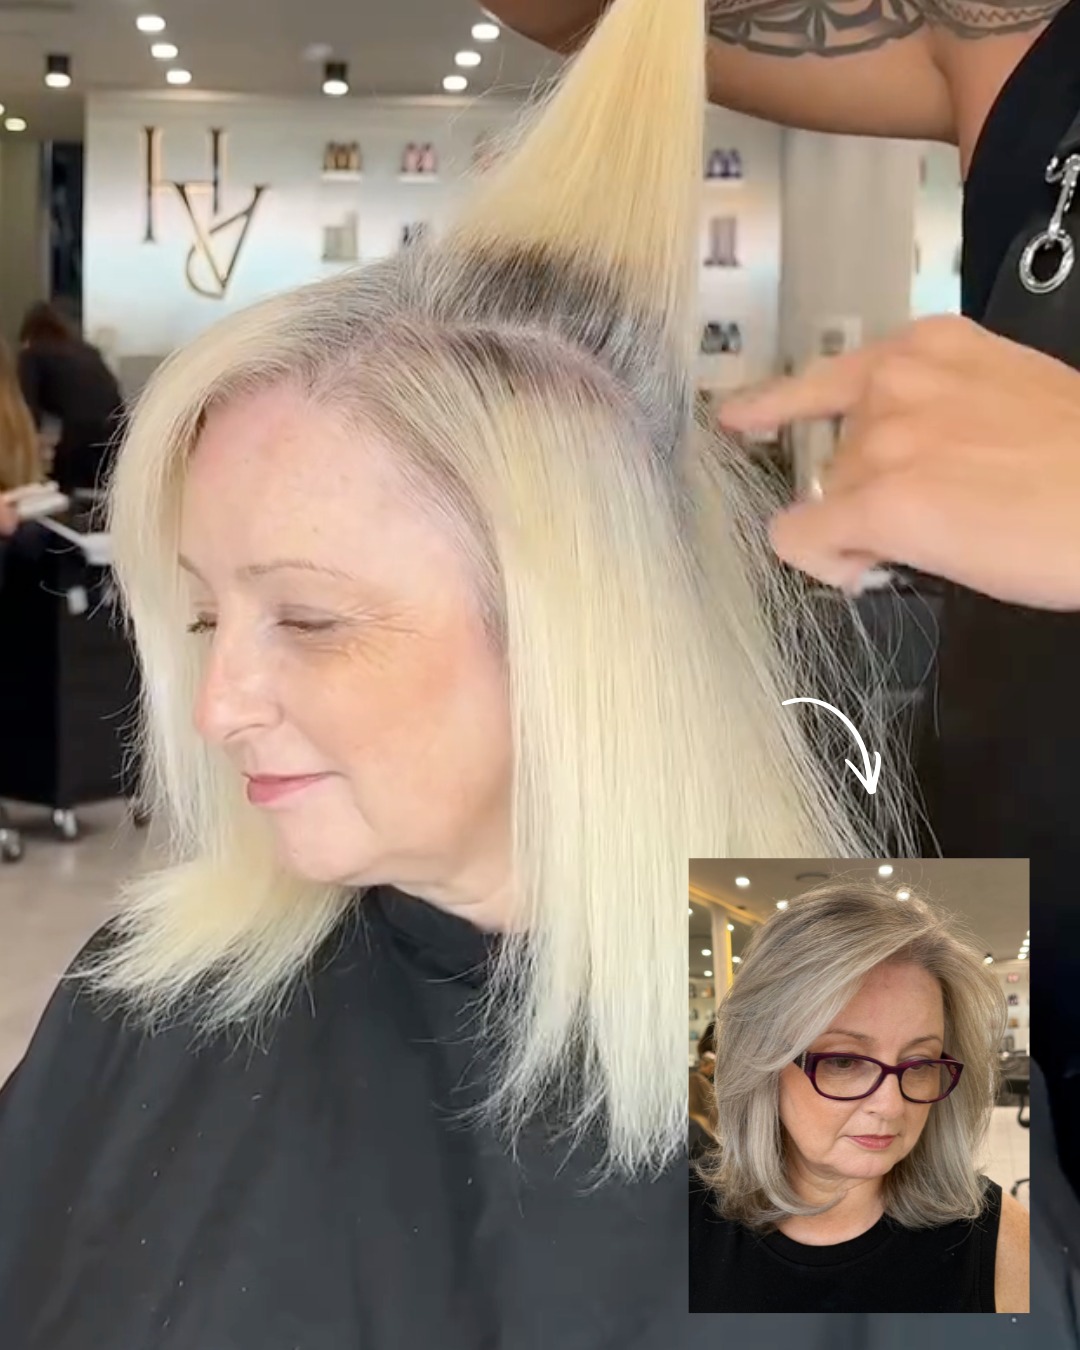
During this eight-hour gray blending correction, Kaine removed years of artificial color and banding while intentionally preserving the existing depth needed to create a believable result. Rather than lifting every section as light as possible, Kaine focused on creating a clean canvas, rebuilding dimension and mimicking the client’s existing gray pattern. The result: a softer grow-out, natural-looking contrast and a gray blend that doesn’t look over-highlighted—qualities many women over 50 are looking for as they embrace their natural gray.
Click the beaker to see his full formula, then keep scrolling for Kaine’s lightening, toning and placement strategy:

Don’t Lighten Away the Depth You Need Later
One of the biggest mistakes Kaine sees during gray blending corrections is lifting too aggressively and removing all of the natural depth needed to create a believable gray pattern.
Advertisement
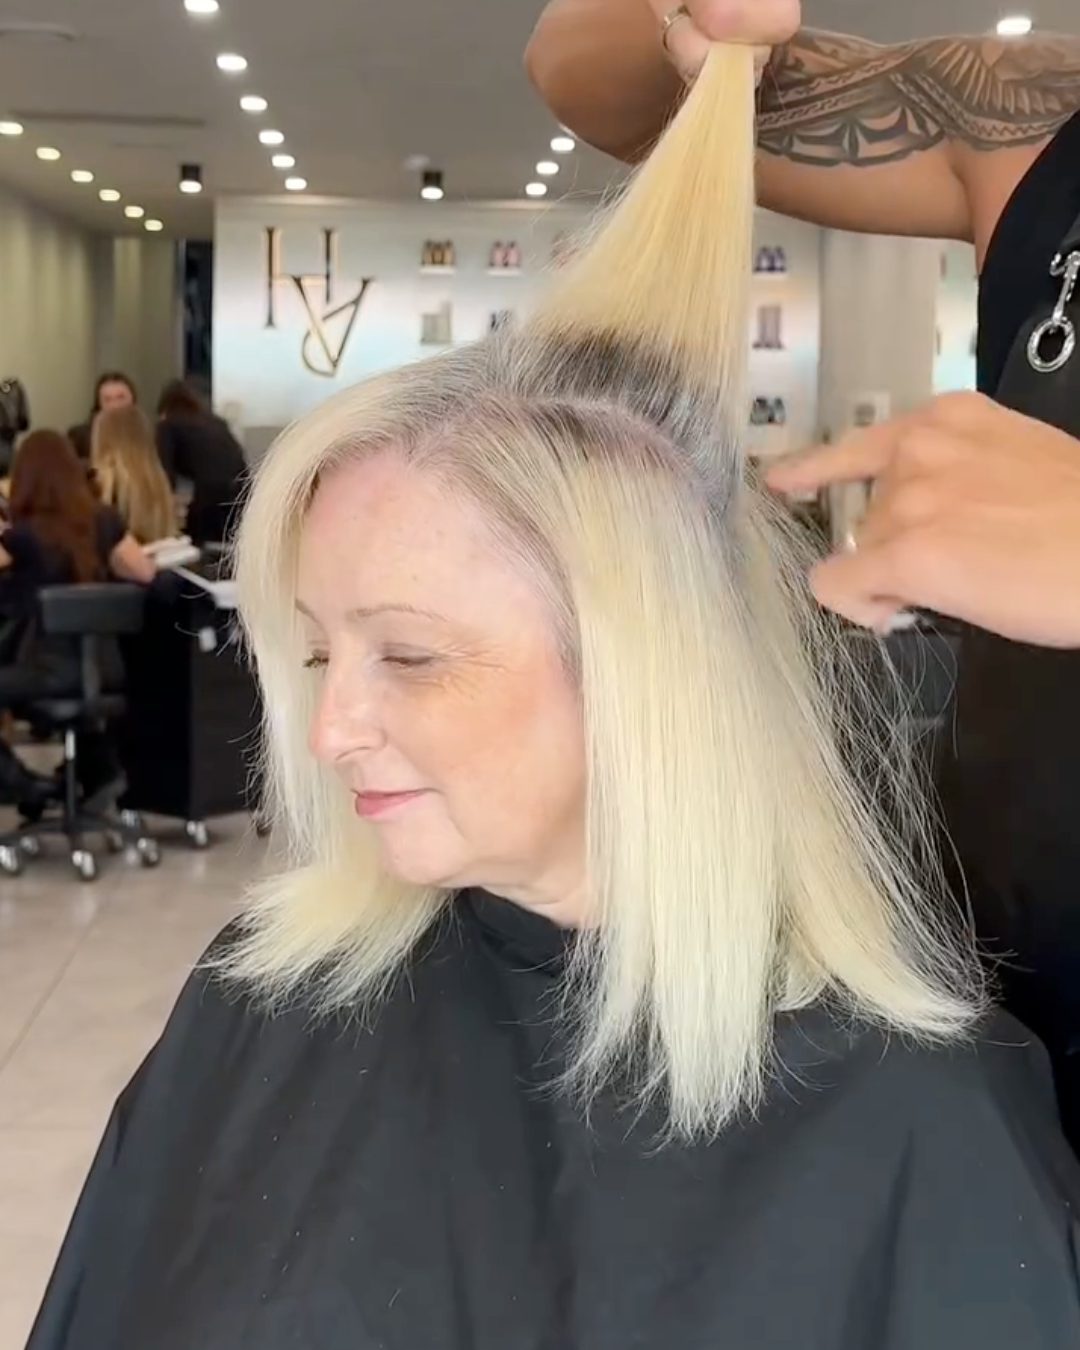
Kaine used back-to-back platinum cards to remove years of artificial color and banding—but he intentionally avoided taking every section all the way to the root. “If I go in and completely remove her natural color, I’m actually doing a disservice to the final gray blend we’re trying to create.”

Because his client’s previous color was sitting around a Level 7, Kaine knew he could remove the artificial color and banding in a single session without over-lightening the hair.
This Gray Blending Method Removes Banding Without Looking Over-Highlighted
Use 10-Volume To Create a Cleaner Lift
“A lot of the time, people would go in and automatically think you need to use a stronger developer, but for me it’s about protecting the integrity of the hair while getting a clean lift,” Kaine explains.
For this transformation, he used Redken Flash Lift Bonder Inside. “[It’s] one of my favorites—especially when I’m working with big color corrections like this because I really want to make sure I get a clean result.”
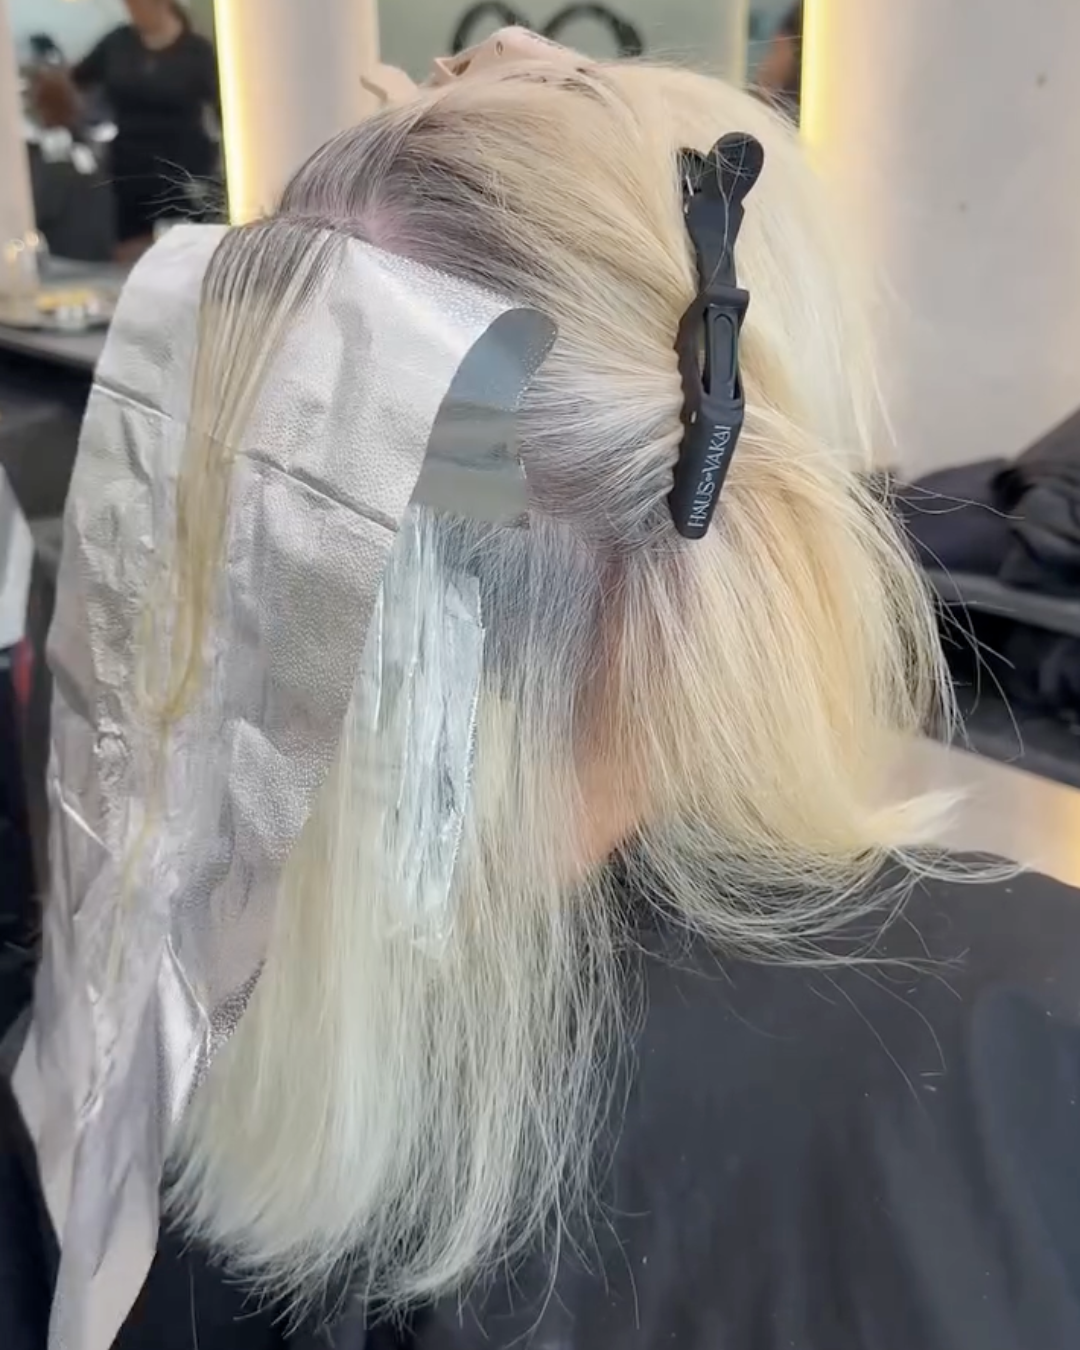
Kaine worked with 0.5 cm sections throughout the lightening process to maintain consistent saturation and lift. “If you go in with your sections too wide, you’re not going to get that clean, even lift.”

Stop Chasing White: Don’t Over-Lift the Hair
“Once we’ve rinsed everything out, you can see there’s still warmth in there, which is literally completely normal. I waited until we reached a pale yellow before rinsing because I knew straight away that this was going to give us the foundation for toning.”
Next, he used Redken Shades EQ™ 010NA all over for 20 minutes to soften some of the remaining warmth before beginning the gray blending process. “I’m not trying to completely remove every single bit of yellow here, just because I know that I’m going to be doing this a little later.”
Advertisement

Once the hair was dried, he had a clean canvas for the next phase of the correction: rebuilding depth, creating a face frame and recreating the client’s natural gray pattern.
Want to see these techniques in action? Press play to watch Kaine’s platinum card placement, lightening strategy and toning process:
View this post on Instagram
Rebuild the Gray Pattern With Lowlights
“This is where we’re starting to add back in that dimension and recreate what naturally happens throughout her hair,” Kaine says. He used Shades EQ 04NA and 06T to recreate the natural contrast found throughout her existing gray pattern.
He notes that the exact formula can vary depending on the client’s gray. “Sometimes there’s more warmth, sometimes it’s cooler, but for this client, I needed enough depth to anchor the color while still keeping it soft and natural.”
“A lot of people get scared at this stage because they think the color looks too dark, but I promise you, right now, this is where you really, really need to trust yourself,” says Kaine. “You need to bring back that natural base that you can physically see sitting between the gray.”
Match the Gray You See—Don’t Invent a New Pattern
Once the depth was in place, Kaine focused on matching the client’s existing gray distribution. “If I see 30 percent through an area, I’m putting 30 percent back in there, whether that’s finer pieces, heavier pieces or more softness throughout,” he says. “I’m recreating natural dimension, so I can blend this seamlessly around the face frame.”
Advertisement

Around the hairline, however, Kaine made a deliberate adjustment. “We used Flash Lift Bonder Inside and 10-volume just through that root area to softly brighten and elevate the front.”
The Glossing Combo Behind the “Expensive” Finish
To refine the tone, Kaine glossed the back with Shades EQ 09P and 09T and the face frame with Shades EQ 010P and 010T, then finished with a global Shades EQ 010P gloss for 20 minutes.
“This combination delivers a soft pearl and titanium reflect, creating a clean, expensive finish while maintaining natural softness at the root.”
Press play to watch the lowlights, face frame, glossing process and final reveal:
View this post on Instagram
Join BehindTheChair
Access the industry’s #1 source for hair trends, education and community now.


