
How-To: 4 Upstyles For Wedding Season
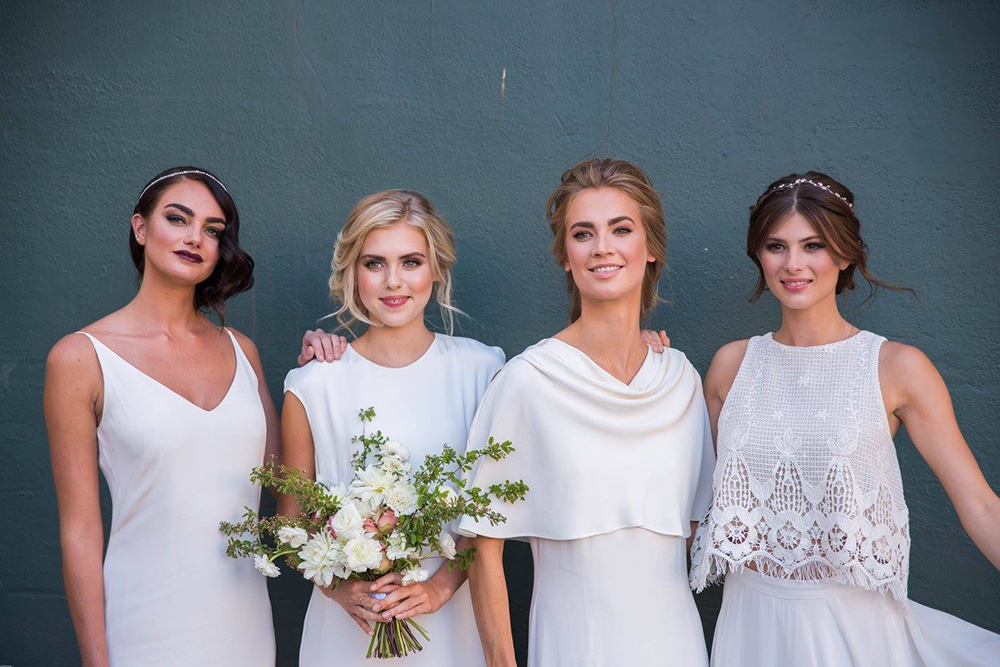

Bridal styling is a skill that’s needed any time of the year, but in the summer months, it’s more relevant than ever. That’s why @hairandmakeupbysteph, aka BTC’s go-to bridal styling guru, took the BTC “On Tour” stage for a second year and graced us with four gorgeous bridal styling how-tos.
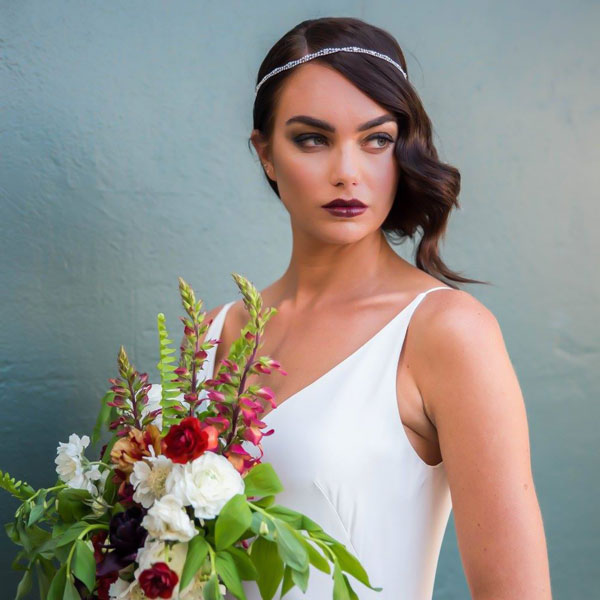
The looks ranged from elegant to ethereal, and they were created using a mix of classic curls, wispy waves and plently of light, face-framing texture. From our show to your salon, here are the four looks Steph created while hanging with us in LA, PLUS tips to go along with each one!

Products Used
1. Braided Chignon
Tip #1: Start In The Back
Because brides always want their face-framing pieces to be absolutely perfect, Steph suggests starting your upstyle in the back and moving toward the front. If you start in the front and work your way back, the front pieces can sometimes get lost!
Tip #2: Keep Those Pins Closed
Steph never opens her bobby pins. Why? “When you open your pins, they tend to get too much hair in them and you don’t get a tight, secure hold.” Instead, Steph slides the pin into the updo, twisting and weaving it to catch on different sections of hair. You can also get the pin a lot closer to the scalp this way, which will make the style feel tighter to your client.
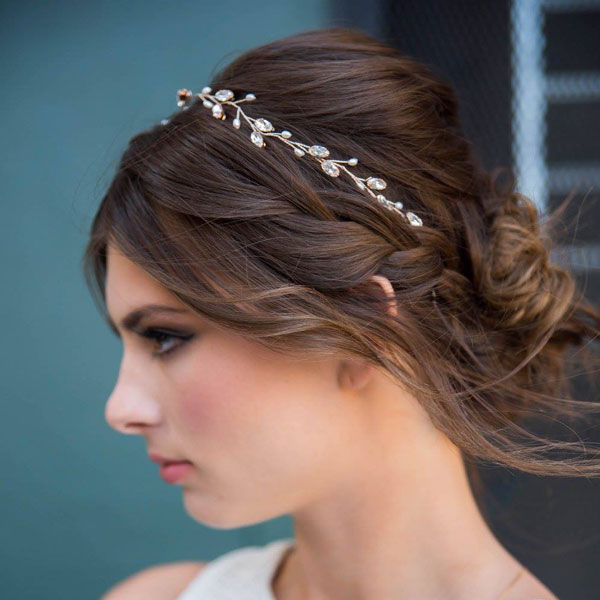
2. Side-Swept Twist
Tip #1: Silky Hair? No Problem
If your client’s hair is feeling really silky, Steph suggests spraying it with Kenra Professional Volume Spray 25. “It provides a decent amount of hold,” says Steph, “but it has a dry finish, so it’s easy to work with.”
Tip #2: Make Bulk, Not Frizz
When pancaking, or expanding braids or twists, make sure to hold the braid very loosely. You will create frizz (instead of bulk) if you hold it too tightly. Also, start at the bottom and gradually work your way up toward the top of the braid.
Watch The Entire How-To
3. Pulled-Back Mermaid
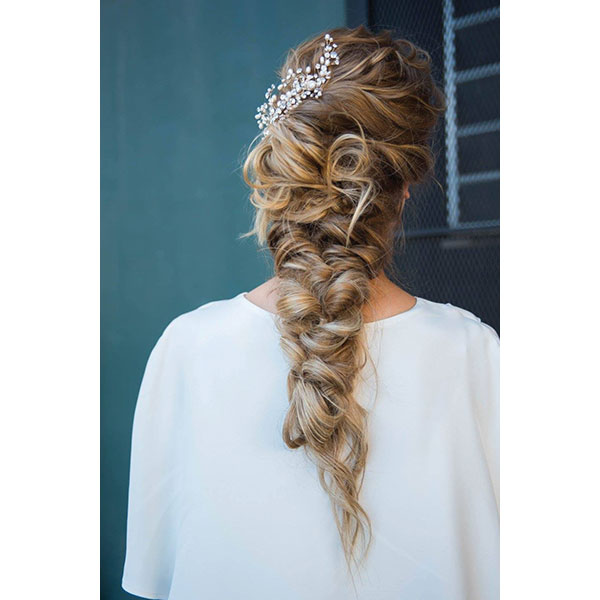
Tip #1: Backcombing + Heat = Wisp Perfection
To create those wispy, romantic, face-framing and top sections directed away from the face, Steph first backcombs a section (a LOT.) She then goes over the section with a flat iron, curling away from the face, which cuts through the backcombing and creates a slight bend. “This gives me nice separation that’s not super curly,” says Steph.
Tip #2: Detail Around The Face
And the secret to making sure your all-back looks still look pretty and undone around the face? Always leave out about ½ inch around the hairline for detailing. When you reach the end of your updo, sweep these pieces back and pin in place using shorter, lightweight pins (Steph’s favorites are MetaGrip Bobby Pins). And for extra wispiness, run your fingers through the front and pull up on it.
Watch The Entire How-To
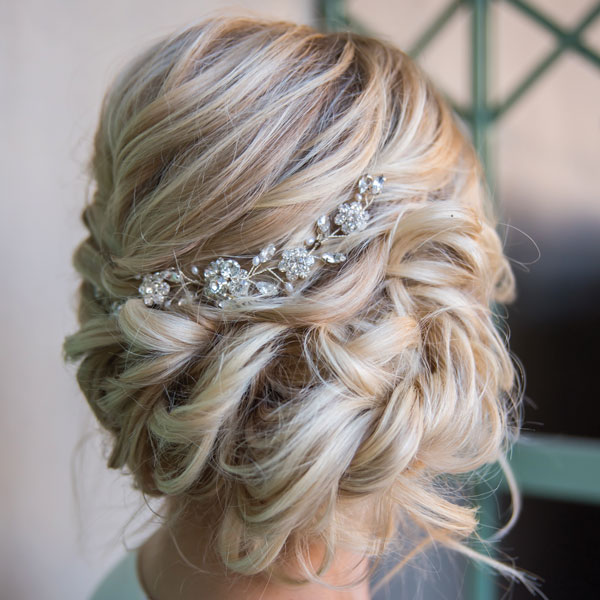
4. The Vintage Bride
Tip #1: Conceal Short Layers
When creating a chignon on your brides who have super short layers, Steph says making sure the layers don’t fall out is as easy as backcombing like crazy, then smoothing the top. If some of the layers still fall out after you’ve created the chignon, simply roll them inward and tuck them underneath, concealing with a bobby pin.
Tip #2: Steph’s Vintage Waving Technique
For a retro, wavy look that’s still soft around face, Steph curls the hair away from the face, using a combination of a flat wrap and a twist wrap. “The combination of the two breaks up the curl just enough that you end up with a wave instead of a ringlet,” says Steph.
Watch The Entire How-To

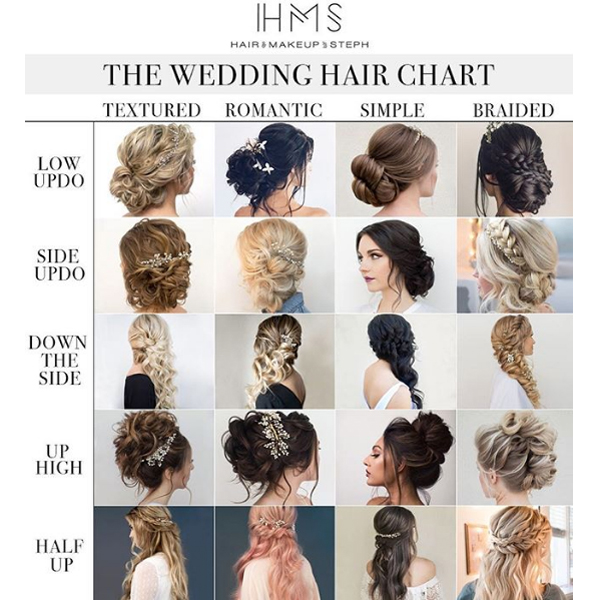
Bridal Stylists: This Chart Will Make Consultations So Much Easier
More from
Stephanie Brinkerhoff
-
Bridal
4 Bridal Styling Mistakes & How To Solve Them
-
BTC University
Bridal Client Struggles? How To Book, Schedule and Handle Brides
-
Beachwaves
Boho Bridal Crown Braid
-
Bridal
8 Bridal Styles You Can Learn Right Now
-
Bridal
Bridal Stylists: 5 Tips For Working During A Pandemic
-
Beachwaves
7 Articles That’ll Take Your Styling Game To The Next Level In 2019
-
Bridal
5 Photography Tips That’ll Elevate Your Bridal Styles
-
Bridal
7 Tips For Perfectly Imperfect Bridal Styles
-
Bridal
Bridal Stylists: This Chart Will Make Consultations So Much Easier
-
Braids
@hairandmakeupbysteph’s Crown Braid
-
#thebtcshow Austin 2017
Want To Keep Your Blondes Blonde and Your Upstyles Solid? Read This…
-
#thebtcshow Austin 2017
The Behind The Chair Show 2017: Day 3
-
#thebtcshow Austin 2017
TRUMATCH by Daniel Alain at #thebtcshow
-
#thebtcshow Austin 2017
The Behind The Chair Show 2017: Day 2
-
#thebtcshow Austin 2017
Kenra Professional at #thebtcshow
-
Bridal
3 Bridal Style Issues: Solved
-
Bridal
5 Bridal Styling Tricks You Should Be Using
-
Bridal
Every Upstyle Should Start With This…
-
Braids
Beachy, Five-Strand Braid
-
News
The BTC #Squad Spills It All: Color Melts, Balayage & Going Platinum
-
BTC COLOR, Cut & Style Show
COLOR, Cut & Style 2016
-
Hair Extensions
BTC Exclusive! TRUMATCH Hair Extensions
-
BTC "On Tour"
BTC “On Tour” LA 2017
-
Events
BTC “On Tour” Takes LA

