
How-To: Finger Pin Curl

Advertisement
Advertisement
Advertisement
How-To: Finger Pin Curl
HOW-TO STEPS 
-
 1
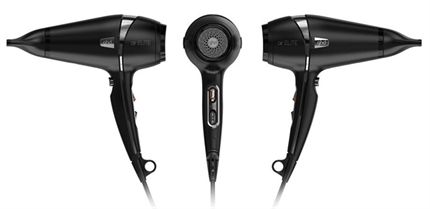
1Using the ghd air ELITE™, blow-dry the hair back and away from the face with the rotation blow technique.
-
2
Working from the hairline, slide your fingers towards the scalp and use the pads of your fingers to move the hair in a shaking motion while continuing the rotation blow. Ensure the airflow is aimed at the roots to remove excess moisture from the hair. Repeat around the hairline, moving back towards the crown in a diagonal direction.
-
3
Working from the recession, start to smooth the hair out. Aim the airflow downwards to smooth the cuticle, using the under smooth and over smooth techniques.
-
4
Starting at the front of the hairline, place your hand—with the fingers spread—into the roots of the hair. Close your fingers, slide the hand forward and elevate the hair. Concentrate the airflow at the roots and up towards the palm.
-
5
Repeat this method though the side sections towards the crown and the occipital bone then down towards the nape. Continue until the hair is 95 percent dry.
-
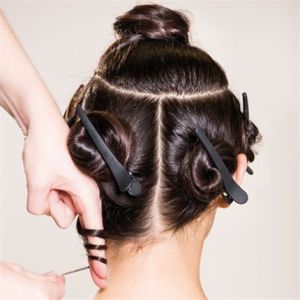 6
6Section hair as per the photo above.
-
7
Starting at the nape, take a horizontal subsection.
-
 8
8Place your index and middle finger at the root area, pointing downwards. Twist the section and wrap the hair around your fingers towards the back of the head. Continue wrapping the hair around your fingers, twisting as you wrap and keeping the fingers straight at all times.
-
9
Once the hair is wrapped, gently remove your fingers while making sure that the ends of the hair are tucked into the curl.
-
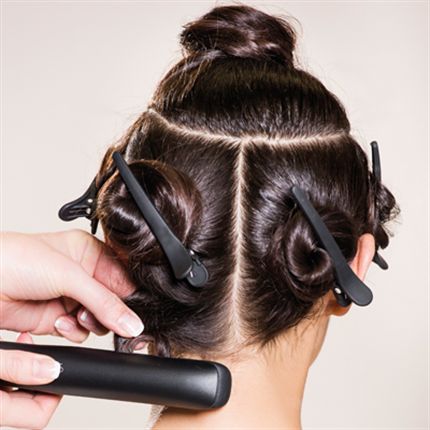
10
Place the curl between the ghd platinum styler plates, then gently close and hold for approximately five seconds.
-
 11
11Secure with a pin curl clip at the root area and leave to cool.
-
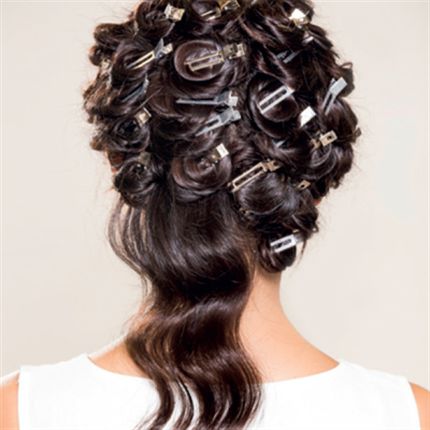
12
Repeat previous steps, working upwards to incorporate all of the hair. As the subsections get wider, split the hair into two or three separate pin curls. Select your desired parting before you divide up the top section. Ensure that you always wrap the hair towards the back of the head.
-
13
Once the hair has cooled, release all of the curls from the pin curl clips, stretching out each section slightly as you go to soften the curl.
-
 14
14Break up the curls and remove section lines using the pads of your fingers over the surface of the scalp.
-
15
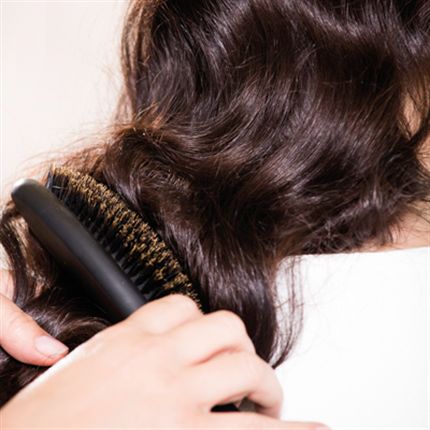
Lightly tease the hair from the roots to ends using an oval dressing brush, ensuring you keep the waves full and smooth.
YOU MIGHT LIKE THIS
-
Hair
Romantic Finger Waves from ProRituals
-
Brunette

Transformation: Curly Chic
-
Curls
Blowout + Enhanced Curls
-
Curls
How-To: Corkscrew Curls
-
Curls
How-To: Classic Styling Set
TRENDING NOW!
-
BTC Hair Trend Report
The Biggest Haircut Trends of 2024
-
Copper
What Is The "Cowboy Copper" Hair Trend? Here's What It Really Means...
-
Uncategorized
TikTok's Viral "Scandinavian Hairline" Is Actually Not New...
-
Business
3 Reasons Why Today's Highlights Are So Expensive
-
BTC Hair Trend Report
Quiet Luxury Blonde: The "Old Money" Trend Explained
-
Blonde
Toning: 5 Fast Purple Shampoo Ideas For Blondes, Silver & Gray
-
Blonde
3 Purple Toning Tips For Clear, Bright Blondes
-
Bobs
How to Avoid a Bulky Bob: 4 Techniques To Try

