
Photo Credit: Instagram via @kristen_o_beauty
Formulas
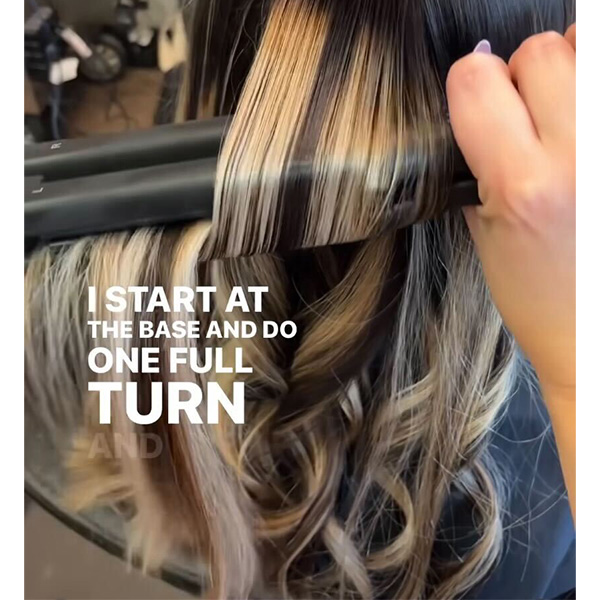
4 Styling Hacks For Flat Iron Waves
Flat Iron Tricks To Step Up Your Wave Game Nothing is worse than limp curls that fall flat. The effortless waves that have been all over our IG feeds may be seemingly simple to recreate; but, not easy to master! That’s why we’re here to give you all of the flat iron tips and tricks you need to give your clients that perfect finished look. Keep scrolling to learn how to create texture on bobbed clients, freshen up extensions and how to set up your styles for success. 1. Keep it simple! Here's how... One of your...
Keep reading for free
Create a free account or sign in to continue
Use the same email and password across behindthechair.com, BTC-U, oneshothairawards.com, and Who Does Your Hair — one set of credentials, every site.
OR
We'll check if you have an account, or create one if you don't.
To save this article, create a free account or sign in.
Join BehindTheChair
Access the industry’s #1 source for hair trends, education and community now.
OR
We'll check if you have an account, or create one if you don't.


