How-Tos > Haircuts > Classic Angled Bob
Last updated: October 04, 2022

Classic Angled Bob

ALL PHOTOS SLIDESHOW
GET THE HOW-TO
close formula

Classic Angled Bob

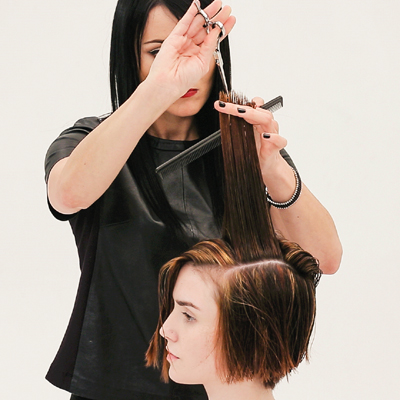
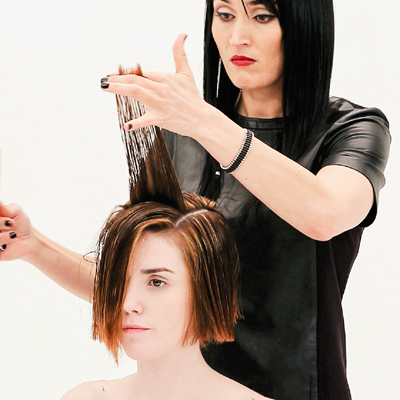
Combining classic approaches to cutting with modern sihoulettes, the new TONI&GUY Classics Collection, is a celebration of the fundamental cutting techniques you use every day from the cutting experts at TONI&GUY. This, sleek, angled bob creates a strong line from short in the back and lightly longer in front. Mastering this cut and refining the style is a “must” for every stylist with short-haired clients—especially going into the summer months when clients want shorter styles. It offers a modern shape yet still allows for lots of movements and styling versatility.


Want to learn the whole collection? CLICK HERE to enter BTC University! 

Manufacturer: TONI&GUY, @toniandguyworld

HOW-TO STEPS

  • 1

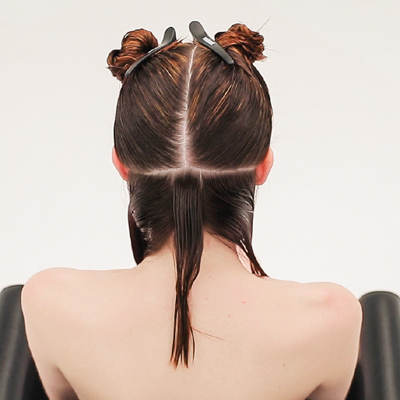
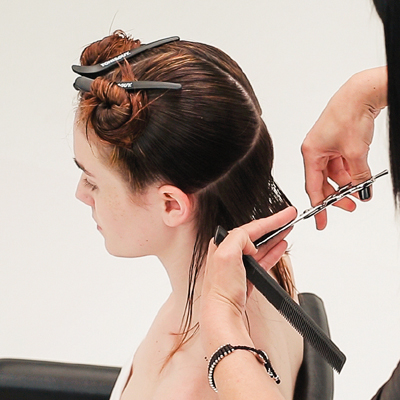
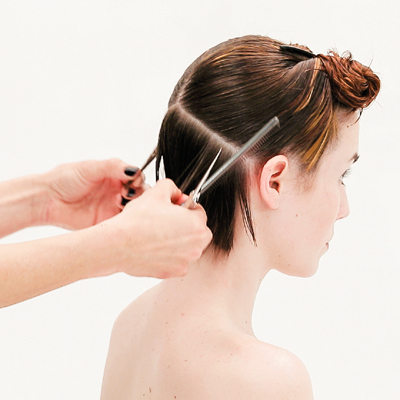
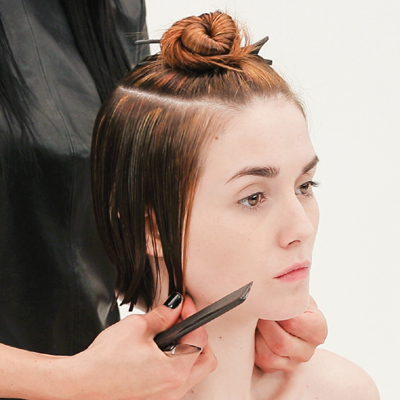
    Establish a profile parting from the font hairline to the nape. Take a diagonal forward parting from the occipital out to the middle of each ear, and take a vertical section no wider than 1-inch.

  • 2

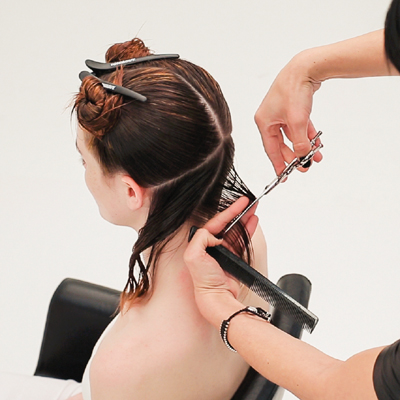
    Comb perpendicular, then elevate to 45 degrees. Starting at the top of the section, cut to decrease the length down to the nape.

    Want to learn the whole collection? CLICK HERE to enter BTC University! 

  • 3

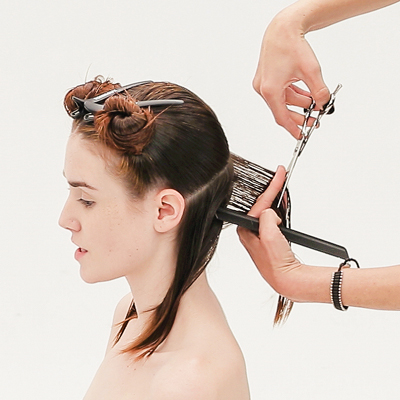
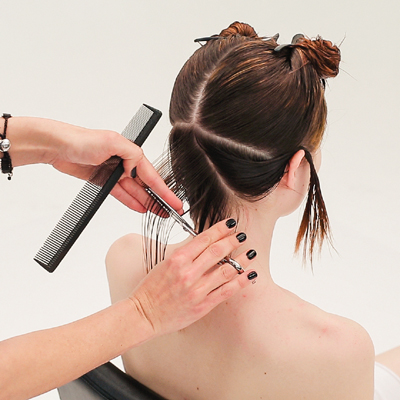
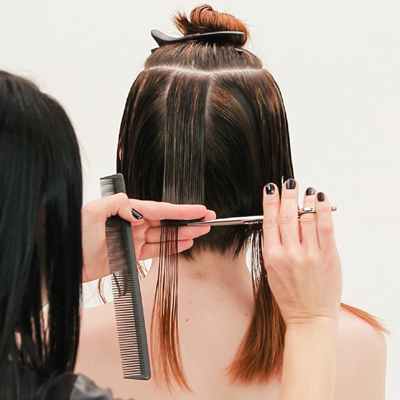
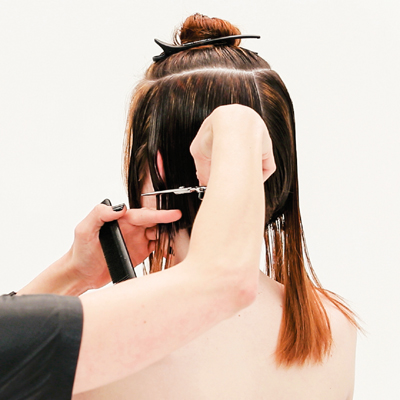
    Take the bottom section of hair, using the vertical section as a guide to length, and take the first pivoting diagonal forward to the corner of the hairline, comb perpendicular, elevate to 45 degrees and cut to decrease the length.

  • 4

    Take the second pivoting diagonal forward section through the side hairline. With the same distribution and elevation, cut to follow the guide.

    Want to learn the whole collection? CLICK HERE to enter BTC University! 


  • 5

    Take the last pivoting section, comb perpendicular to the original diagonal forward parting, elevate to 45 degrees and cut to follow the guide.

  • 6

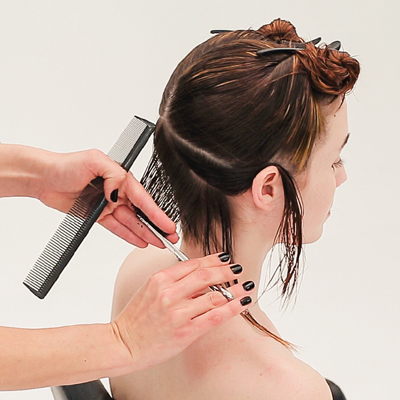
    On the opposite side, take the first pivoting section to the corner of the hairline, change your hand position with your fingers pointed down, comb perpendicular, elevate to 45 degrees and cut to follow the guide.

  • 7

    Take the second pivoting diagonal forward section through the side hairline. With the same distribution and elevation, cut to follow the guide.

    Want to learn the whole collection? CLICK HERE to enter BTC University! 

  • 8

    Take the last pivoting section, comb perpendicular to the original diagonal forward parting, then elevate to 45 degrees and cut to follow the guide.

  • 9

    Cross-check by pulling equal amounts of hair from the same reference point and measure to see if the lengths are balanced.

  • 10

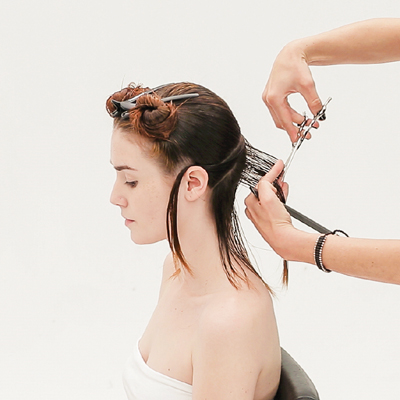
    Take a horizontal section, from just below the crown, though the recession area. Return to center back and keep the profile parting in place. Comb to natural fall, elevate to a stationary 45 degrees and cut onto the guideline.

  • 11

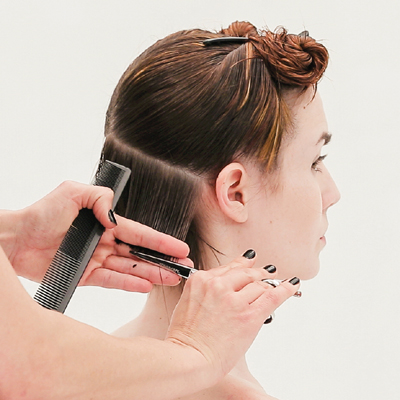
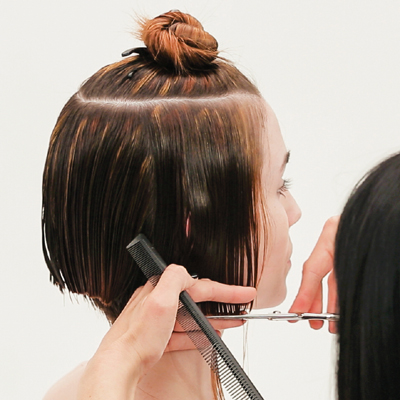
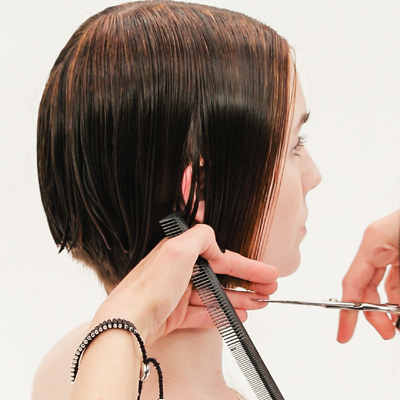
    At the ear area, tap the hair above and below the ear to relax the amount of tension for the ear protrusion. Cut the line square, increasing in length, following the jaw line.

    Want to learn the whole collection? CLICK HERE to enter BTC University! 

  • 12

    Repeat this technique on the opposite side. Continue to tap the hair above and below the ear, and cut the line square, slightly increasing in length.

  • 13

    Cross-check by pulling equal amounts of hair from the same reference points and measure to see if the lengths are balanced.

  • 14

    Release the remaining hair and continue by following the techniques in Steps 10 through 13. At the front hairline, slightly overdirect the hair to preserve the corner.

  • 15

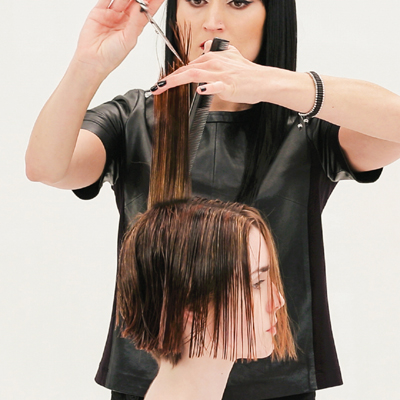
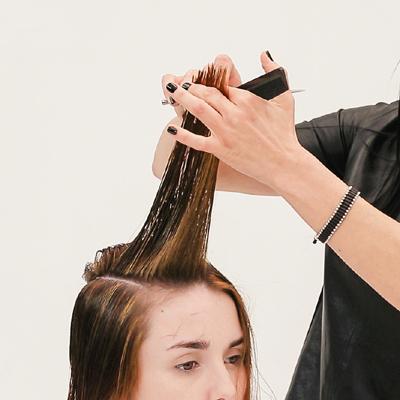
    Take a 1-inch profile section from the front hairline to the crown. Using the guide from the crown and the front hairline perimeter, comb perpendicular, elevate to 90 degrees and point-cut on an angle from short to long.

    Want to learn the whole collection? CLICK HERE to enter BTC University! 

  • 16

    Take a vertical section, overdirect to the center guide, elevate to 90 degrees and cut from short to long. Work the technique through to the parietal ridge.

  • 17

    Repeat the technique on the opposite side. Cut to decrease in length. Stand on the opposite side of the section being cut, to keep the overdirection consistent.

  • 18

    Finish by cross-checking the layers with the horizontal sections. Visually, the line should create a slight U.

  • 19

More from
TONI&GUY