
Instagram via @lizhaven
Formulas
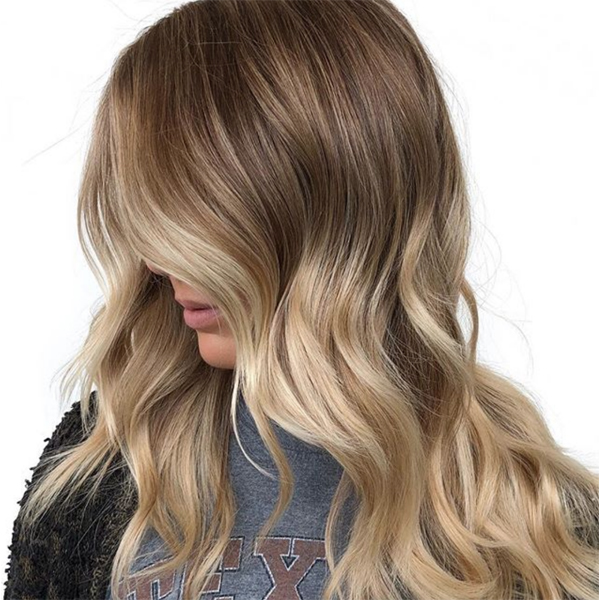
Reverse Balayage: Everything You Need to Know About This Technique
Reverse Balayage Technique: What It Is & How It Works When a client wants to transition her grown out highlights into a low-maintenance blonde for the summer, you could brighten her preexisting blonde and pair it with a root smudge. OR you could try the latest haircolor trend to hit Instagram: Reverse balayage. We first heard Liz Haven O’Neill (@lizhaven) break it down on stage at BTC “On Tour” Chicago, so we reached out to the BTC Team Member to learn more about this new color technique. Keep reading to learn everything from what exactly it is, Liz’s...
Keep reading for free
Create a free account or sign in to continue
Use the same email and password across behindthechair.com, BTC-U, oneshothairawards.com, and Who Does Your Hair — one set of credentials, every site.
OR
We'll check if you have an account, or create one if you don't.
To save this article, create a free account or sign in.
Join BehindTheChair
Access the industry’s #1 source for hair trends, education and community now.
OR
We'll check if you have an account, or create one if you don't.


