
Foil Placements For 4 Different Types of Client Goals
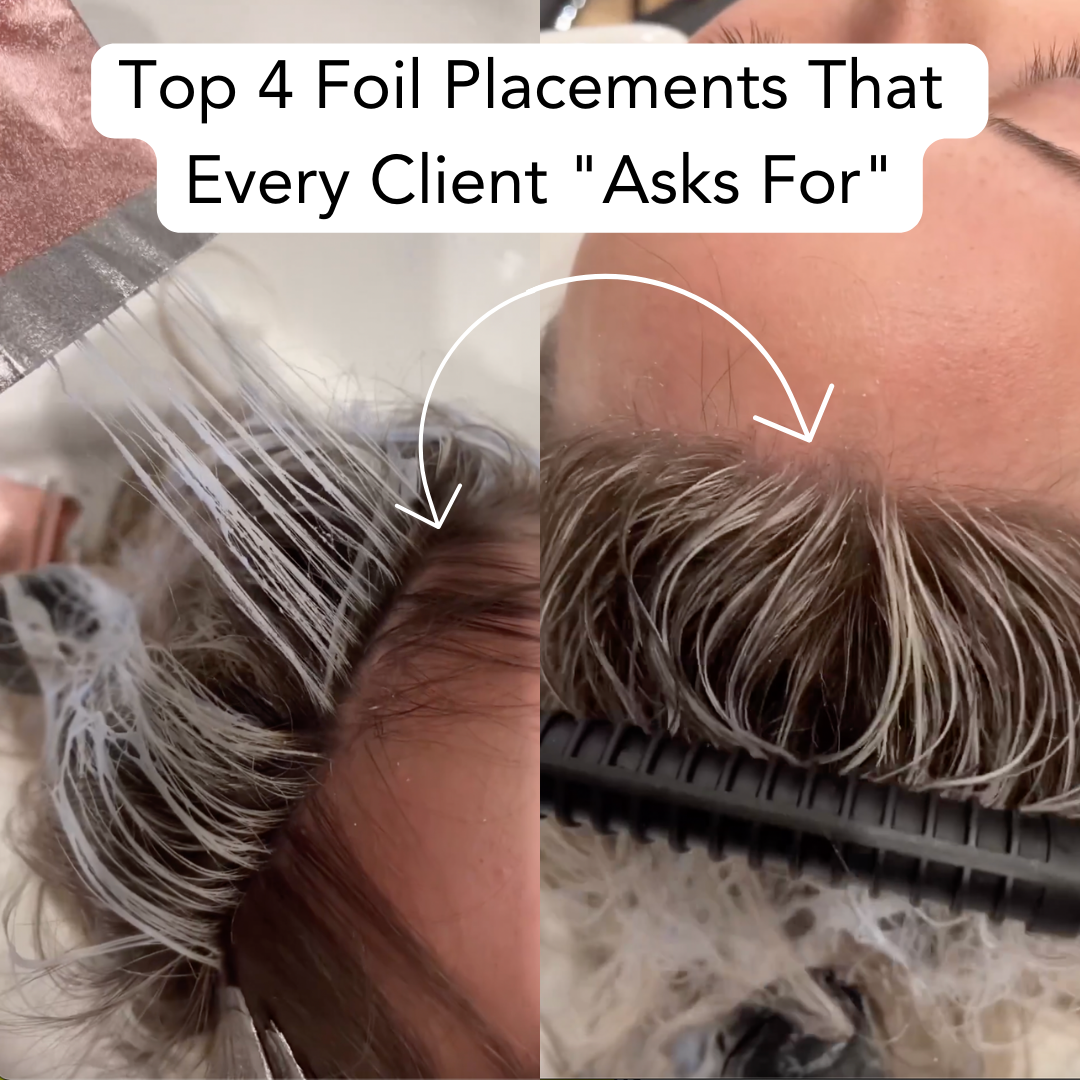

Create Bright Blends, Ribbons of Dimension & MORE With These 4 Foiling Techniques
Looking to create bright blends for blonde clients, but aren’t sure of the perfect placement to use? Keep reading! We’re breaking down four different foil placements and the ideal client for each—so you can work smarter, not harder.
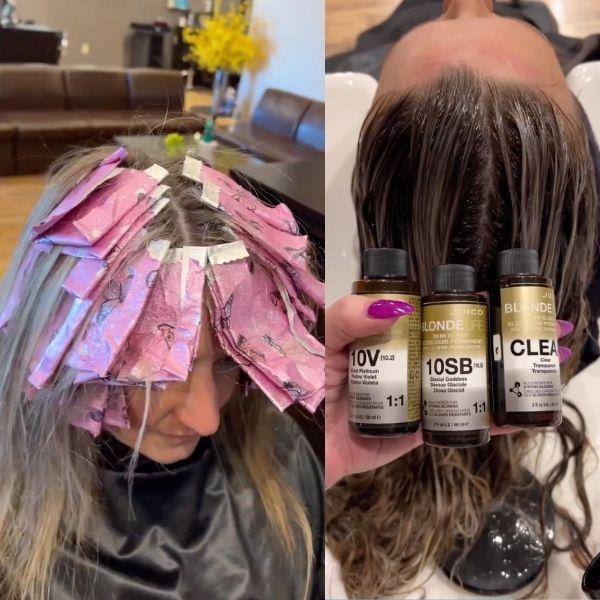
Placement #1: Million Dollar Money Piece
Perfect for: Clients who want to be extra bright around the face
Despite the rise in blended, money piece-less looks, our clients who love a bold face frame aren’t going anywhere. Scroll through the slides below to get BTC Team Member Sarah Cabral’s (@sarahzstylz) steps to creating a bright, ’90s-style money piece:
Formula 1 (lightener): Joico Blonde Life Powder Lightener + 20-volume Coconut Oil Developer
Formula 2 (toner): Joico Blonde Life Demi-Permanent Gloss 10V + Joico Developer
For more exclusive blonding education, click here!
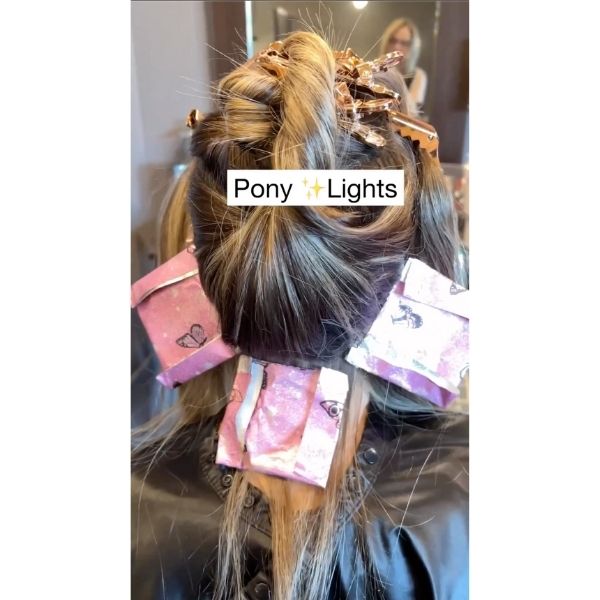
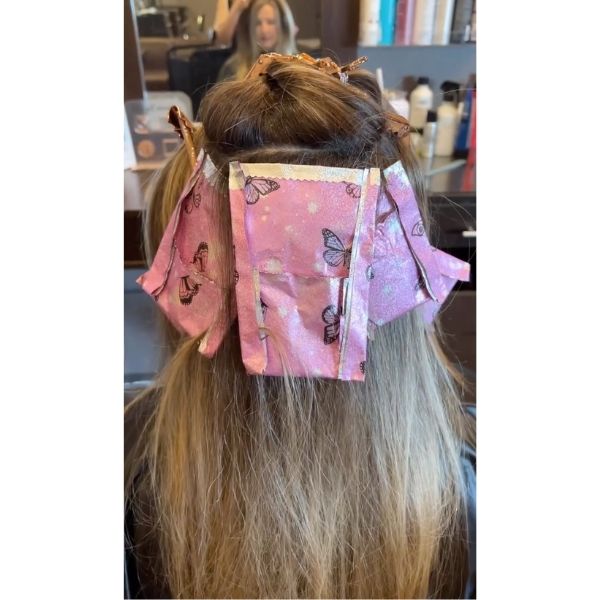
Placement #2: Pony Lights
Perfect for: Clients who wear their hair up often
We all know the client that consistently rocks buns and ponies—that’s when hairline details matter the most. To add brightness around the hairline, use fine weaves and foil upwards from the nape, following the shape of the head.
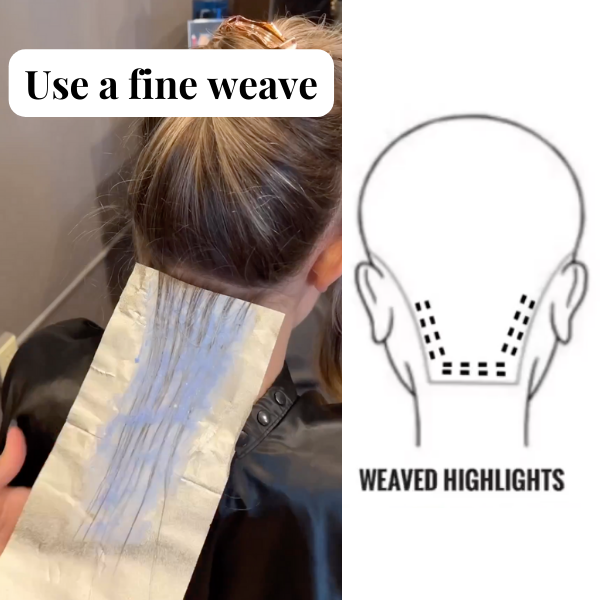
Photo Credit: Instagram via @sarahzstylz
Placement #3: High-Impact Partial Foil Placement
Perfect for: Clients who want to be blonde in a shorter appointment
Sometimes, less is more. This one is for the clients who want to be in out of your chair as quick as possible—oh, and as blonde as possible, too! Try this high-impact foil placement to create bright blondes in less foils. Keep scrolling to get the formulas!
1. Section off the money piece, two triangles on each side of the partline and a triangle at the crown.
2. Follow the pony light technique mentioned above starting at the nape.
3. Foil the crown section using a fine weave and work your way towards the apex of the head. Pro Tip: At the top, tease sections before applying lightener for a soft blend.
5. Wash and apply Formula B globally (P.S.: Find the formulas below!)
6. Cleanse and style as desired. Click the beaker to get the full formula:
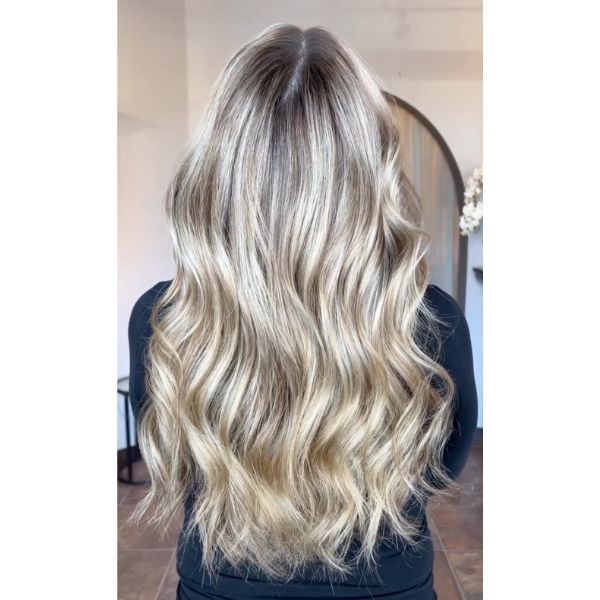
Photo Credit: Instagram via @sarahzstylz
THIS is the secret for creating strong blondes—click here!
Placement #4: Medium Teasylight + Root Smudge
Perfect for: Clients who want rich ribbons of dimension while staying blonde
This placement is perfect for brunettes who want to go lighter without losing the richness that their natural level adds. “This technique will give a deep root at the crown with ribbons of dimension,” Sarah explains. Get her steps below!
1. Work upwards towards the top of the crown using a medium weave with a tease.
2. After rinsing, apply a root smudge to create a blended, but dimensional end result.
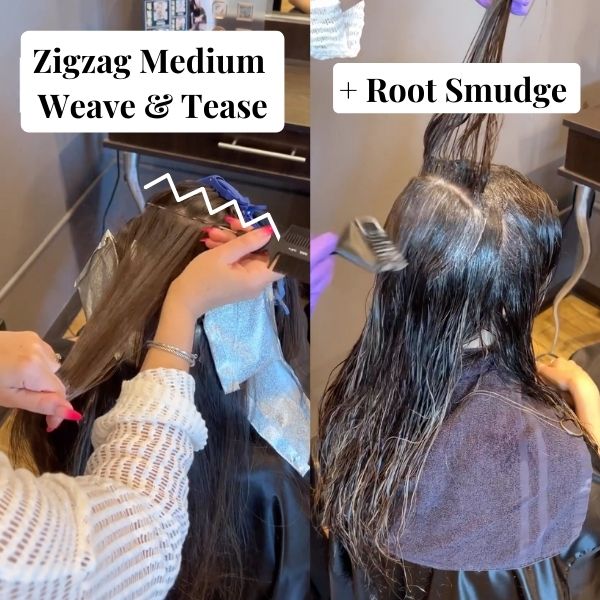
Photo Credit: Instagram via @sarahzstylz
3. Cleanse and style as desired.
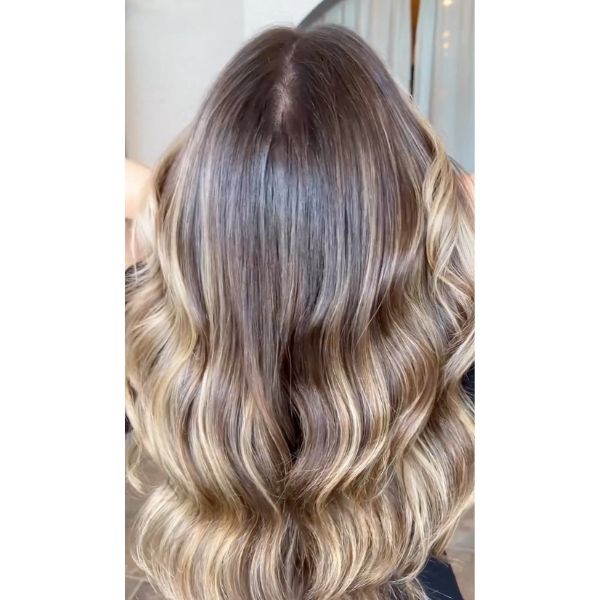
Photo Credit: Instagram via @sarahzstylz
UP NEXT: Dear Clients, 5 Truths About Toning From Your Hairstylist
Products Used
This content is sponsored.
More from
Joico
-
Balayage
One Step, Three-Layer Multidimensional Balayage
-
Balayage
Sunset Copper Balayage
-
Monthly Product Launch List
The Best Hair Launches Of March 2024
-
Hair Color
Blonde Life® SilverLight™ Lightening Powder
-
Bond Building
Defy Damage® IN A FLASH™
-
Da’Vine Joy Randolph’s Glamour Waves
-
Celebrity
Zendaya’s Classic Volume Bob
-
Celebrity
The Best Beauty Looks At The 2024 Oscars
-
Blonde
Building The Perfect “Summer Blonde”
-
Gray
Make Gray Hair Look & Feel Younger: 3 Tips Every Stylist Should Try
-
Haircare
KBOND20 Defy Damage Power Masque
-
BTC Events
BTC “On Tour” Nashville Recap: Everything You Missed
-
Monthly Product Launch List
The Best Hair & Beauty Launches Of November 2023
-
Haircare
Inner Joi™ Strengthen Shampoo
-
Conditioners
Inner Joi™ Strengthen Conditioner
-
Haircare
Inner Joi™ Strengthen Masque
-
Haircare
Joico Launches Vegan, Naturally-Derived Haircare Line, Inner Joi™
-
Blonde
How To Create A Natural Shadow Root Through Teasing
-
Blonde
“Fake” A Full Foil In 3 Steps: Here’s How
-
BTC Hair Trend Report
Your Guide To Fall & Winter 2023’s Hair Color Trends
-
Blonde
Honey Blonde Curls: 3 Strategic Placement Tips To Create Brightness
-
Hair Color
Bold Color Trends You Need To Know For 2024
-
BTC Events
AI, Mental Health & Social Media: 7 Business Tips You Can’t Live Without
-
Manufacturer
Joico Announces Jeannetta Walker-Rodgers as Global Technical Director

