Last updated: December 19, 2007
FHI Holiday Makeover
VIEW ALL PHOTOS
VIEW SLIDESHOW
GET THE HOW-TO

Show Steps
1
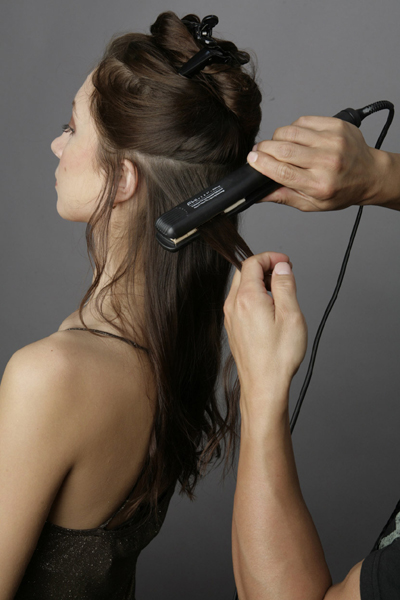
To begin, straighten sections of the hair starting at the nape. Haverty also recommends using FHI Heat Hot Sauce to give hair additional shine and protection.
Click on image for full view.
Show Steps
2
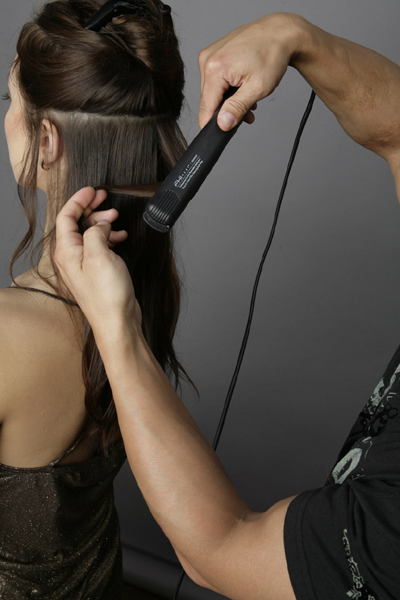
Start 3/4 way down the length of strands, bending hair around the iron and wrapping hair around nose of the iron.
Click on image for full view.
Show Steps
3
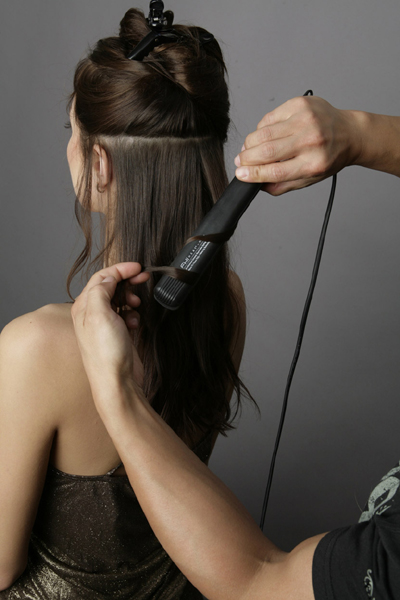
Continue bending hair around the iron while wrapping sections around the nose of the iron.
Click on image for full view.
Show Steps
4
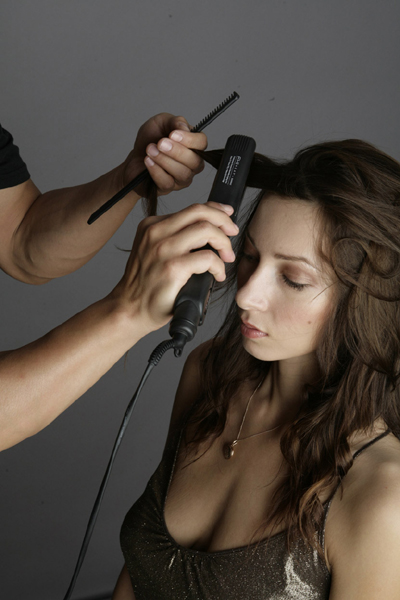
Work from nape to the crown of head to the high point using the same technique as stated in Step 2 and Step 3, then the sides of the head.
Click on image for full view.
Show Steps
5
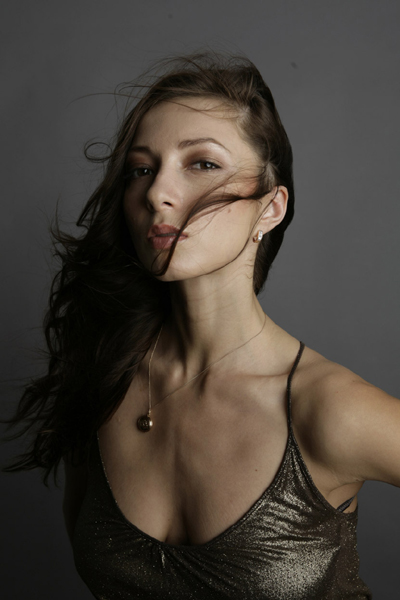
Hair has more life and texture. It has that “lived in” stylish texture your client will just love. Use finishing spray to hold.
For more information go to www.FHIHeat.com
Click on image for full view.

FHI Holiday Makeover
Les Haverty, Artistic Director for leading styling tool manufacturer FHI HEAT, says “it’s never more important to have power-hair than during the holidays.”
Supple, sensuous waves are Haverty’s pick for holiday ‘dos, achieved by using two or more curling irons with different barrel-widths. This variation allows for a more natural-looking, seemingly random placement of waves. “What you don’t want,” he says, “are tight, consistent, Shirley Temple sausage-rolls. You want sexy, slightly undone waves.”
This quick holiday hair Step-by-Step will definitely turn some heads for that last minute client looking to make a grand entrance at her company holiday party!

Subscribe to behindthechair.com “On Paper” Magazine–4 Issues Only $29.95!
Next Issue: COLOR with Beth Minardi!
HOW-TO STEPS 
-
1
To begin, straighten sections of the hair starting at the nape. Haverty also recommends using FHI Heat Hot Sauce to give hair additional shine and protection.
Click on image for full view.
-
2
Start 3/4 way down the length of strands, bending hair around the iron and wrapping hair around nose of the iron.
Click on image for full view.
-
3
Continue bending hair around the iron while wrapping sections around the nose of the iron.
Click on image for full view.
-
4
Work from nape to the crown of head to the high point using the same technique as stated in Step 2 and Step 3, then the sides of the head.
Click on image for full view.
-
5
Hair has more life and texture. It has that “lived in” stylish texture your client will just love. Use finishing spray to hold.
For more information go to www.FHIHeat.com
Click on image for full view.


