
Instagram via @cassiskovic
Formulas
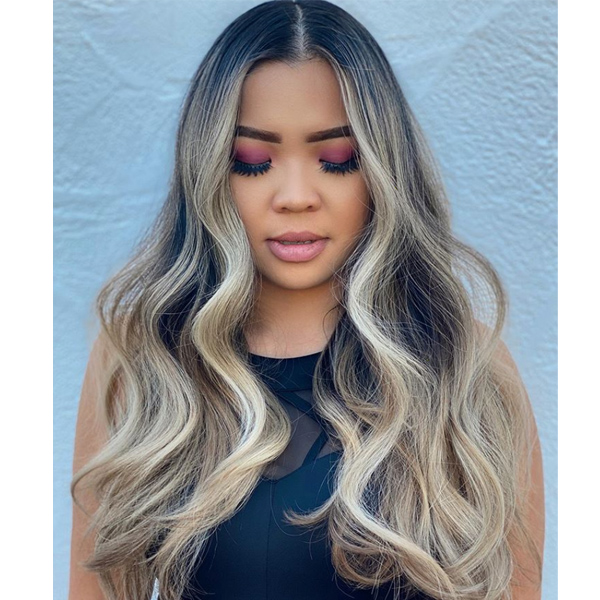
How to Paint Bright Blondes With Less Than 30 Foils
Italian Balayage: 5 Tips To Master The Foil + Paint Technique Want to paint high-impact blondes with less than 30 foils? Meet the “Italian Balayage” method created by Cassie Siskovic (@cassiskovic), Alfaparf Milano National Artistic Director. It’s a timesaving technique that fuses foilayage, balayage and teasylights to create light and contrast where it counts with less work. Keep scrollin’ for the video how-to and important takeaway tips! CLICK HERE to watch Laura Young (@apostleofcolor), Alfaparf Milano Master Colorist and National Educator, break down the technique! 1. Use Impact Zones As A Roadmap For Placement Italian Balayage uses different...
Keep reading for free
Create a free account or sign in to continue
Use the same email and password across behindthechair.com, BTC-U, oneshothairawards.com, and Who Does Your Hair — one set of credentials, every site.
OR
We'll check if you have an account, or create one if you don't.
To save this story, create a free account or sign in.
Join BehindTheChair
Access the industry’s #1 source for hair trends, education and community now.
OR
We'll check if you have an account, or create one if you don't.


