
Photo credit: Instagram via @sarahzstylz
Formulas
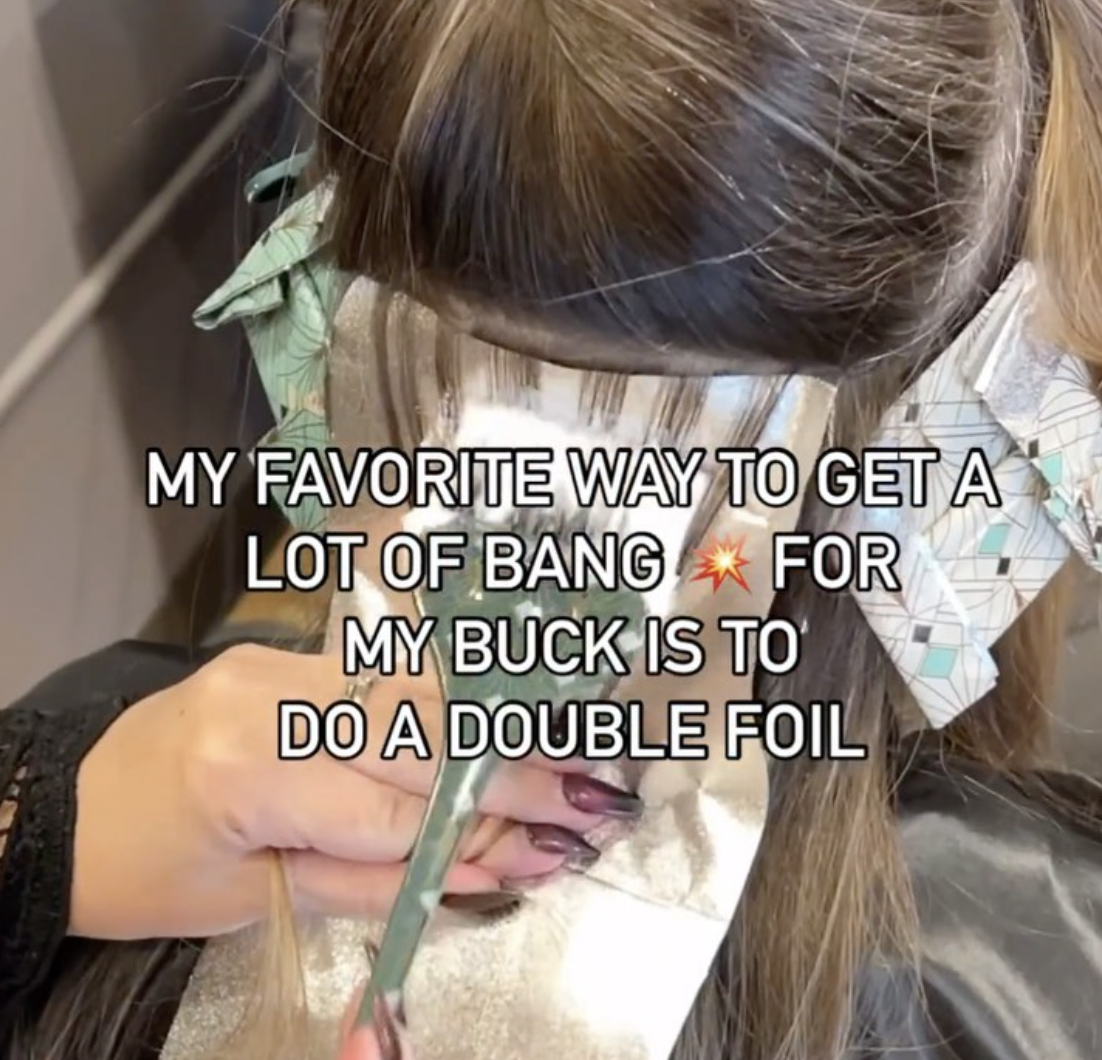
Coverage in Dimensional Color: 3 Mistakes to Avoid
How To Keep Blonde Coverage While Balancing Intentional Dimension PSA: Dimensional color does not lack lightener coverage. If you struggle with drowning out foils when you add depth into a lived-in look, stick around for the tips below. Massachusetts-based balayage expert and BTC Team Member Sarah Cabral (@sarahzstylz) shares her best diagrams and tips to make dimensional color...actually dimensional. 1. Utilize Different Sizes Of Your Go-To Sectioning Technique When you hear, "Take a zig zag parting..." you typically think of one standard size. While zig zag sections are nothing new, have you ever thought about adjusting the...
Keep reading for free
Create a free account or sign in to continue
Use the same email and password across behindthechair.com, BTC-U, oneshothairawards.com, and Who Does Your Hair — one set of credentials, every site.
OR
We'll check if you have an account, or create one if you don't.
To save this article, create a free account or sign in.
Join BehindTheChair
Access the industry’s #1 source for hair trends, education and community now.
OR
We'll check if you have an account, or create one if you don't.


