How To Eliminate The “Shelf” In Curly Cuts
4 Steps You’re Missing When Dry Cutting Curly Hair
More often than not, your curly client has a couple different curl patterns around their head. If you struggle to maintain that “uneven shelf” grow out around their perimeter every few months, we have a solution.
Learn why K18 Hair Educator Ashlee Norman (@ashleenormanhair) opts to dry cut curls for visibility and accuracy around the silhouette while trimming uneven corners.Watch the full tutorial here!
1. Here’s How To Prep Curls Before Dry Cutting
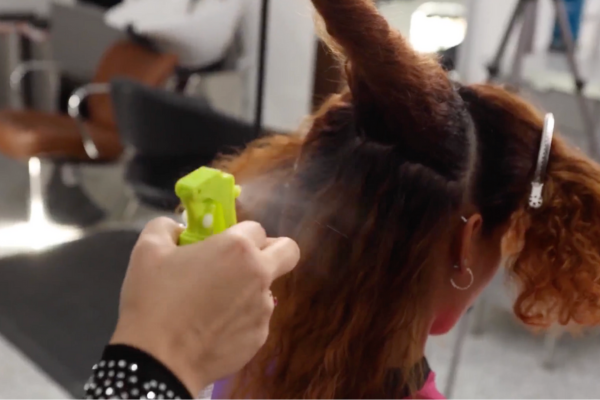
Before brushing through fragile curls, be sure to prep them to prevent further breakage and damage. Here’s how to detangle and strengthen before cutting:
- Mist 10 sprays of K18 Molecular Repair Mist per quarter section of hair
- Gently brush the mist through each section
- Let the mist process for four minutes to repair existing damage, strengthen follicles and make hair more resilient

2. This Is How To Get Full Visibility Of A Curly Silhouette
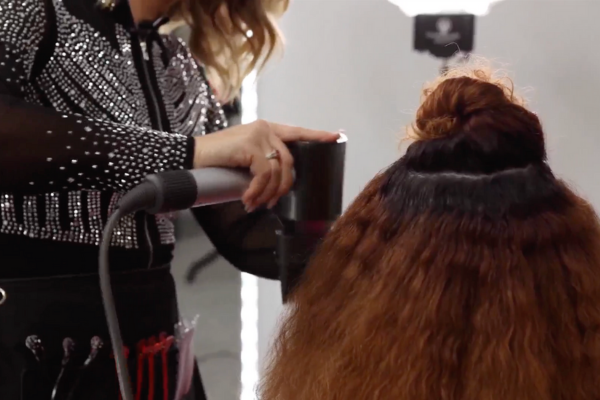
After prepping the hair, Ashlee suggests gently “stretching” the curls by lightly blow-drying using a comb attachment on a blowdryer. “This is going to stretch out the curl pattern ever so slightly so I can see my way through a dry haircut without causing additional heat damage,” she says. This strategy allows stylists to see the fullness and shape of the hair without straightening and further damaging the hair.
Ashlee sectioned the hair and started blow-drying with the comb attachment at the nape of the neck and worked her way up to the top section of hair. She continued until all of the model’s hair was completely “stretched.”
Here’s a look at Ashlee stretching her model’s curls:

Add Ashlee’s go-to repair mist to your arsenal!
3. How To Ensure An Even Perimeter
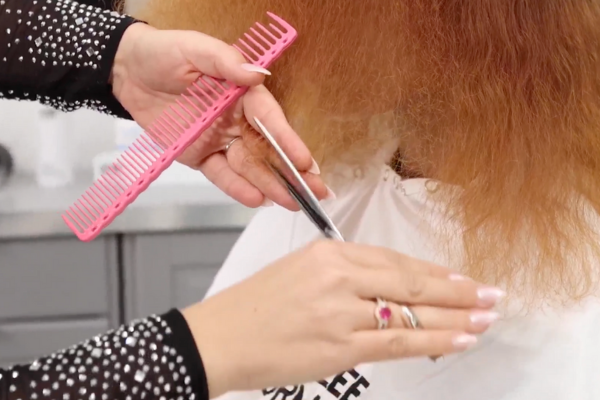
Once the hair is prepped and silhouette visible, it’s time to dry cut the hair in circular sections to achieve a round haircut. Cutting in circular sections will create uniformity and seamlessly blend the shorter and longer sections created by the different curl patterns.
Ashlee’s model has tighter curls on the top of her head and looser on the bottom which resulted in an uneven gap in the perimeter. Cutting in circular sections will smooth the transition created between those two areas of the haircut.

4. Ashlee’s Go-To Protective Products
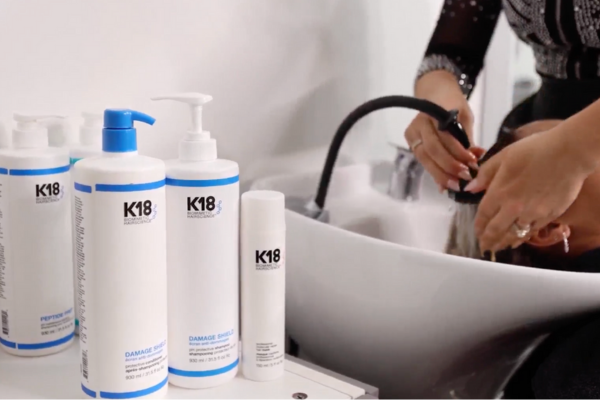
After cutting and coloring her model, Ashlee reached for K18 Damage Shield Shampoo, Conditioner and PRO Repair Mask to repair and strengthen the cuticle and give added protection against outside stressors for the next three days.
Here’s how Ashlee used all three products at the shampoo bowl:
- Shampoo using K18 Damage Shield and rinse
- Use three pumps of the PRO Repair Mask and let process for four minutes
- This step helps repair the cuticle and adds softness and shine
- Layer on the Damage Shield Conditioner
- The conditioner’s added benefits: adds moisture, detangles and offers UV protection
- Rinse! Hair is left soft, bouncy and shiny

Click here to add K18 products to your backbar!
This content is sponsored.
Products Used
More from
K18 Hair
-
Monthly Product Launch List
The Best Hair Launches Of March 2024
-
AirWash™ Dry Shampoo
-
Blonde
Virgin To Dimensional Blonde Blend
-
Brunette
Rich Beige Brunette
-
Product Launches
Damage Shield Protective Conditioner
-
News
How Maui Hairdressers Are Rebuilding Post-Lahaina Fires
-
Copper
Rooted Cherry Curls
-
Barbering
How To Style The Biggest Men’s Summer Trends
-
Business
15 FREE Classes To Take For Hairstylist Appreciation Week
-
Product Launches
Spring 2023’s Pro Beauty Product Launch
-
Oil
Molecular Repair Hair Oil
-
Brunette
Trend Breakdown: Hailey Bieber’s Glazed Brunette
-
BTC Hair Trend Report
Your Complete Guide To Color Blocking
-
BTC Hair Trend Report
Natural-Toned Color Blocking
-
Blonde
TikTok Star Alix Earle’s Warm, Golden Bronde
-
Color Protecting
You’re Using K18 Wrong: Here’s What You Need To Know
-
Celebrity
Paramore’s Hayley Williams Has Opened Her Hair Salon
-
Distributor
K18 Hair Launches At SalonCentric
-
Clarifying
PEPTIDE PREP™ Pro Chelating Hair Complex
-
#ONESHOT HAIR AWARDS
The BTC Show 2022: 10 Things We Saw
-
The BTC Show
#THEBTCSHOW 2022
-
Clarifying
PEPTIDE PREP™ Detox Shampoo
-
Clarifying
PEPTIDE PREP™ pH Maintenance Shampoo
-
Balayage
Honey Brunette Curls Transformation


