
Instagram via @michelleoconnorbeauty
Formulas
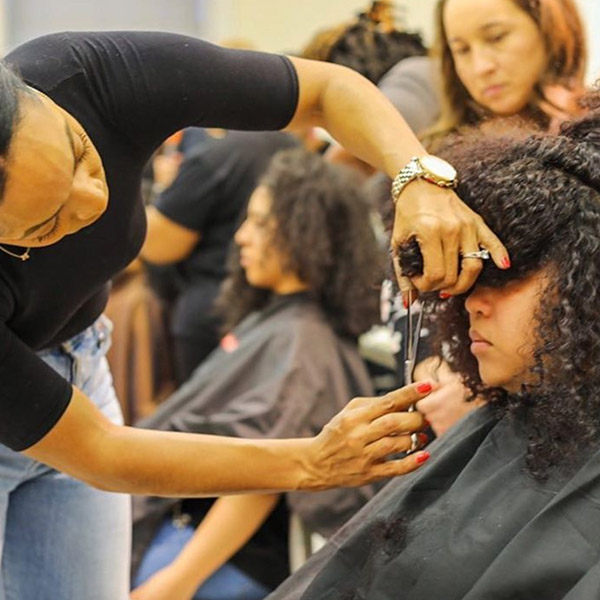
Are You Skipping These Steps When Curly Cutting?
Curly Cuts: 5 Dos and Don’ts You Must Know If you’re not cutting curls regularly, here are a few key tips to keep with you to ensure that you meet your clients’ hair goals. We joined Ulta Beauty’s Texture Rally to gather the hottest tips from Ulta Beauty Pro Team Members: David Lopez (@davidlopezzz), Laura Gunter (@lauragunterhair), Michelle O’Connor (@michelleoconnorbeauty) and Stacey-Ann Houston (@stacceyann). Keep scrolling for the most important dos and don’ts to prepare for cutting curls! [btc-banner id="768061"] 1. Do: Shake Out Their Hair To See The Natural Shape Before cutting, you'll want to check...
Keep reading for free
Create a free account or sign in to continue
Use the same email and password across behindthechair.com, BTC-U, oneshothairawards.com, and Who Does Your Hair — one set of credentials, every site.
OR
We'll check if you have an account, or create one if you don't.
To save this article, create a free account or sign in.
Join BehindTheChair
Access the industry’s #1 source for hair trends, education and community now.
OR
We'll check if you have an account, or create one if you don't.


