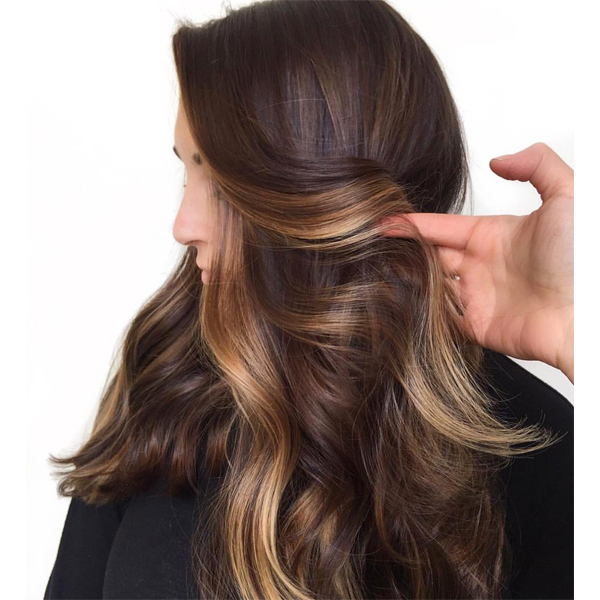
@prettylittleombre’s 7 Golden Rules For Beautiful Balayage
When Jamie Sea (@prettylittleombre) says she's going live on Insta to talk all things balayage, you can bet we're going to tune in to hear what our resident balayage expert has to say. Too busy behind the chair to watch? We've got you. Here are the seven balayage basics Jamie discussed that'll help you better your balayage! [btc-banner id="685706"] 1. Avoid Chemical Reactions Before you apply lightener to your client's head, Jamie says it's important to demineralize the hair first—especially if you're using a clay lightener. Heat plus built up minerals equals a chemical reaction...yikes! ...
More from
Jamie Sea
-
#THEBTCSHOW 2018
5 Tips For Dimensional Haircolor From Redken
-
Balayage
4 Tips For Balayaging On Fine/Damaged Hair
-
Balayage
Brunette Balayage: 4 Common Mistakes + How To Avoid Making Them
-
Balayage
Say NO To Blorange Balayage—Here’s How
-
Balayage
3 Mistakes That Will Ruin Your Balayage
-
Balayage
6 Face-Framing “Money Piece” Formulas
-
Balayage
Updating Balayage for Fall: High-Contrast Dimension
-
Balayage
Face-Framing Balayage by @prettylittleombre
-
Balayage
@prettylittleombre’s Dimensional Balayage + Money Piece
-
Balayage
WATCH 2 Balayage Insta Stars Create High-Contrast Dimension
-
#thebtcshow Austin 2017
3 Balayage Bosses Share Their Tricks
-
#thebtcshow Austin 2017
The Behind The Chair Show 2017: Day 3
-
Balayage
Balayage Surface Painting: 3 Things To Know
-
Business
Start Taking Insta Pictures Like A Pro: 3 Tips From @prettylittleombre
-
Balayage
3 Tips To Slay The Blend
-
Balayage
3 Balayage Problems—Solved!
-
Balayage
@prettylittleombre Swears By These 5 Glossing Formulas
-
Balayage
5 Go-To Glossing Formulas From @prettylittleombre
-
News
The BTC #Squad Spills It All: Color Melts, Balayage & Going Platinum
-
Balayage
3 Bright & Bold Balayage Tips From @prettylittleombre
-
Balayage
Gorgeous Balayage + Stretched Root
-
Events
BTC “On Tour” Takes LA
-
Balayage
@prettylittleombre’s Pyramid of Fundamentals For Client Retention
-
Balayage
How-To: Heavy Balayage, Level 5 Base


 or
or


