Articles > #THEBTCSHOW 2018 > 5 Tips For Dimensional Haircolor From Redken
Last updated: June 17, 2019

5 Tips For Dimensional Haircolor From Redken

close formula

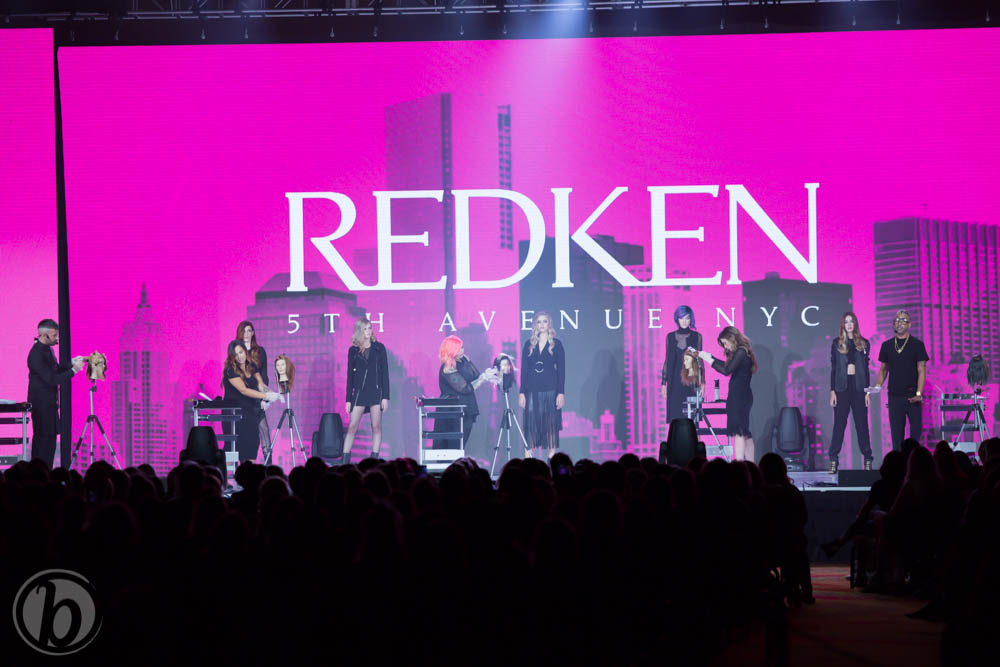
5 Dimensional Haircolor Tips From Redken

What happens when Redken artists Sean Godard and Justin Isaac are joined onstage at THE BTC SHOW 2018 with Redken ambassadors Rebecca Taylor, Patricia Nikole and Jamie Sea? Haircolor magic.✨ And this year, it was all about dimensional haircolor—think natural-looking redheads, perfectly blended balayage and unconventional shine lines. Check out the top five takeaways they shared during their presentation below!


Click here to see all the photos from Redken’s presentation!


1. How To Make Unnatural Redheads Look Natural


Unsure if you should color her eyebrows? Sean says leave them alone because, “Only two groups of people have red eyebrows—strippers and hairdressers.”


Money pieces are typically a little lighter compared to the rest of the hair because they add a pop of brightness in the face-framing area. But for dimensional redheads, Sean says to paint the money piece with the base color from scalp to ends instead. Why? A brighter red might not look as natural as the base color, so doing this really ties the look together and makes unnatural redheads look even more natural. 


2. Sectioning The Crown Area


When color blocking, Justin likes to work with a triangle section in the crown area because the deep and shallow points create movement in the finished result. To determine how wide it should be, make a peace sign and make sure the triangle is no wider than that. That way, when you release the hair, it’ll release wide and hit those corners with the heaviest saturation focused in the back.


Note: If you want the front to have the heaviest saturation instead, simply invert your triangle section so the point sits at the front.


Watch ALL The Stage Presentations From THE BTC SHOW On BTC UNIVERSITY. Click Here!


3. Avoid Over-Painting


Colorists are often told to saturate, saturate, saturate to avoid hollow spots in the hair. But Patricia says it’s just as important to avoid over-painting—especially in spots where existing color lives. “I feel sometimes when we get into our sectioning, we feel like we want to create so much lightness that we forget to leave what is already existing.”


Instead, work with her natural haircolor. For clients with brunette/chestnut hair, Patricia uses those tones as her lowlight. It helps to avoid over-painting but also makes it easier for her to incorporate depth and pops of brightness throughout.


4. Blending Darker Shades With Lighter Shades


Whether you’re working with a darker shadow root or creating a lighter shine line off a dark base, here’s how Rebecca avoids color bleeding: Paint the darker color at the base first, then apply the lighter shade directly under that. Then, paint that same darker color on the ends and reapply that same lighter shade right above it. Finish by painting the remainder of the lighter color in the middle and blend right at the point where each color meets.


Pro Tip: Rinse with freezing cold water, then blow-dry immediately after. DO NOT shampoo the hair.


5. Remember: Glide And Slide


To avoid harsh lines when balayaging the ends, Jamie likes to lightly glide and slide her brush over and under the hair—but minimal pressure is key. The gliding part creates an instant blur underneath the ends while sliding over the surface prevents product from pushing in to the hair and creating those hard demarcation lines.


Watch the video below to see our interview with the Redken team right after their presentation!


See what went down on Day 1, Day 2 & Day 3 at THE BTC SHOW 2018!


More from
Redken