
Formulas
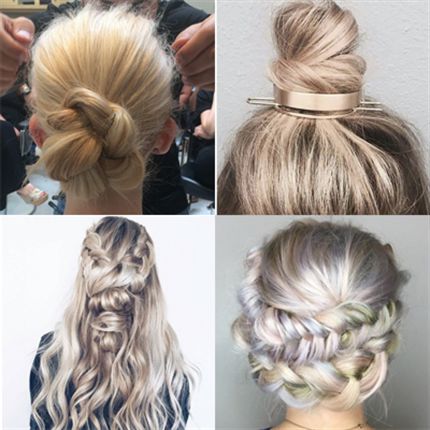
Your Guide to Holiday Hair: 5 Winter Wedding Styles
By Katie Harrington It’s the biggest dilemma of the year…what to wear to all those holiday festivities! Work parties, winter weddings, New Year’s Eve—so many occasions, so many outfits. Throw in a great hairstyle on top of everything else? The pressure is on. That’s where you come in. You know just what to pair with her sequined bandage dress for New Year’s Eve; what will work best with the black tuxedo jumpsuit she’ll be rocking at her holiday office party; and the best choice for the lace, off-the-shoulder midi she picked for her bestie’s December nuptials. Consider...
Keep reading for free
Create a free account or sign in to continue
Use the same email and password across behindthechair.com, BTC-U, oneshothairawards.com, and Who Does Your Hair — one set of credentials, every site.
OR
We'll check if you have an account, or create one if you don't.
To save this article, create a free account or sign in.
Join BehindTheChair
Access the industry’s #1 source for hair trends, education and community now.
OR
We'll check if you have an account, or create one if you don't.


