
Chris Appleton’s Step-by-Step Tutorial: Kim K’s ’90s Bob

Kim K’s Faux Bob: How Chris Appleton Cheats A Haircut With Extensions
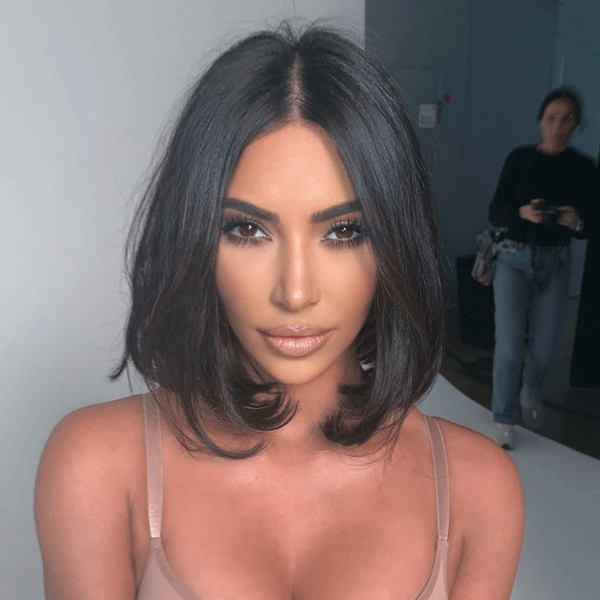
Chris Appleton (@chrisappleton1) is known for creating some of today’s hottest celebrity styles—sometimes showing off multiple looks on the same celeb all in ONE WEEK (please see: Kim K’s short, beveled bob → waist-length locks). And if you are also wondering how he does it, we’re here to spill the secrets!
Slide to see Kim’s hair transformations!
Kim rocked a short bob on Sept. 11, 2019 and went back to her signature length the next day! Images via Instagram @chrisappleton1
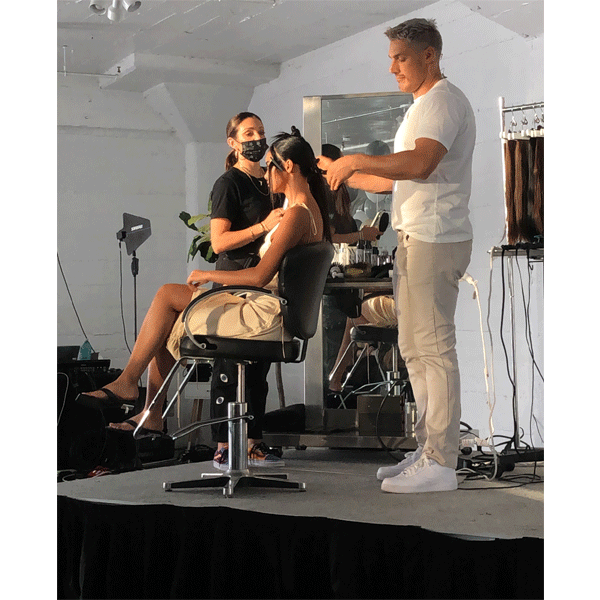
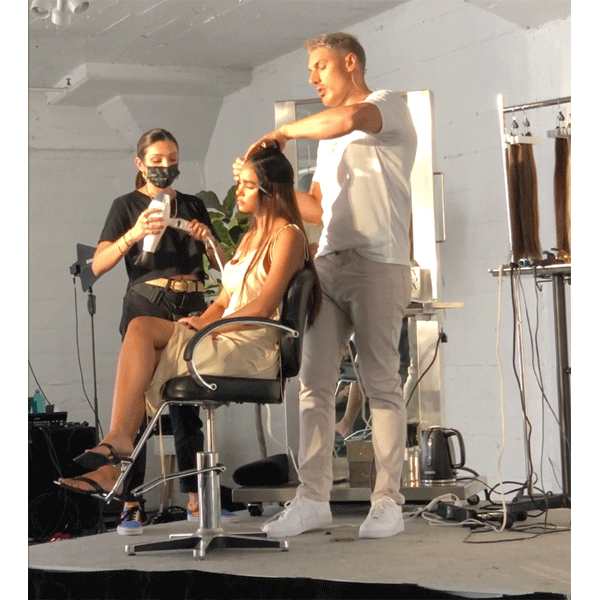
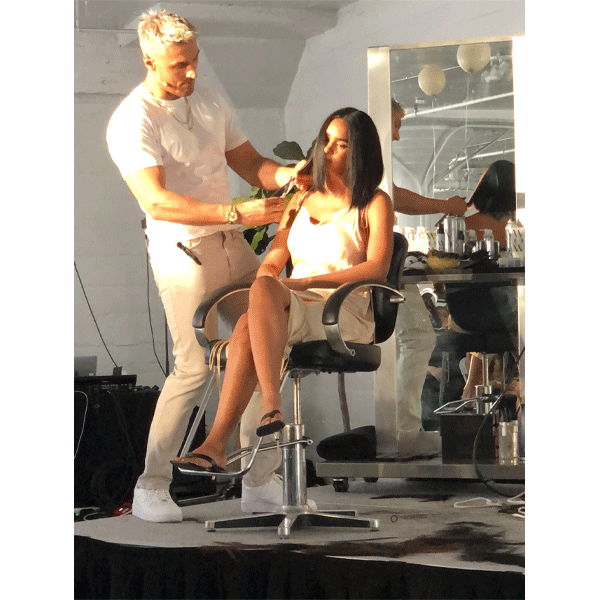
BTC attended Chris’s Masterclass in Los Angeles where he shared how he created some of his most famous celebrity styles, including Kim’s throwback short cut—and we are sharing everything we learned.
Keep scrolling for Chris’s steps for creating a quick style change, his must-have tools and products and a behind the scenes look at his Masterclass!
Celebrity Styling Secret: Instagram vs. Reality
While it looks like Kim got a huge chop, Chris actually ADDS more hair with extensions—wait, what?! Using a combination of extensions and the client’s natural hair, Chris is able to create a faux bob that’s perfect for a fast transformation without the commitment.
Here’s the game plan: To achieve the faux bob, Chris works with the longest layer and face frame. Then, he will “hide” the rest of her natural hair by braiding it back and build the bob by gluing in weft extensions.
You may be asking, why apply extensions just to cut them? Gluing in weft extensions allows Chris to place volume exactly where he needs it, creating a full canvas without altering the natural hair.
Chris Appleton’s Must-Have Tools
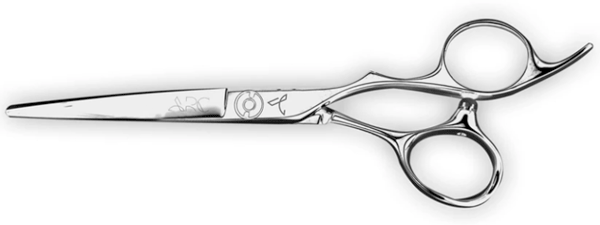
To recreate the looks, Chris used weft extensions from Line One Hair Extensions and the PARAGON II scissors from ARC™ Scissors.
Want to cut like Chris? Click here to purchase your pair of PARAGON II scissors from ARC™ Scissors!
How to prep the hair for extensions
1. Start by taking a Mohawk section that is slightly past the crown—this will ensure that the extensions stay hidden.
2. Section out the front hairline for a natural face frame and clip away for later.
3. Smooth the remaining hair back and down and create two three-strand braids. “It’s important that this hair is snatched back because we don’t want the extensions to lay on an uneven surface,” says Chris. To keep everything smooth, he applies the Cult Favorite hairspray from Color Wow to small subsections and slicks everything back with a bristle brush.
4. Pin the braids securely at the nape, criss-crossing them so they lay as flat as possible. Braid placement is key to avoiding an awkward, visible shape. “Placing the braids any higher will create this weird, alien-head shape when laying the extensions,” Chris explains.
Extension placement tips to avoid an unnatural look
Tip #1: Avoid Unwanted Bulk: For this look, Chris used Line One Hair Weft Extensions in colors C1 and 1, applying the first weft at the bottom of the braids. Why? “I want to avoid placing a lot of hair here because you don’t want the bob to be bulky. It’s the same thought process as cutting a bob. So I place one below the braid and one above and that’s it for that section,” he explains.
Chris suggests applying the wefts about an inch apart all the way up the head until reaching the Mohawk parting.
Tip #2: Fill In Flat + Uneven Areas: Once all of the wefts are glued in, Chris releases the Mohawk section and smoothes the hair with a flat iron. To fill any flat or uneven areas, Chris cuts the extensions and strategically places them to fill out the style. This is especially important around the hairline and face frame to create a full bob. Want to learn more of Chris’s top extension tips?
Tip #3: Establish A Strong Perimeter + Texture with the Right Scissors: To remove any excess hair, Chris grabs his PARAGON II from ARC™ Scissors and works section-by-section cutting straight across, careful not to cut the client’s natural hair. After establishing a strong shape, Chris will use a shallow point cut along the perimeter to give the bob subtle texture.
“I love ARC™ Scissors because they are so sharp I am able to work quickly and cut through extensions without worrying about dulling the blade,” he shared.
Pro Tip: To keep the perimeter strong, Chris keeps the sections at minimal elevation and directs the hair straight down from where it lives when point cutting.
Ready for a new pair of scissors? Click here to purchase your pair of PARAGON II from ARC™ Scissors!
Styling finishing touches
To achieve that ‘90s beveled bob, Chris uses a large barrel curling iron to bend the perimeter under. He finishes with the Color Wow Extra Mist-Ical Shine Spray for the perfect shine.
Slide to check out the inspiration and finished look!
Click through the slideshow for a behind the scenes look at Chris’s Los Angeles Masterclass!
More from
Chris Appleton
-
Celebrity
Schwarzkopf Professional® Launches Campaign Spearheaded By Chris Appleton & Sofia Vergara
-
Awards Shows
The Best Celebrity Hair Colors & Formulas From The 2024 Golden Globes
-
BTC Hair Trend Report
2023’s Biggest Haircut Trends
-
BTC Hair Trend Report
’90s Supermodel Layers
-
Styling
The HOTTEST Styling Trends Of Fall 2022
-
Accessories
2022 Styling Trends To Know: Blowouts, Money Piece Braids + Hair Rollers
-
Celebrity
Win A Year Of Professional Training + A Photoshoot In NYC
-
Bobs
The 10 Biggest Haircut Trends Of Winter 2021
-
Celebrity
Met Gala 2021: See The Best Celebrity Hair & Beauty Looks!
-
Braids
2021 Trend Alert: Rope Twist Ponytails
-
Celebrity
8 Hair & Beauty Moments From The 2021 Grammy Awards
-
Celebrity
Chris Appleton Talks Celeb Hair Trends, COVID-19 & His Masterclass
-
Coronavirus
Color Wow Launches Digital Support Platform For Salons
-
Halloween
10 Pop Culture-Inspired Halloween Costumes For Hair & Beauty Junkies
-
Celebrity
Jennifer Lopez’s Blunt Bob
-
#thebtcshow 2019
CELEBRITY PANEL AT #THEBTCSHOW 2019
-
#thebtcshow 2019
#THEBTCSHOW 2019: DAY 2
-
#thebtcshow 2019
CHRIS APPLETON AT #THEBTCSHOW 2019
-
Celebrity
These 6 Iconic Celebrity Hairdressers Are Coming To THE BTC SHOW
-
Celebrity Styling
The Snatched Pony: 3 Tips From Kim K’s Stylist
-
Hair Extensions
Watch: Chris Appleton’s U-Part Wig Installation & Styling Technique 🔥
-
BTC Events
BTC “ON TOUR” DALLAS
-
BTC ON TOUR
“On Tour” Dallas Cocktail Party
-
BTC Events
BTC “On Tour” Dallas Show—Here’s Everything That Happened!

