How to Balayage Quickly & Efficiently to Get the Most out of Your Powder Lightener
3 Tips for Achieving “Surfer Balayage” With Maximum Impact
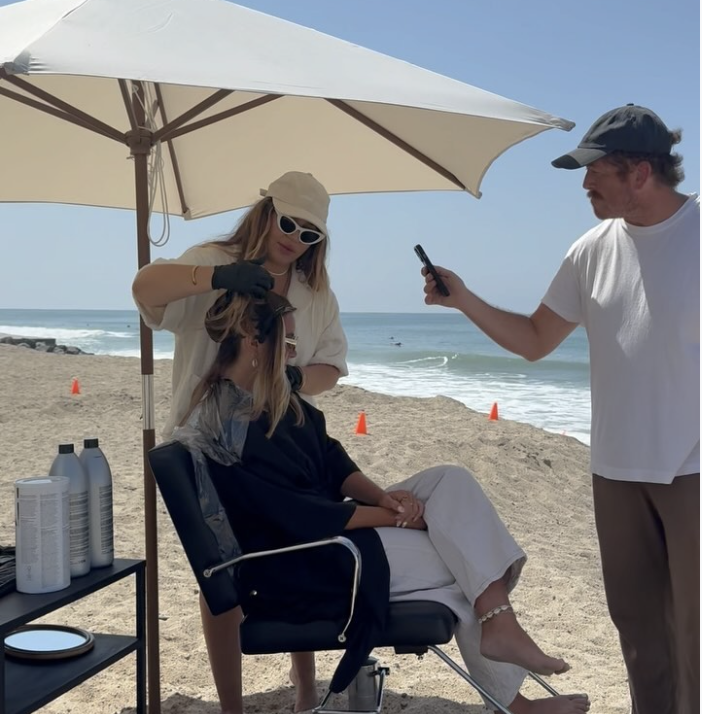
Did you know the viscosity and strength of powder lightener decreases in just 20 minutes? And when you’re working in a warm environment, that timeframe is even shorter. In a recent BTC Facebook Live, hairstylist and educator Lo Wheeler (@lo_wheelerdavis) balayaged her client ON the beach giving new meaning to the phrase “beach blonde.” Doing so meant she had to work quickly and efficiently to get the most out of her go-to Kenra Professional Color Simply Blonde Blue Powder Lightener. Lo reached for the blue-pigmented lightener for her beach-side balayage as the blue pigments combined with an open-air application helped her reach a buttery Level 9 blonde.
Ahead, Lo shares her tips for using powder lightener on an open-air balayage in a warm climate.
1. Here’s how to fully saturate each section when your lightener is drying quickly:
Completing a high-lift balayage using an open-air application in warm temperatures can prove challenging—especially since lightener stops developing once it’s dry. To ensure each section is fully saturated and thus, develops properly, Lo shares the below tips:
- Saturation is key: When applying lightener, hold each section very taunt and paint the top and bottom to ensure full saturation and connection.
- The lightener’s consistency should be liquidy and thin, or “looser” as Lo refers to it. This means Lo mixed in more developer than she typically does which helps to easily work the lightener through each section and ensure maximum saturation.
- When working in the elements, Lo suggests discarding the lightener after 15 to 20 minutes and starting over with a fresh batch. This guarantees you’re using only the strongest, most effective lightener on your clients.
- What you see is what you get: If the section looks fully saturated—it is! If you can see through the applied lightener, then you need to add more to reach full saturation.
This powder lightener will be your new bread and butter for everyday lightening services.
2. Here’s which section you should apply lightener to first:
“Balayaging is all about managing what areas are the darkest and need product to sit on [the longest],” says Lo. You have to prioritize your sections and work accordingly. Here is Lo’s sequence of prioritized sections:
- First section: Since the back and nape sections on Lo’s client’s head were the darkest, the lightener had to develop on those sections the longest to ensure a balanced look while allowing adequate time to lift through the gold.
- The second section was the face-frame as she wanted to achieve an ultra-bright look.
- The last sections: Lo then moved on to the prelightened, high-density crown and back sections to finish the look.
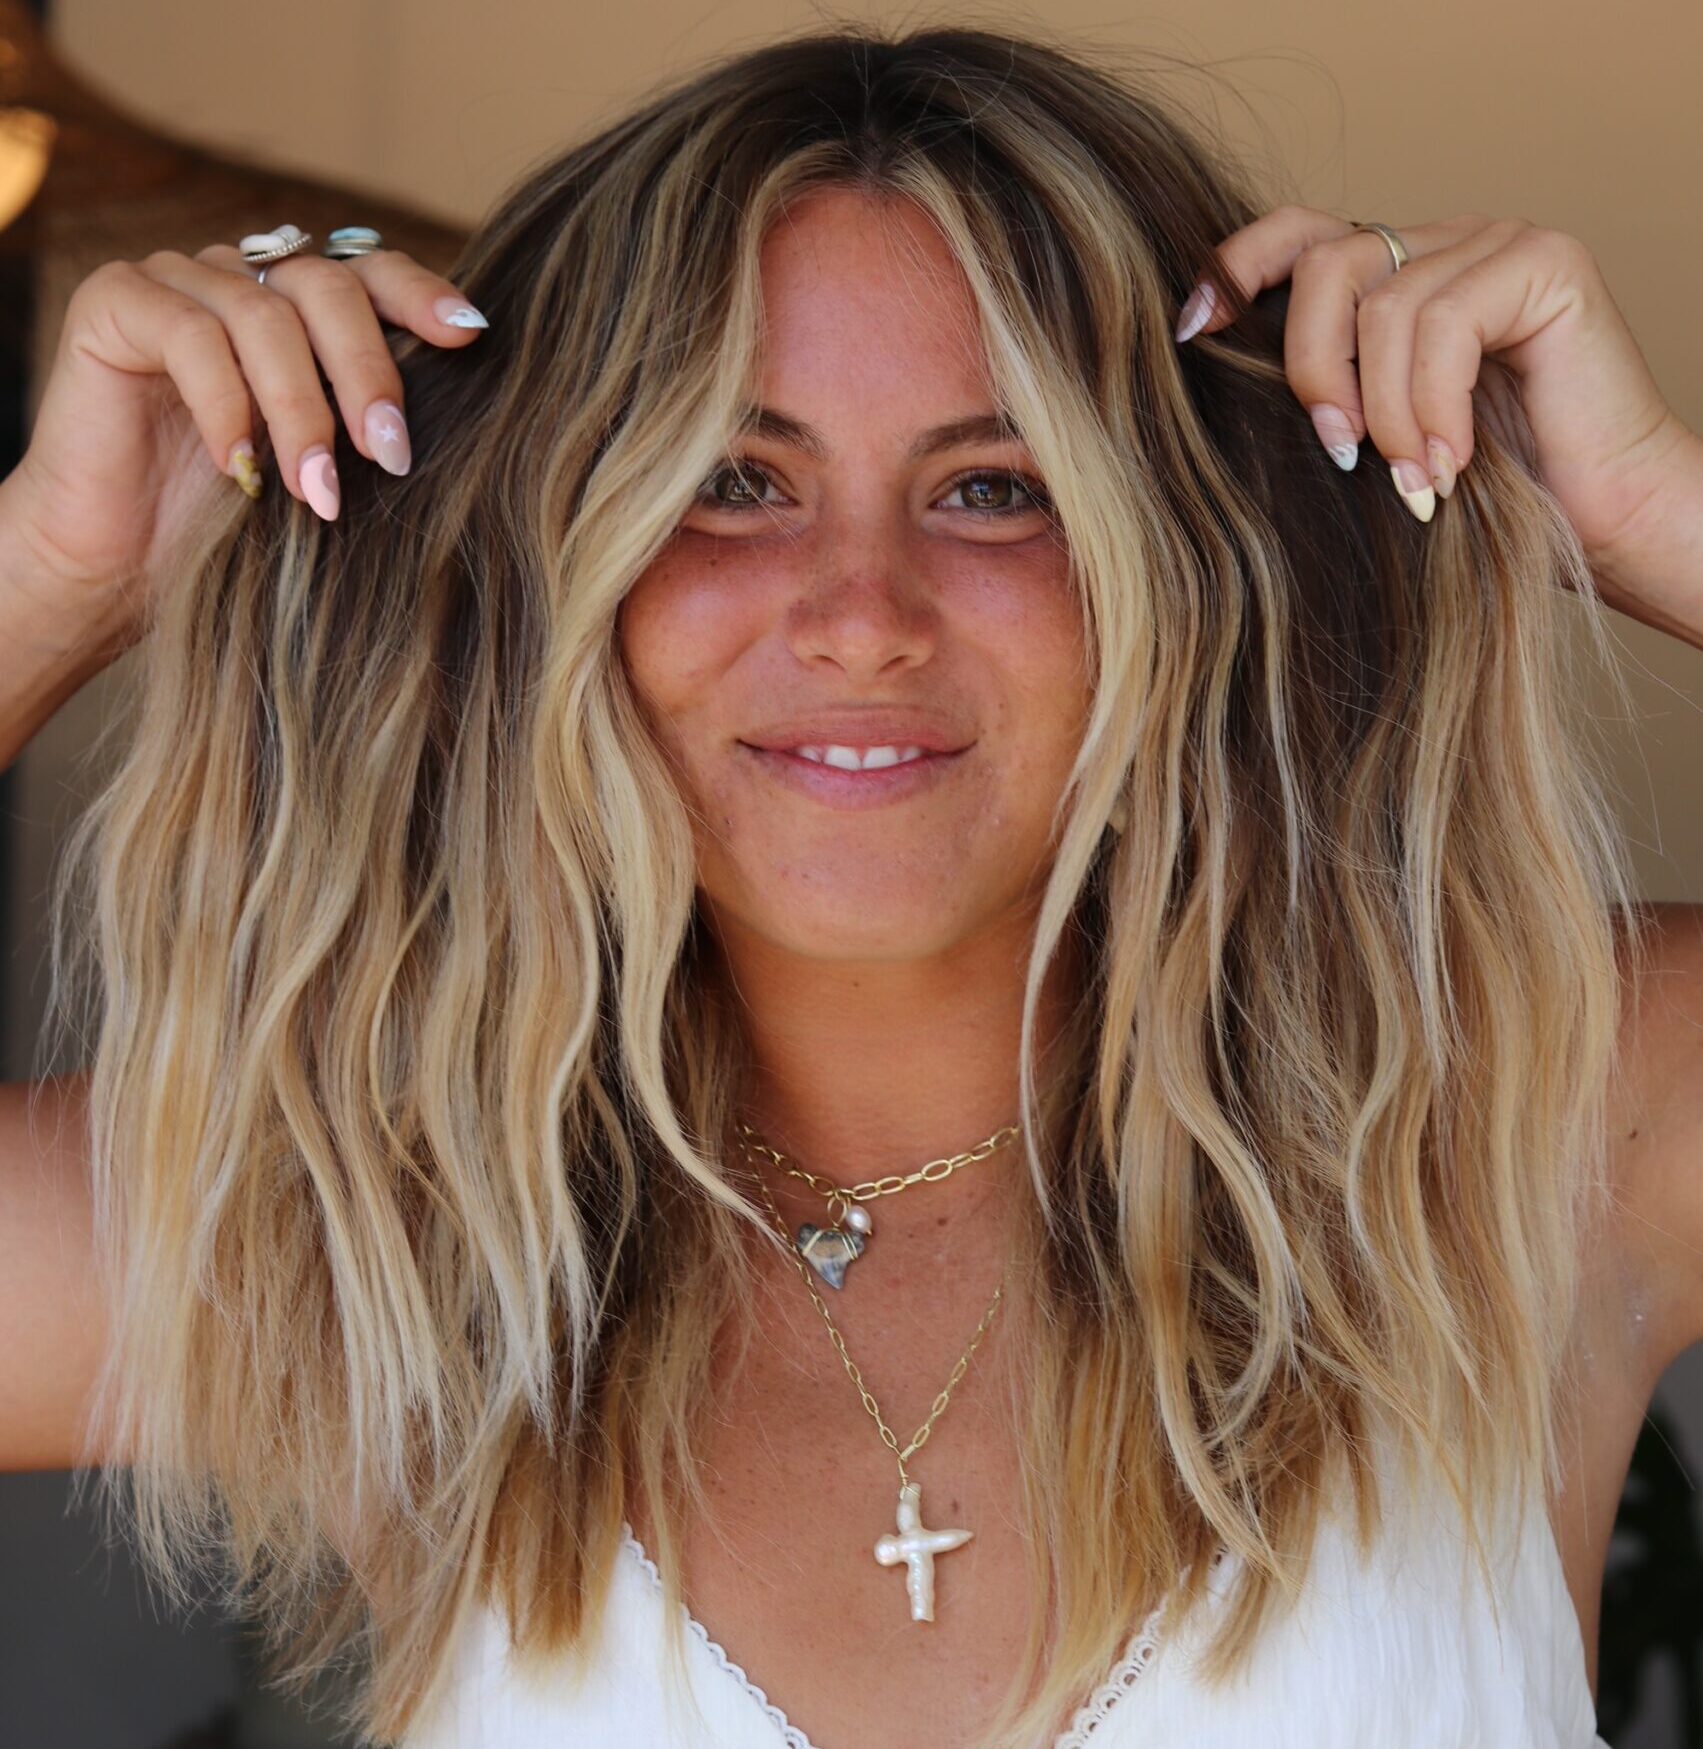
A before & after of Lo’s client:

Click here to watch Lo’s full beachside balayage tutorial for achieving a bright, beachy blonde.
3. Why Lo “frosts” large panels in high-density areas:
Lo dug deep into the decades-old hair archives to dig up the word “frosting” to describe the way she painted the panels of hair at the crown and back sections. Unlike the balayage technique, “frosting” is a free-hand open-air application technique that completely covers large sections of hair from root to ends.
Using the above saturation techniques while frosting large panels of hair in high-density areas allows you to apply the lightener quickly and efficiently while allowing for high-lift development.
More from
Lo Wheeler Davis
-
Blonde
The Biggest Hair Color Trends of 2024
-
Balayage
5 Tips For High-Impact Foiled Blondes
-
Balayage
Balayage & Blonding Co-Lab #1 at #thebtcshow 2021
-
Balayage
4 Tricks For Foilayage + Shadow Roots
-
Best of 2020
10 Salon Business Tips To Read Before 2021
-
Coronavirus
Henkel Is Hosting Hairdressers United, A 24-Hour Hair Broadcast For Salon Pros
-
Business
5 Ways To Reevaluate Your Pricing
-
Balayage
7 Balayage Techniques To Learn Right Now
-
Business
Tips & Tactics For Staying Busy During Slower Times
-
BTC Events
BTC “On Tour” Nashville—Here’s How We Closed Out Our 2019 Tour
-
Business
10 Things Every Hairdresser Wants Their Clients To Know
-
BTC Events
BTC “On Tour” Nashville
-
#thebtcshow 2019
#THEBTCSHOW 2019: DAY 3
-
THE BTC SHOW 2019
KENRA PROFESSIONAL AT #THEBTCSHOW 2019
-
BTC Events
BTC “ON TOUR” DALLAS
-
BTC ON TOUR
“On Tour” Dallas Cocktail Party
-
BTC Events
BTC’s Next “On Tour” Show Is In Dallas—Here’s The OMG Artist Lineup!
-
BTC Events
BTC “ON TOUR” CHICAGO
-
Balayage
3 Styling Tips For Beachy Balayage
-
BTC Events
BTC’s “On Tour” Show Is Coming To Chicago—Here’s The Artist Lineup!
-
Bobs
2019 Hair Trend Predictions—Here’s What Top Stylists Have To Say!
-
Balayage
High Speed Balayage: 5 Tips To Help You Pick Up The Pace
-
Best of 2018
Our Top 10 Platinum Formulas of 2018
-
Blonde
How To Care For Blonde Hair: A Guide For Clients


