Articles > Styling > 5 Braiding Tips To Make Your Pinterest Braid Board That Much Prettier
Last updated: June 17, 2019

5 Braiding Tips To Make Your Pinterest Braid Board That Much Prettier

close formula

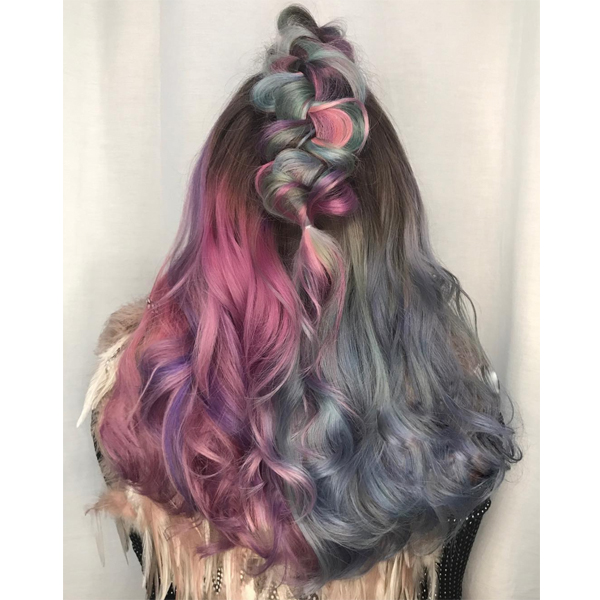
When it comes to braids, the options are endless. Does your client want the end result to be loose and romantic, smooth and soft or tight and sleek? Does your client want a 3-strand, a Dutch braid or a knotted effect? Their answer will determine what products, what techniques and what tricks to use when creating the style. We turned to Ulta Beauty Pro Team Member Danielle Keasling for her tips on all things braid-related.


1. Using braids as a styling foundation

  • Danielle styles a lot of wedding parties, and no matter what the upstyle is, she almost always uses braids as a way to build texture and create a cushion for the style.
  • Create a loose braid, secure with an elastic and fold it up into the nape of the neck. This is the perfect foundation to pin the rest of the style.
  • Instead of using a donut, use braided hair extensions to create a bigger cushion/foundation for the style.
  • If your client wants to keep the added hair, this is an easy way to increase their ticket price.


Danielle creates braids under her upstyles to use as the foundation for a bigger, more-textured style.


2. Offering something different sets you apart.

  • Danielle is a salon owner in Hilton Head, S.C., and she always encourages her staff to offer something different to their clients (like a fun braided style) if they have the time.
  • “Think about it, clients only visit us six to eight times a year, so for them, it’s a special and fun experience.” says Danielle. “I think sometimes we get caught up in the day to day. But if you put yourself in the client’s shoes, think about how much it would mean to add a personal touch to their finished look. Adding a quick braid can make the entire experience that much better.”


Watch Danielle create this 3-strand veil braid—it’s quick and simple to build at the end of any appointment. 


3. Pancaking/expanding the braid:  

  • For ultimate control with the braid, pancake it out while braiding. This will also allow for more definition and detail in the end result.
  • If the braid is really loose, you can expand it after finishing the style.


Danielle likes to pancake the braid while she works to create more detail and definition in the look.


4. Choosing between elastics and pins:

  • Danielle opts for elastics whenever she can because they allow for stretch and pull within the braid.
  • If you only use a bobby pin or hair pin, the hair doesn’t typically have any wiggle room to expand out for added detail.
  • Use the elastic first, then use a pin if you need to lock the style in at the very end.


Danielle uses clear elastics at the end of her braids to give the look more pull and stretch. This helps to create the final texture.


5. Creating different looks with different products:

  • To add volume and grip on clear hair, apply Matrix Volume Builder Mousse. Work the product in on dry hair, then blow-dry it in for added thickness.
  • To expand the braid, use Matrix Height Riser. Add it in as you work to keep the hair pliable and the ends from getting stuck. 
  • To create a tight, sleek braid, use Matrix Style Link Style Fix Gel. This gel will offer a sleek look and will hold down any flyaways.
  • To create a soft, smooth braid, use Matrix Smooth Setter Smoothing Cream. Danielle says it’s a foundational prep product that has a satin dry finish and will keep the look soft. 

More from
Ulta Beauty