The Beginner’s Guide To Hair Tattoos
Instagram: @newstyle84
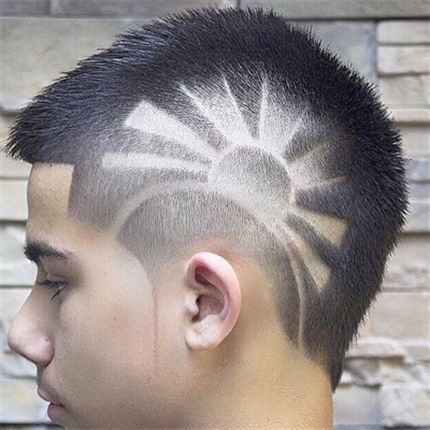
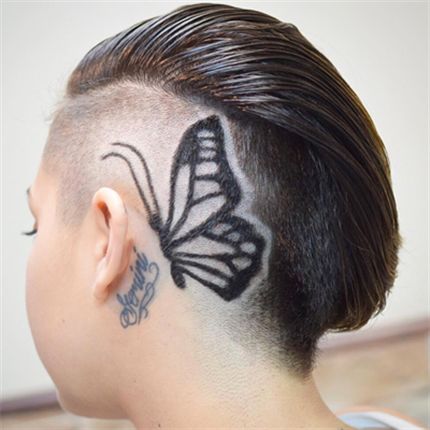
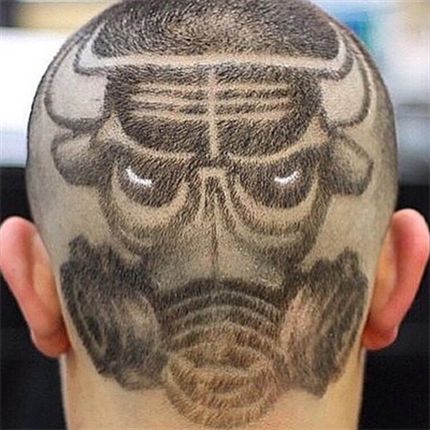
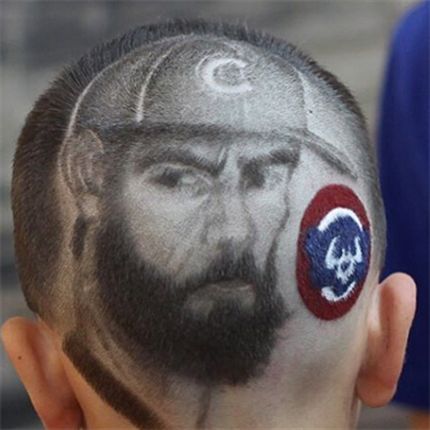
You’ve seen them on Instagram—those jaw-dropping portraits and designs in hair that make you think, “HOW is that possible!?” Hair tattoos are definitely trending right now (for any gender), so you might be thinking about breaking into the game. But yes, it can be intimidating for sure! We’ve got the tips to get you started.
Miguel Rosas (@newstyle84), a Wahl Education and Artistic Team (W.E.A.T.) member and owner of New Style Barbershop in Moline, Ill. is one of those hair tattoo artists that will blow your mind with his skill. He’s won numerous barbering competitions and is a master at portrait cutting (seriously, his portrait of Colonel Sanders on a KFC employee’s child’s head won him free chicken for life!). Lucky for us, he gave us some ideas on how you can start practicing hair tattoos.
1. Solidify Your Canvas
Before you start “tattooing,” make sure your base is in good shape and your tattoos will stand out. Miguel cuts thicker, darker hair down with a #1½ or #1 guard. For thinner and lighter hair, he uses a #3 first and will sometimes even go down to a #2, just to make sure the graphics really pop.

Instagram: @newstyle84
2. Stencils Are Your Friend
Beginners should also always start with simplified versions of designs. For instance, instead of creating a design from a photo of a flower, find the clipart version of that flower. For portraits, Google stencilized versions of faces to use as templates. Elvis, Biggie Smalls and Tupac all have an endless supply of stencil versions! Want to do some freestyle design? Miguel says to Google “tribal flash art” for endless inspiration. The Wahl Pro 5-Star Razor Edger is Miguel’s fave because it doesn’t get jammed with hair and it makes a clean line.

Instagram: @newstyle84
3. White Eyeliner Is Your Secret Weapon
If you’re new to hair tattoos, start out by using a white eyeliner pencil to draw on the head first. That way if your design doesn’t look exactly how you want it to look, you can wipe it off and redo it. Once it looks right, you can go in and outline it with your clippers. Then, if you want an even more precise line, finish your design with a straight razor. “I always use trimmers first—never go right in with a razor,” Miguel says. “I’ve seen people do it, but I would advise using your trimmers first.”

Instagram: @newstyle84
4. Use Your Hand Like a Protractor
When creating curved line designs on the round of the head, use your pointer and middle fingers like a protractor, keeping these fingers in one spot and rotating your clippers around them.


