3 Corrective Color Tips For Eliminating Bands + Brass

How To Tackle Color Correction Services
Are you seeing an increase in roots, box dye and harsh bands post-quarantine? You’re not alone! Color corrections can be daunting, so we’re sharing some pro tips that will help you confidently tackle your next service step by step. Keep scrolling to learn how color experts break through banding, lines of demarcation, extended regrowth and brass! Plus, videos to show you exactly how it’s done.
1. How To Fix Bands Without Losing Length
Your client needs her hair fixed, but also wants to keep the length—what do you do? Here’s how Josie Vilayvanh (@josievilay) approaches harsh bands in multiple sessions:
- Session #1: Goal = camouflage the band. Tone the rest of the hair to the same level.
- Session #2: Three months later, lift more of the band away.
- Session #3: Tone lighter, so when she returns, her canvas will be light.
Watch Josie break down the technique below using Schwarzkopf Professional BLONDME® to break through harsh bands!
View this post on Instagram
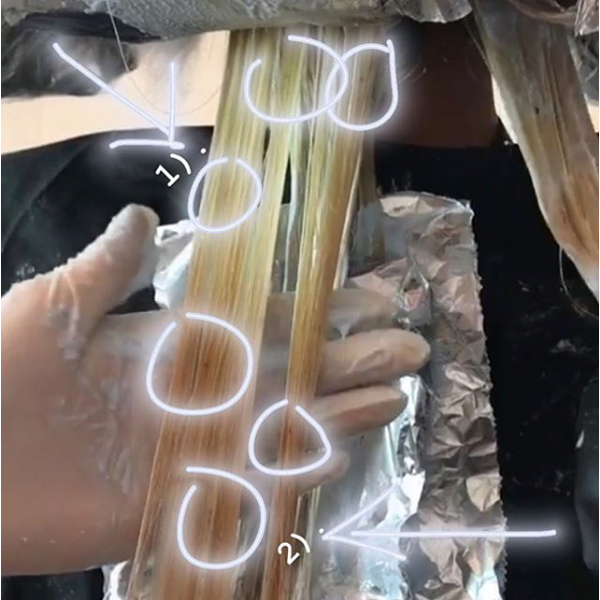
2. Extended Regrowth? Try This!
When your client is way past a root touch-up, try this trick. Cenk Yesil (@cenkinz) uses plastic wrap to encourage even lift when the roots are longer than an inch. Just wrap the roots in saran wrap and wait until it lifts to a pale yellow.
In the viral IG video below, Cenk lifts the roots and creates a dreamy blue, green and yellow melt with CHI Haircare Chromashine. Watch the process below and check out the dramatic transformation!
View this post on Instagram
Pro Tip: Cenk also wraps up his shoes in plastic bags when working with vibrant semi shades to avoid unwanted color stains—relatable AF!
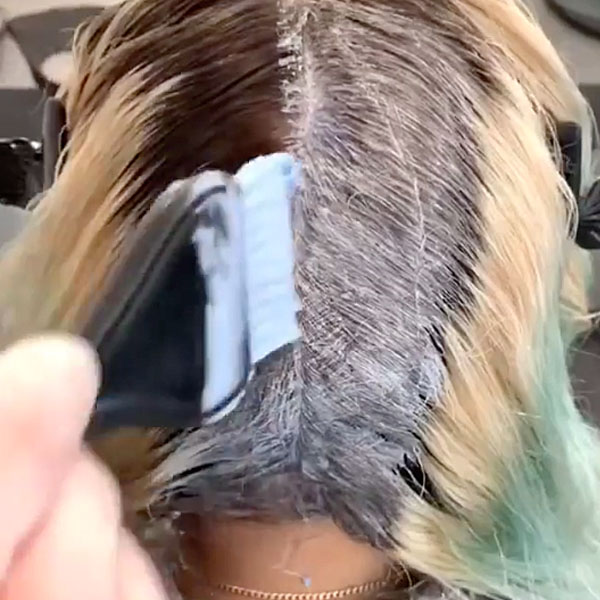
3. Don’t Skip This Crucial Corrective Step For Curls & Texture
Color corrections on wavy, curly and textured hair require extra TLC because over-processing can result in a disrupted curl pattern and damage. Hydration is KEY according to Redken x MIZANI Ambassador Rachel Redd (@rachel_redd). When she lifted her client’s brassy curls into a warm honey blend, these three tips were a must:
- Lift and tone at the same time. Rachel’s first step is applying Redken Color Lacquers at the base and Blonde Idol High Lift V from the midlengths to ends.
- Hydration is key. “It’s essential to retain the moisture in high textured hair, especially when achieving high blonde levels,” notes Rachel. “So the color was processed under a hair steamer (hydration machine).”
- Take your time. To protect the integrity of the hair during the lightening steps, Rachel says do not lock in the foils and don’t use added heat to speed up the processing time.
Click here for the color formulas and how-to steps!
View this post on Instagram

Do you see black dots when bleaching out clients? Read this article!