
20-Minute Bronde? Here’s What You Need To Know
Brondes: 3 Foil & Balayage Tips To Pick Up The Pace
Looking for the best way to create the high-impact brondes we’ve been seeing everywhere this fall? Joico Artistic Director of Haircolor Laura Gibson (@lgibsoncolorist) is sharing her quick and easy technique for dimensional brondes with a hybrid service of balayage and foils. And when we say “quick,” we mean quick: this face-framing bronde result can be applied in just 20 minutes! Hint: it’s all in the placement and application.
Keep scrolling for some of Laura’s must-know tips for a low-maintenance bronde with a seamless grow-out!
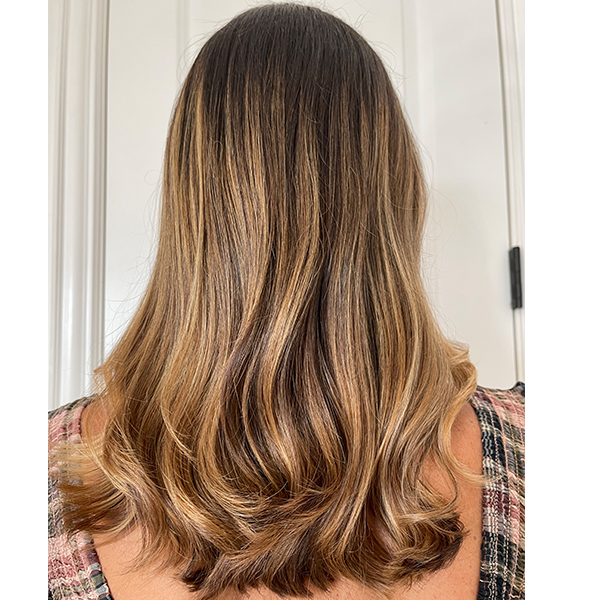
The end result!

1. Placement Hack: Less Foils, More Impact
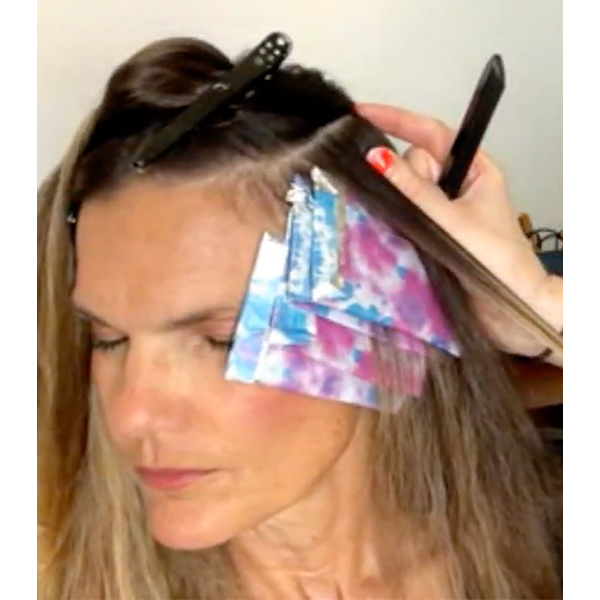
Laura is working on a previously lightened client with six months of grow-out. Since the goal of Laura’s application is just to add a pop of brightness around the hairline, she is taking very fine weaves and only re-applying lightener to areas of natural growth. This makes sure that her client’s hair will be healthier in the long run AND creates a more balanced result.
Laura mixed her Joico Blonde Life Powder Lightener with a gentle 5-volume developer to both protect the hair and ensure it doesn’t lift too light. We want to stay on the brunette side of bronde!
Want more of BTC x Joico? Click here to learn more about Joico’s Blonde Life blonding system!
2. Avoid over-foiling your bronde to maintain dimension
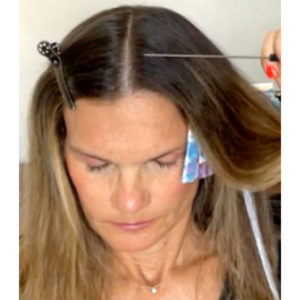
A key part of creating bronde is not to over-foil; the highlights need to have a background in order to pop. To help determine where the pocket of depth needs to be, Laura recommends pre-sectioning out the hairline so she knows where the money piece ends and where the hair begins to fall.
Pro tip: If you’re intimidated by balayage, this technique is a great place to start! With brunette shades, you don’t have to worry so much about the lift being super, super bright (like you would for a blonde.) Plus the foils along the hairline act as a security blanket for the end result.
3. Create more depth by graduating the lightener
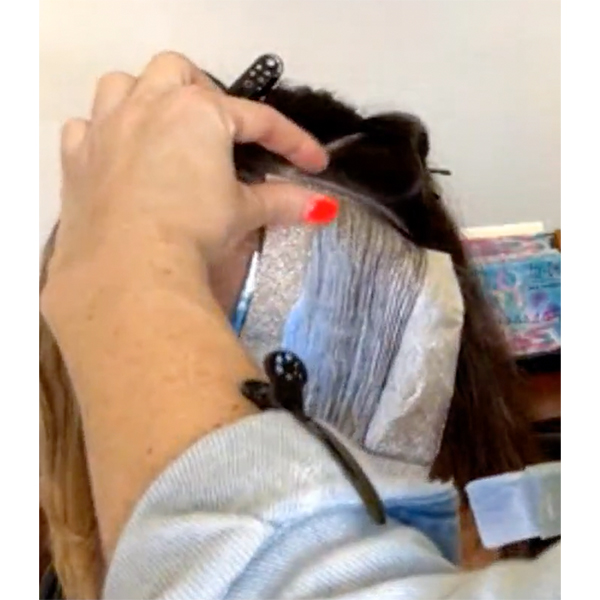
As you apply the hairline foils, take the lightener farther from the root with each consecutive foil to create a lived-in bronde balayage. Use the same technique when painting the very fine babylight balayage behind the hairline, leaving pockets of depth toward the top.
Pro tip: When painting the baby balayage, don’t saturate the hair all the way through. We just want to pop the color a bit, so allowing the lightener to just sit on the surface will work wonders. Remember to check the underside for any harsh lines!
Click here to watch Laura’s full bronding technique on BTCTV!
This content is sponsored.
Products Used
More from
Joico
-
Curls
How To Use A Consultation To Address Curly Client Concerns
-
BTC Events
Celebrity Colorist Justin Anderson Joined BTC’s “On Tour” Nashville Benefit Show
-
BTC Hair Trend Report
The Biggest Hair Color Trends of Fall 2024
-
Blonde
Butter Blonde Guide: Toning, Lightening & Technical Tips
-
Blonde
Lightening Textured Hair: The Must-Dos & Mistakes To Avoid
-
Brunette
Soft-Dimension Brunette Without Any Lightener: Here’s How
-
#ONESHOT HAIR AWARDS
3,000 Hairstylists in one Place? Here’s What You Missed at the 2024 BTC Show
-
Monthly Product Launch List
20 Major New Hair Innovations To Kick Off Fall
-
Blonde
Dark To Beige Platinum Blonde Transformation
-
Blonde
How to Connect 6 Inches of Regrowth in Less Than 25 Foils
-
Curls
Curls Like Us™ Collection
-
Hair Color
Dark Brown To Smoked Pearl Blonde Transformation
-
BTC Hair Trend Report
8 Hair Launches to Heat up Summer
-
Business
Why Promoting Women to Leadership Positions is the Key to a Successful Hair Brand
-
Color Protecting
Blonde Life® Color Enhancing Masques
-
Detangler
Blonde Strong™ Detangler
-
Monthly Product Launch List
9 New Product Launches To Bring Into Summer
-
News
The BTC Beauty Box is Back & Better Than Ever—Same Best-Sellers, No Subscription Needed.
-
Blonde
Virgin To High-Lift Dimensional Bronde
-
Met Gala
MET GALA 2024: EVERY CELEBRITY BEAUTY LOOK FROM THE RED CARPET
-
Met Gala
GIGI HADID’S MARILYN-INSPIRED MET GALA BOB
-
Balayage
One Step, Three-Layer Multidimensional Balayage
-
Balayage
Sunset Copper Balayage
-
Monthly Product Launch List
The Best Hair Launches Of March 2024
