
Instagram via @jackmartincolorist
Formulas
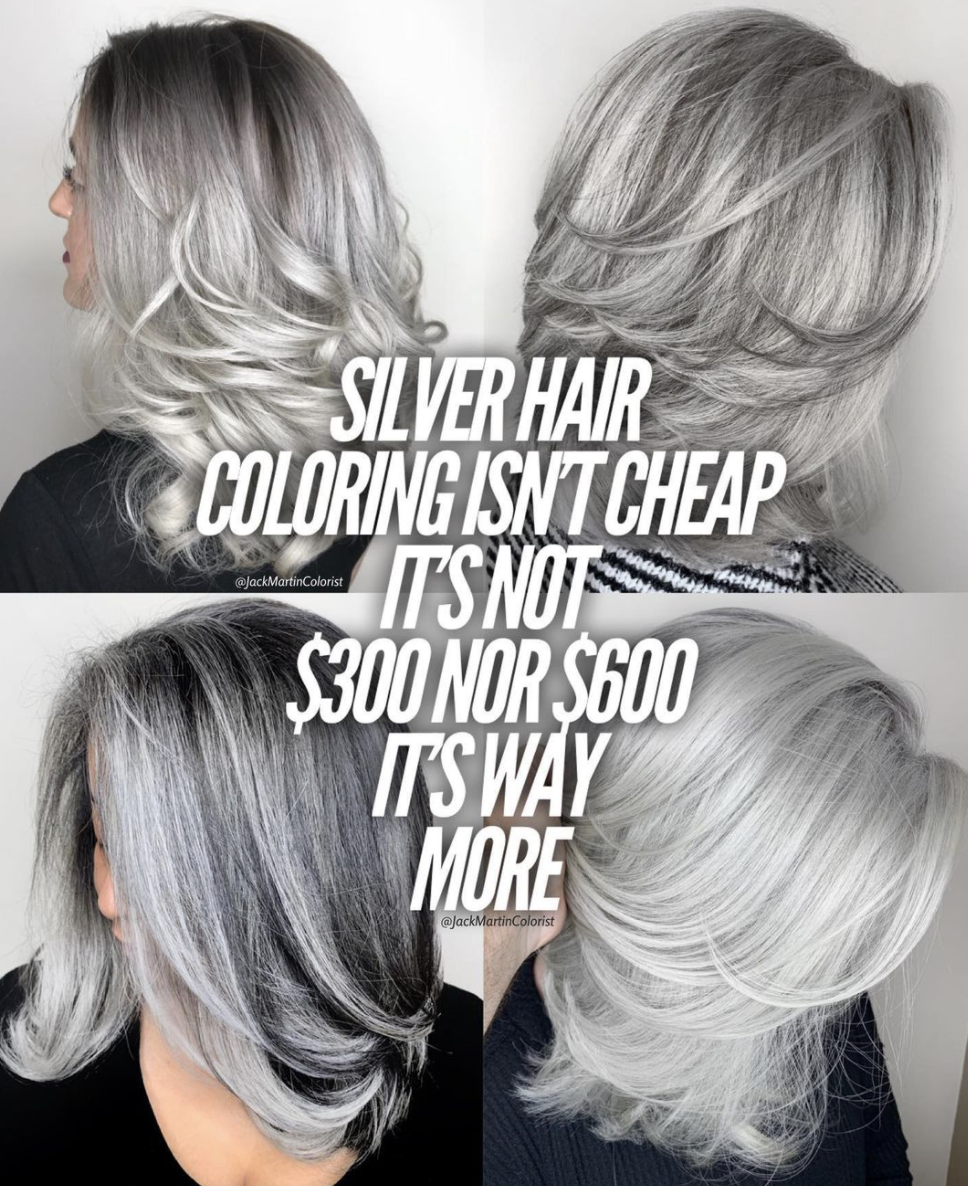
How to Transition and Maintain Gray Hair
Are your clients embracing their grays? With jaw-dropping gray transformation work flooding social media like those before-and-afters by Jack Martin (@jackmartincolorist) and a year of fewer salon visits, more clients are thinking about this option. Make sure you’re ready for them with this guide! First of all, we know gray retouches are your consistent moneymakers. But don’t fear: Transitioning a client from years of color to embracing their gray is a tedious and timely process, and will require regular maintenance to maintain. You’ll gain client loyalty by taking your guest through this process perfectly and seamlessly! ...
Keep reading for free
Create a free account or sign in to continue
Use the same email and password across behindthechair.com, BTC-U, oneshothairawards.com, and Who Does Your Hair — one set of credentials, every site.
OR
We'll check if you have an account, or create one if you don't.
To save this article, create a free account or sign in.
Join BehindTheChair
Access the industry’s #1 source for hair trends, education and community now.
OR
We'll check if you have an account, or create one if you don't.


")


