
Formulas
5 Dry-Cutting Tips You Didn't Learn in Beauty School
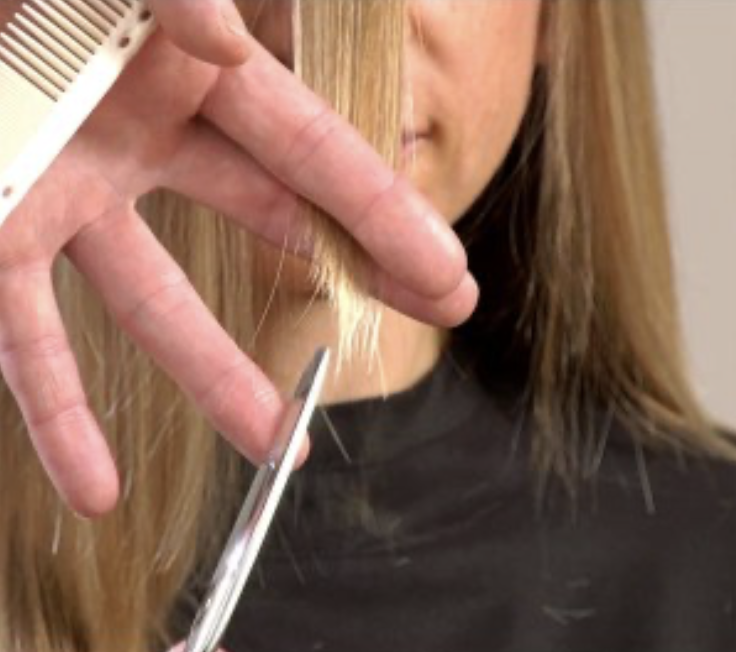
5 Dry Cutting Tips You Didn't Learn In Beauty School What's something we grazed over in beauty school? Learning how to add finishing details by dry cutting every client before they leave the chair. Keep scrolling for pro advice from Jessica Scott Santo (@jessicascotthair) to learn how to amp up your cutting game with tips our cos teachers didn't have time to teach us! View this post on Instagram A post shared by behindthechair.com (@behindthechair_com) 1. Dry Cutting Is ESSENTIAL...
Keep reading for free
Create a free account or sign in to continue
Use the same email and password across behindthechair.com, BTC-U, oneshothairawards.com, and Who Does Your Hair — one set of credentials, every site.
OR
We'll check if you have an account, or create one if you don't.
To save this article, create a free account or sign in.
Join BehindTheChair
Access the industry’s #1 source for hair trends, education and community now.
OR
We'll check if you have an account, or create one if you don't.


