7 SHADOW ROOT MISTAKES & HOW TO FIX THEM
How To Avoid A Color Correction
Avoid Making These 7 Shadow Root Mistakes
Shadow roots have become a go-to service amongst hairdressers to create beautiful blends, a seamless grow out and dimension. We reached out to top color experts to find out what mistakes to avoid to achieve a flawless shadow root every time. Scroll through to see what they said!
Mistake #1: Shadow rooting every client.
Not every client needs a shadow root. According to Sharon Mudavanhu (@yogacolourist), she prefers to do the work when lightening. “I create the blend in the foil using my tease and application technique. I never highlight to the root. So when toning, I basically erase the line where the lift and base meet by color melting an ash-based Level 4 or 5 on dark hair and Level 6 on lighter hair into my end formula,” she says. Of course, it all depends on the client and the stylist’s individual technique preference. Either way, Sharon’s blends are STUNNING. Check out her finished result below.
Mistake #2: Formulating too dark.
Alfaparf Milano International Educator Jeannetta Walker-Rodgers (@watchmyhairbounce) believes that formulating too dark is a huge fail. “Ideally, for a natural shadow, formulate on the level of the client’s natural base. Never apply a shadow root more than three shades darker than the natural base,” she recommends. Eventually, you will have to lighten back through it when the time comes for a touch-up and that can lead to breakage and banding.
Want More Color Correction Tips From Jeannetta? Click Here To Watch!
Mistake #3: Applying on natural hair.
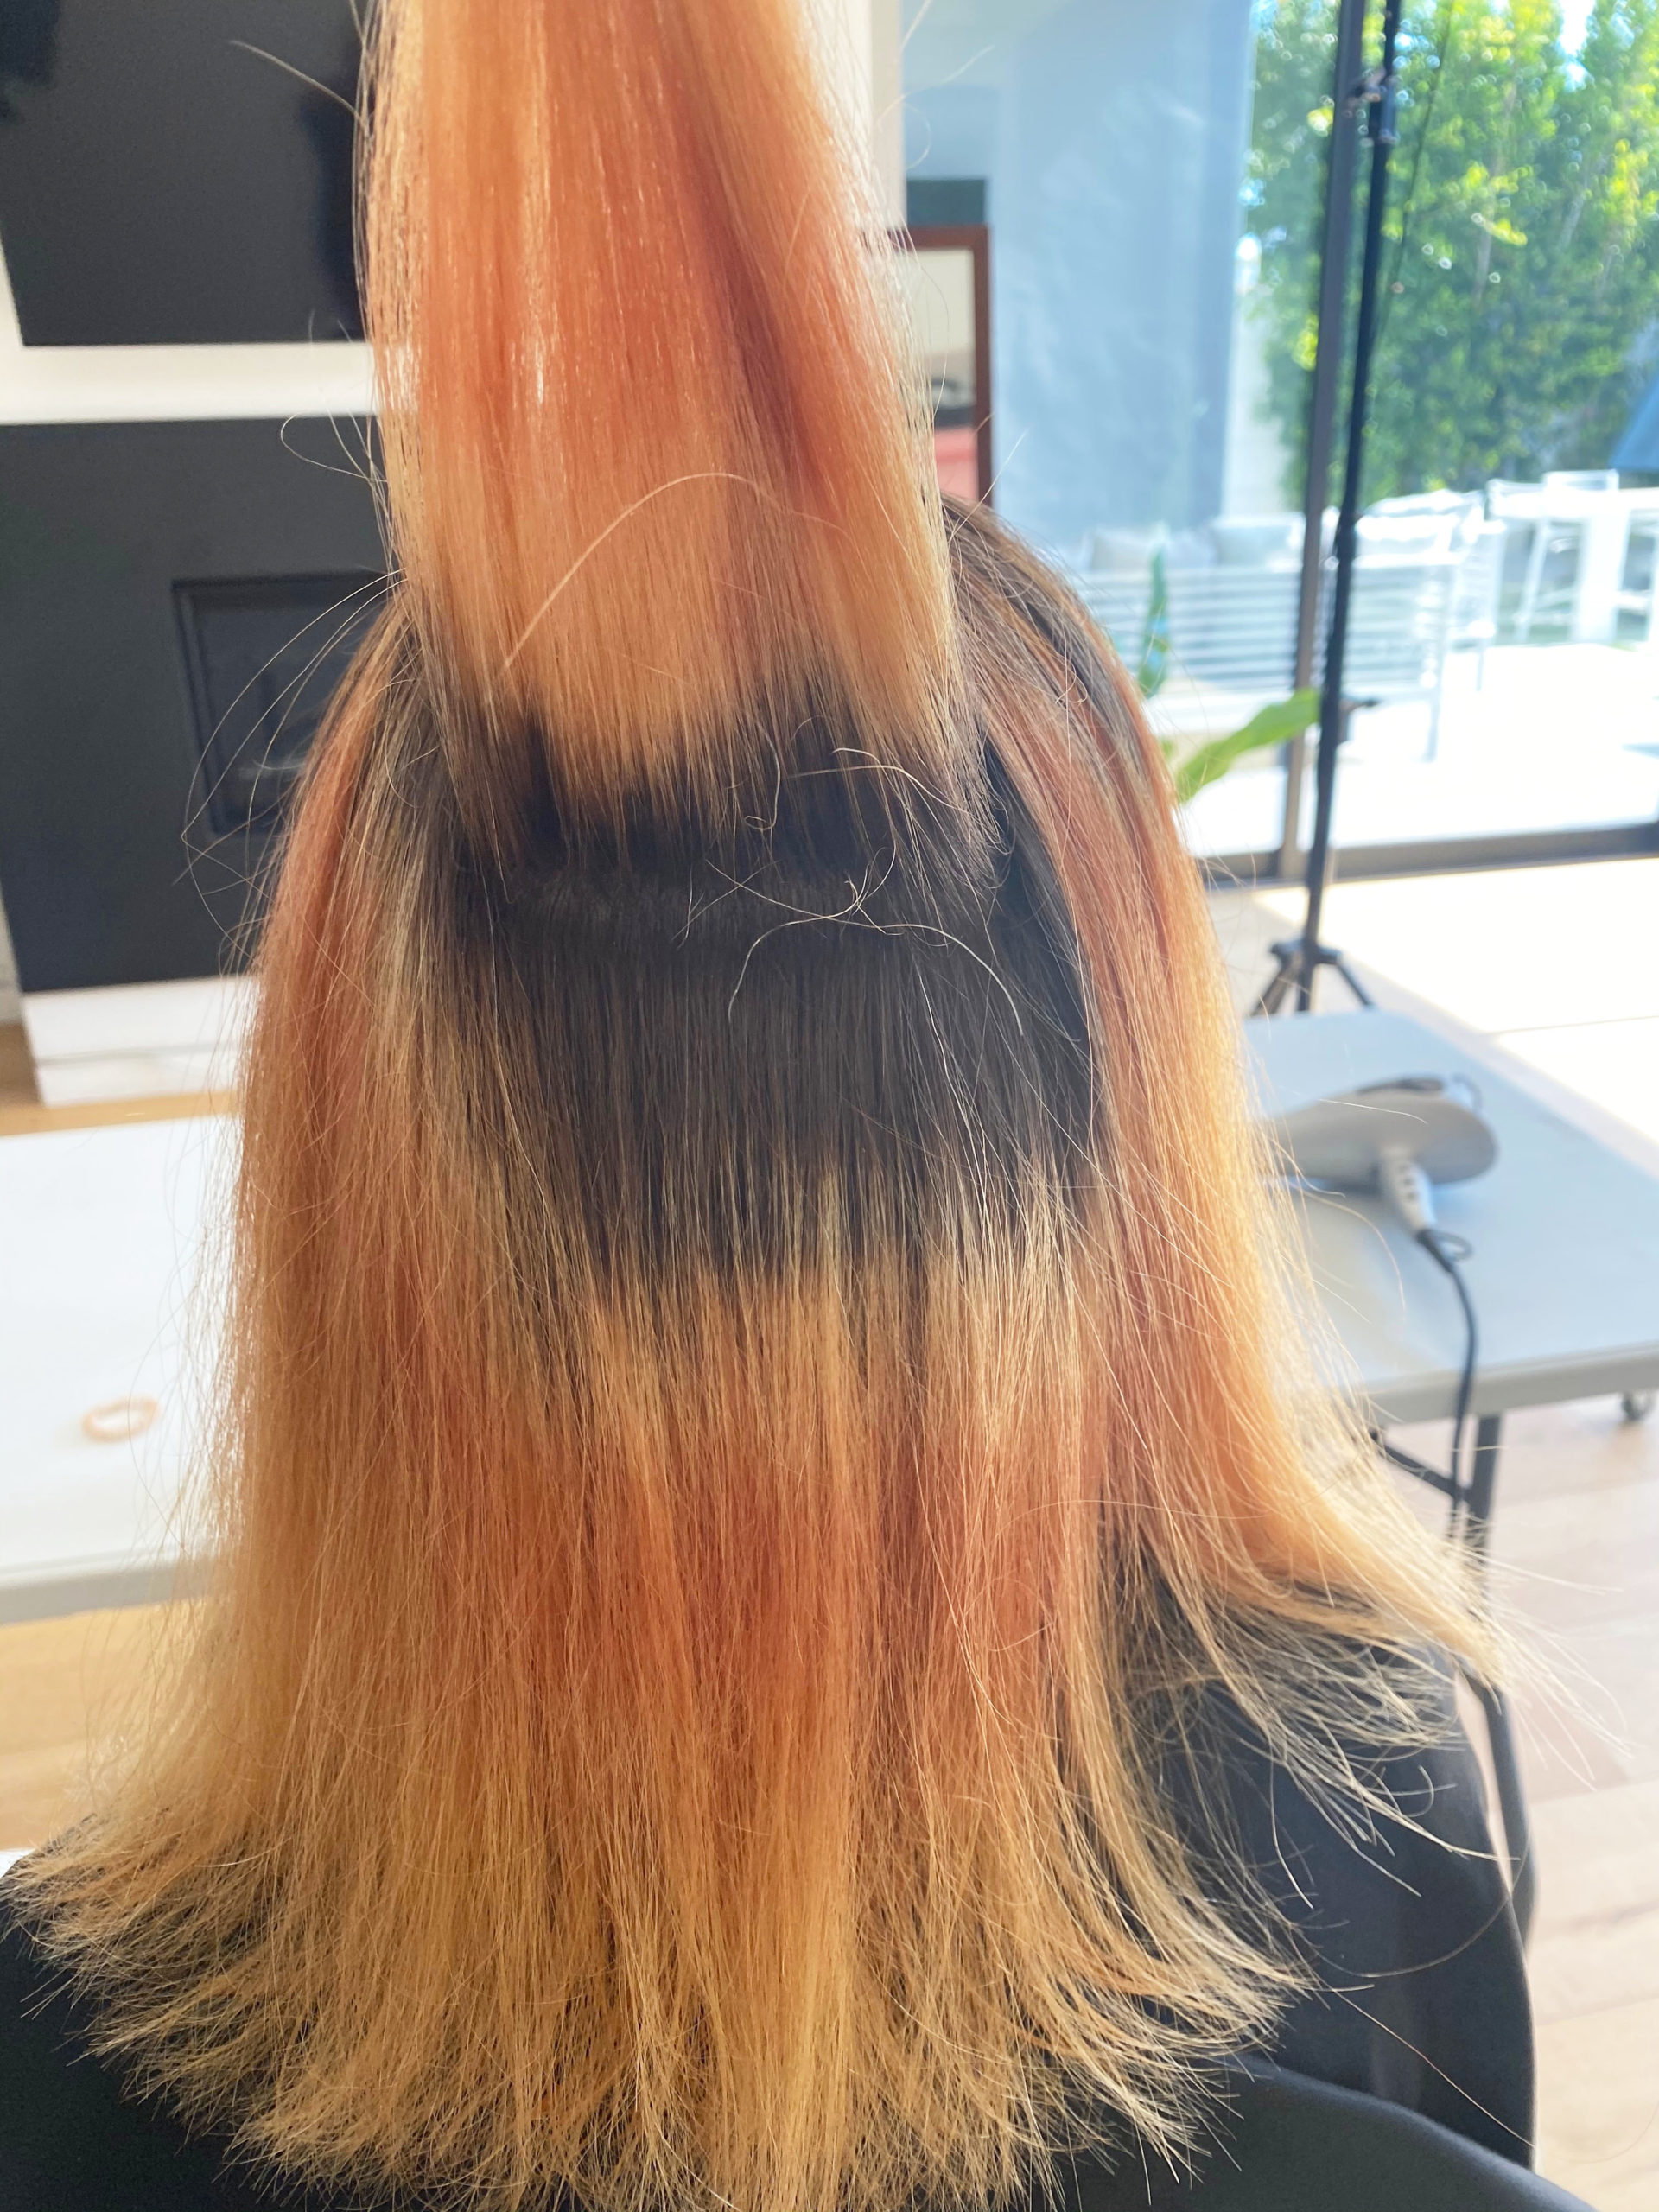
Applying a permanent color that is darker than their natural base on to hair that has not been pre-lightened can create major problems later on. “Applying a permanent color, especially a darker shade, on hair that has not been lightened can make it difficult to produce an even lightened canvas in the future (see below!),” explains Meg Schipani (@shmeggsandbaconn). “When you go back to lighten through it, you are essentially fighting through an extra layer. It can even push the color further into the cuticle depending on the type of color.”
Meg recommends ALWAYS having a thorough consultation with your client. “We all have those clients who are constantly wanting to switch up their look. It is important to really make sure they understand what goes into the process of switching back and forth between going darker and lighter. You will most likely have to fight through banding later on when taking your client back to a lighter level,” she advises.
Mistake #4: Formulating a different tone from the ends.
“Match your root shade to your end formula,” explains Abbey Brookee (@abbeybrookee). “For example, if you tone your ends ashy, you wouldn’t want a warm shadow root because the tones would be conflicting. Pairing an ash root shadow with an ash toner for the ends will be complementary.” says Abbey. Press play to see the harmonious result below!
Mistake #5: Messy sectioning.
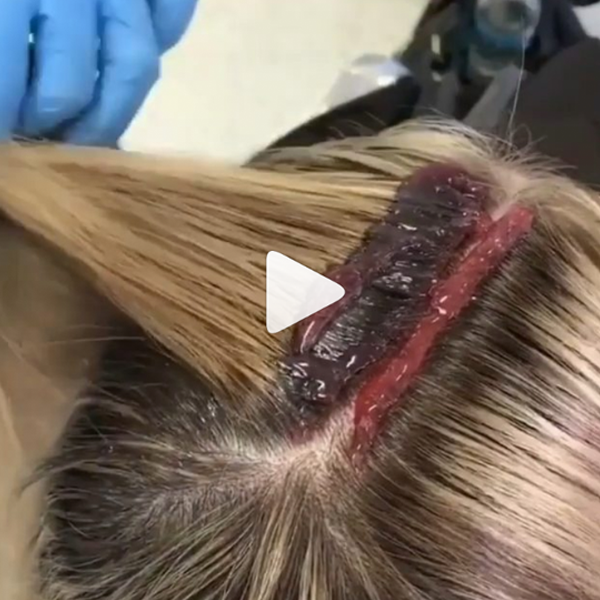
“Messy sectioning can cause splotchiness and color to transfer when flipping each section up and laying them over where you’ve already applied the root smudge,” explains Julie Smith (@thathairmagic). Try working from left to right or using foil or Saran Wrap to protect your ends from getting color on them. If you happen to get dark color on to lighter ends (we have all been there) don’t panic. “As soon as you catch it, spray it with water and scrub vigorously with a towel,” recommends Abbey.
Get must-have techniques and formulas from the industry’s BEST on BTC-U: Click here to subscribe!
Mistake #6: Starting in the front.
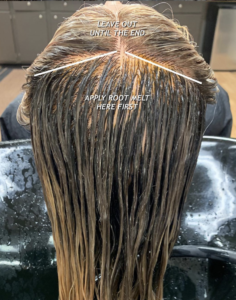
When creating the perfect shadow root, it is important to still keep in mind where the client want to see brightness and where they want to see dimension. Most clients, especially blondes, LIVE for brightness on their hairline. To avoid creating a dark ring around the hairline, start applying your root shade in the back. Samantha Harman (@samanthasbeautyconfessions) recommends leaving the front out until the very end of the glossing process. “Apply the gloss to the money piece, including the roots, and then tap the root shade on top of that. If you are wanting the money piece to pop even more, use a shade or two lighter than you used on the rest of the head,” she explains.
Mistake #7: Formulating too light.
While using a shade that is way too dark can create a future color correction, formulating too light has its pitfalls as well. Abbey recommends going a level darker than the client’s natural hair color. “When blurring out lines of demarcation, I recommend choosing one level darker than your client’s natural root. Sometimes when you’re toning with demi-permanent, the colors are too opaque to cover your lines of demarcation. By dropping your root shade one level, it ensures a seamless blend,” explains Abbey.


