
Photo Credit: Instagram via @larisadoll
Formulas
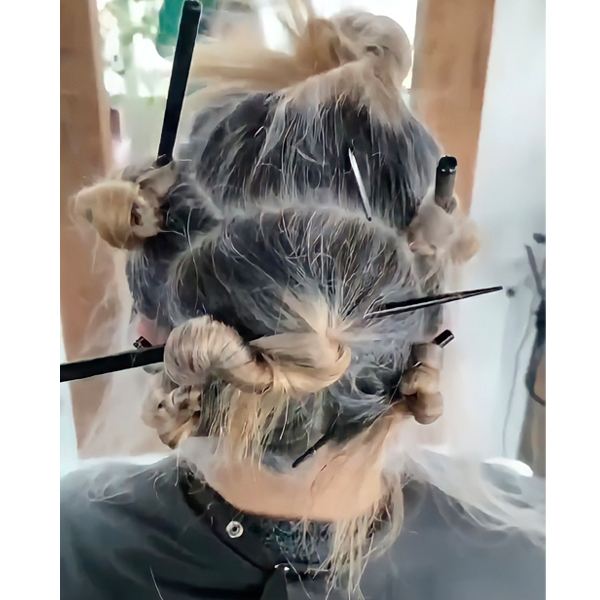
Gray Hair: To Cover or Embrace? Here Are 4 Tricks!
Gray Coverage & Color Services: 4 Things To Definitely Do Your root retouch regular just walked in—what’s your move? If the answer is *the same old gray coverage routine*, THINK AGAIN. ✨ Gray clients are some of the most loyal out there, but with a major influx of women embracing their naturally silver strands, it’s time to consider all options. To embrace or cover? Either way, we’ve got answers. Keep scrolling for genius tricks that will help you work smarter, not harder. Whether that means picking up the pace with coverage OR transitioning clients to a gray...
Keep reading for free
Create a free account or sign in to continue
Use the same email and password across behindthechair.com, BTC-U, oneshothairawards.com, and Who Does Your Hair — one set of credentials, every site.
OR
We'll check if you have an account, or create one if you don't.
To save this story, create a free account or sign in.
Join BehindTheChair
Access the industry’s #1 source for hair trends, education and community now.
OR
We'll check if you have an account, or create one if you don't.


")

