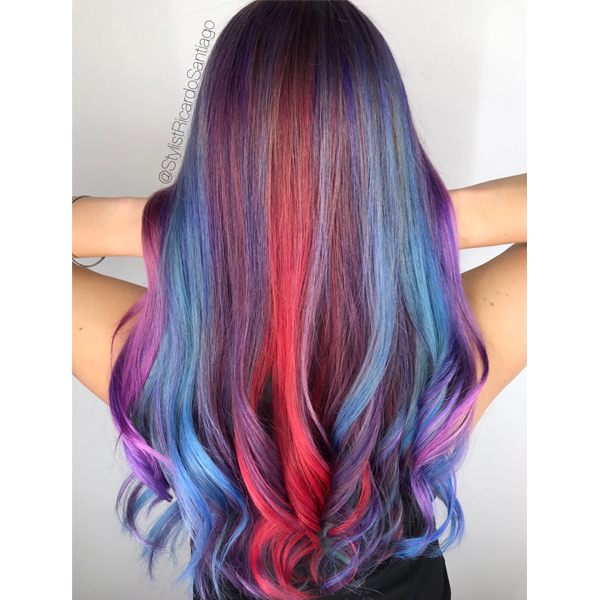
Criss-Cross Color Melt
If you’ve ever been to Joico Global Artist and #ONESHOT nominee Ricardo Santiago’s (@stylistricardosantiago) Instagram page, you might have seen looks like this…
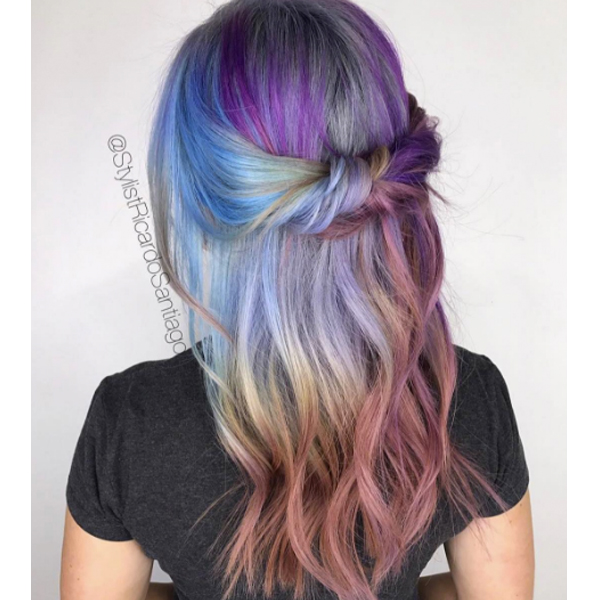
And this…
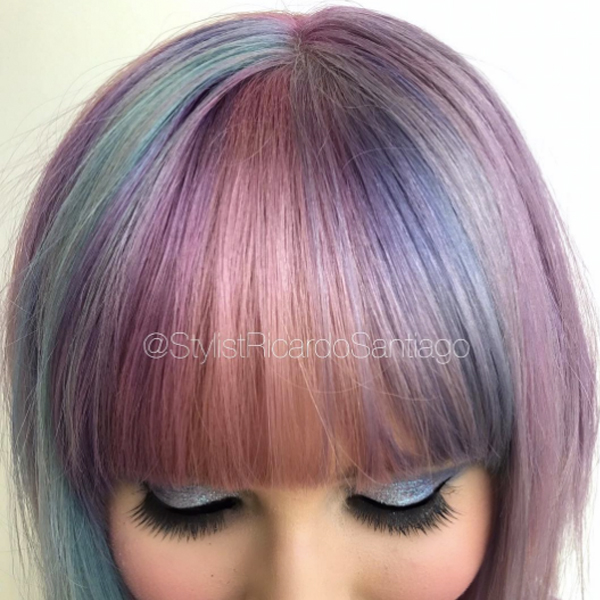
And THIS….
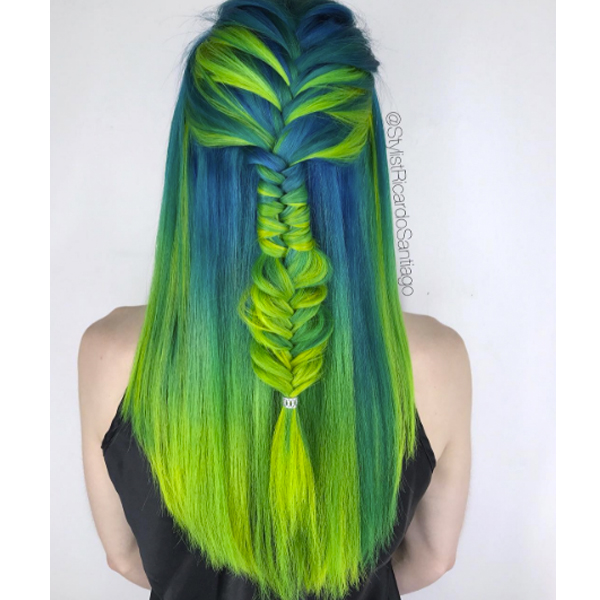
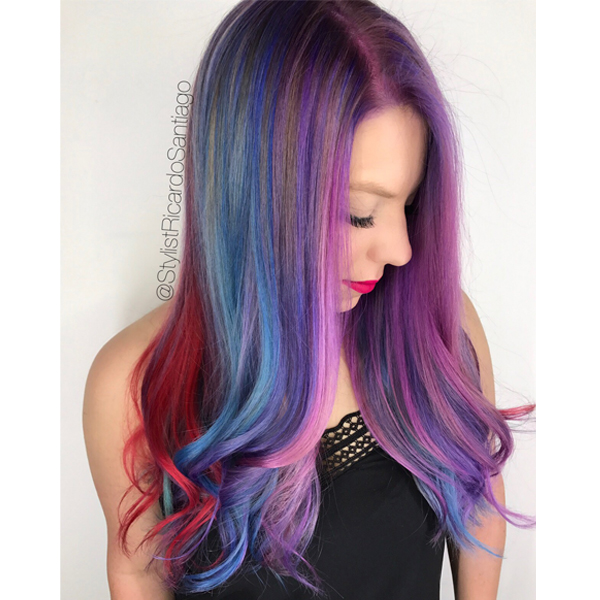
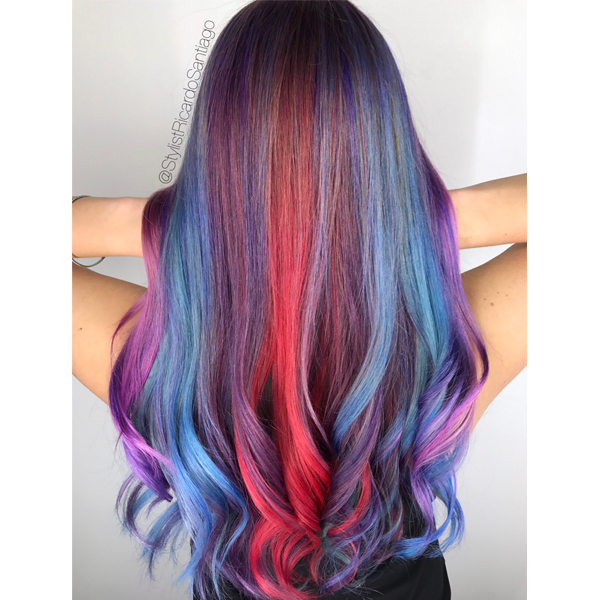
Ricardo’s secret for gorgeous, dimensional color? He uses his signature color melting technique that not only creates a blend down the length of the hair, but around the hair, too. It’s called the Criss-Cross Color Melt—and it looks beautiful with natural or fashion colors.
We hosted a Facebook Live with Ricardo, during which he shared his tips for the perfect color melt. To create this specific look, Ricardo used Joico’s NEW Color Butters in Purple, Pink, Blue and Red, diluted with Color Endure Conditioner. Neither a semi nor a demi, these pigmented deep conditioning masks are a happy medium between InstaTint and Color Intensity—lasting about 10 shampoos.
They also:
- fade beautifully and true to tone
- process for just five minutes
- don’t bleed when rinsed
- are a great way to maintain or refresh a pre-existing color
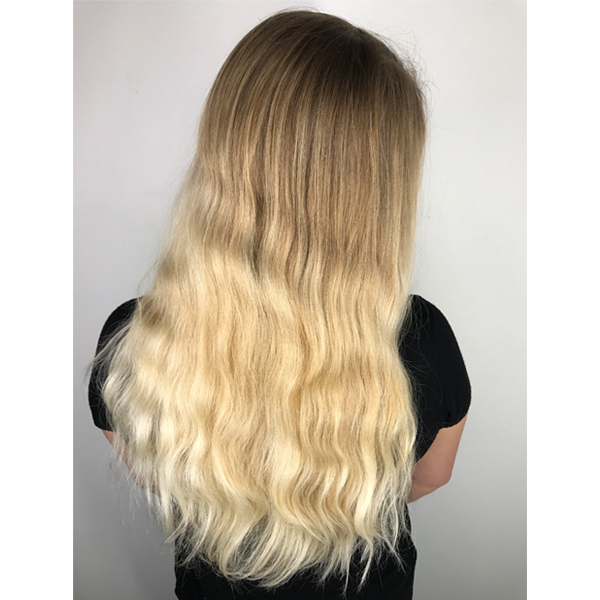
Ricardo’s client wanted to maintain her pre-existing (slightly outgrown) balayage, and this technique is great for a fade out that will return her to her previously invested-in balayage!
Ready to see Ricardo’s technique? Watch the Facebook Live below for the step-by-step.
1. On damp hair, apply a shadow root using the Purple. “I prefer damp hair because it makes it easier to color melt,” says Ricardo.
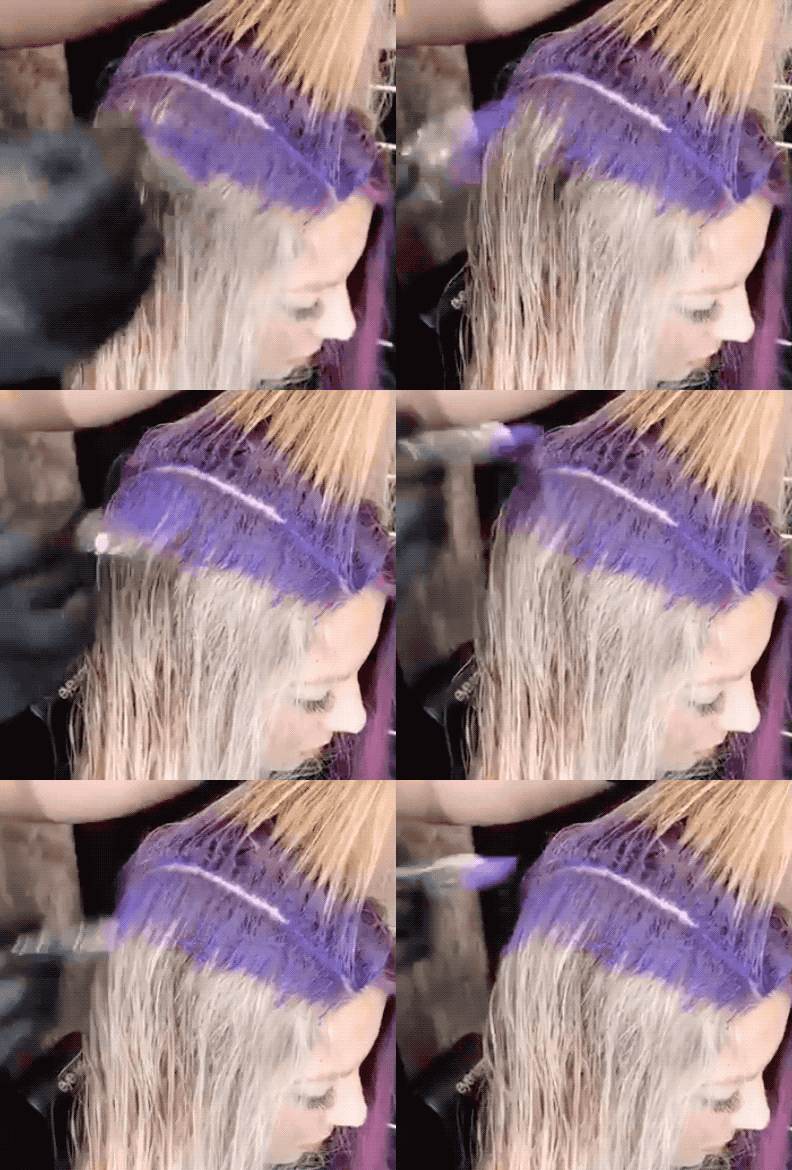
2. Using the ear as a pivot point, create three 1 to 1½-inch sections that fan out from the ear. This will allow the color to better follow the curve of the head. Create a fourth, slightly wider section fanning back, continuing to follow the curve of the head and a fifth, narrower section off the apex.
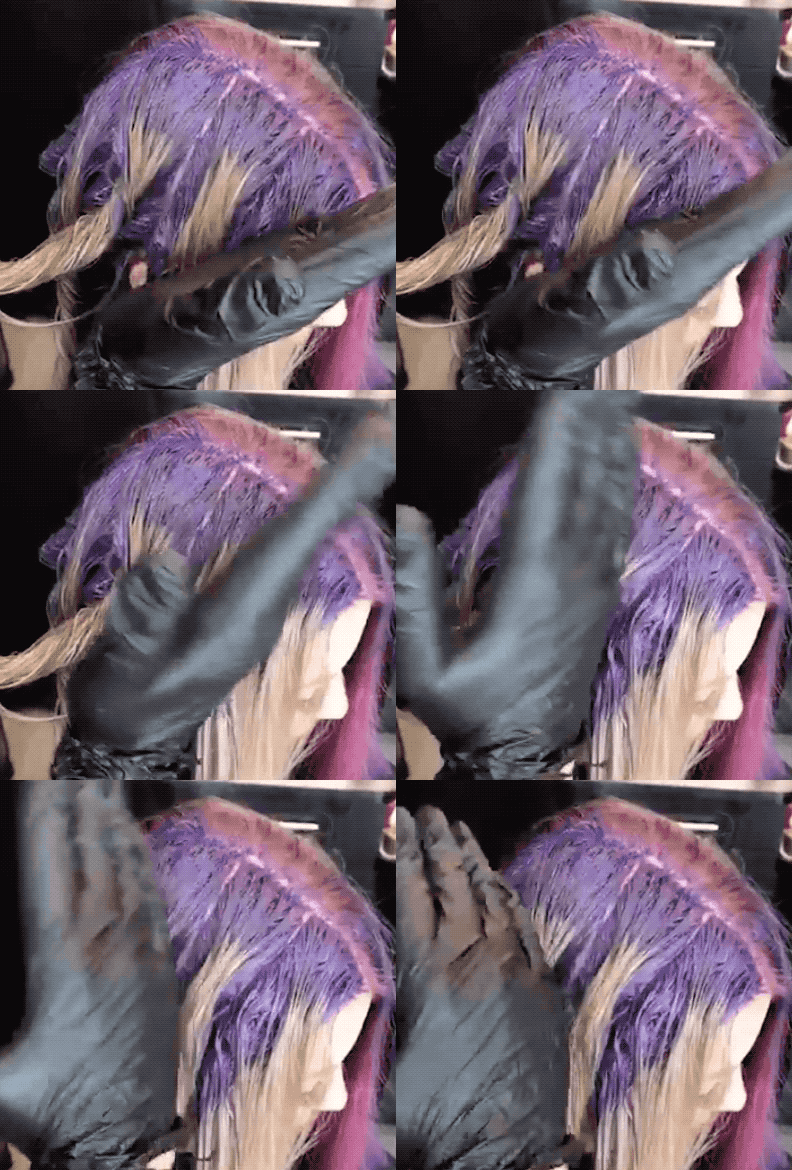
3. In the first three sections, melt the Pink into the Purple, applying with a brush in a side-to-side motion and using your fingers to blend.
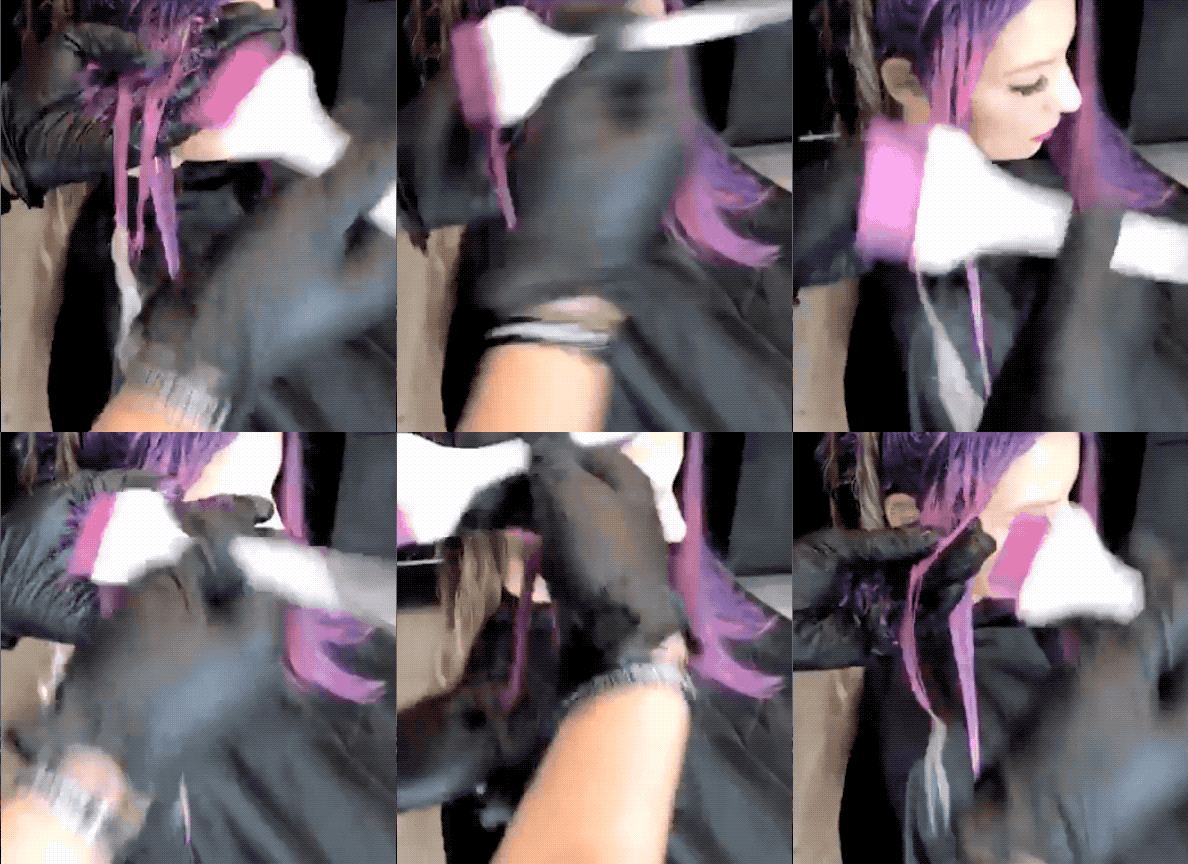
4. Apply the Blue directly over the top of the pink to blend and create a light purple color.
Pro tip: Ricardo likes to subdivide the sections and apply more blue to the first section and less in the next section for a more fluid gradient.
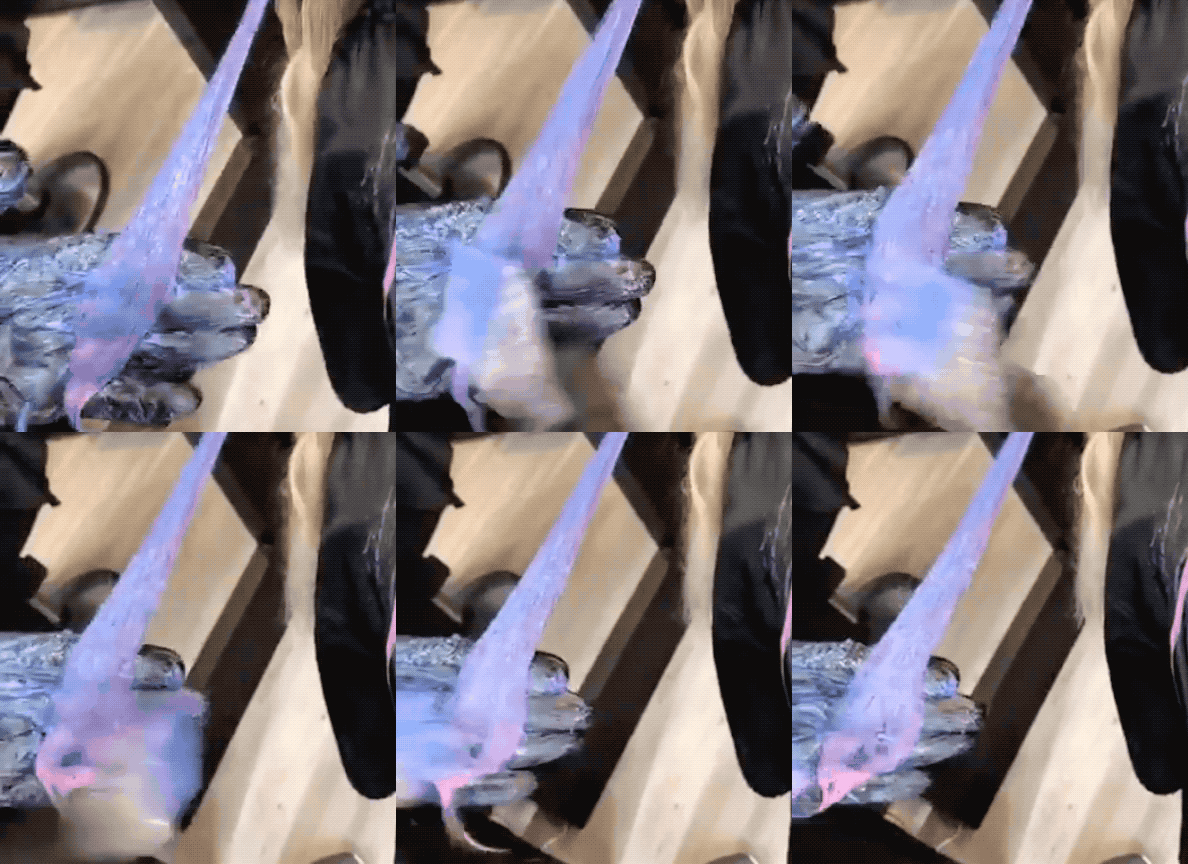
5. Apply Purple to the midlengths of the fourth and fifth sections, continuing to brush using a side-to-side motion and making sure to fully saturate, then apply Blue over the top, melting to the ends.
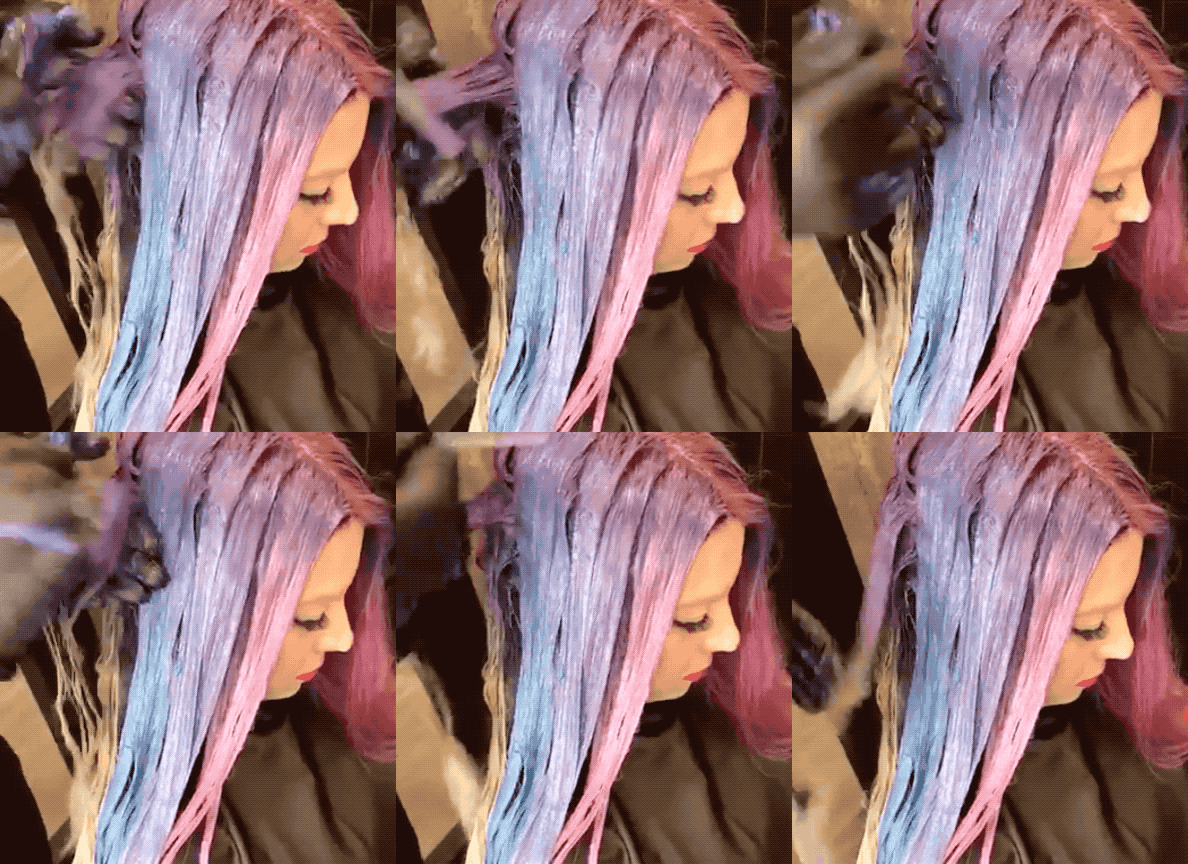
6. In the fourth section, apply Red lightly over the top of the Blue, which will create a more purple/blue. In the fifth section, apply Red to the same area, but use slightly more saturation, which will create more of a red/violet tone.
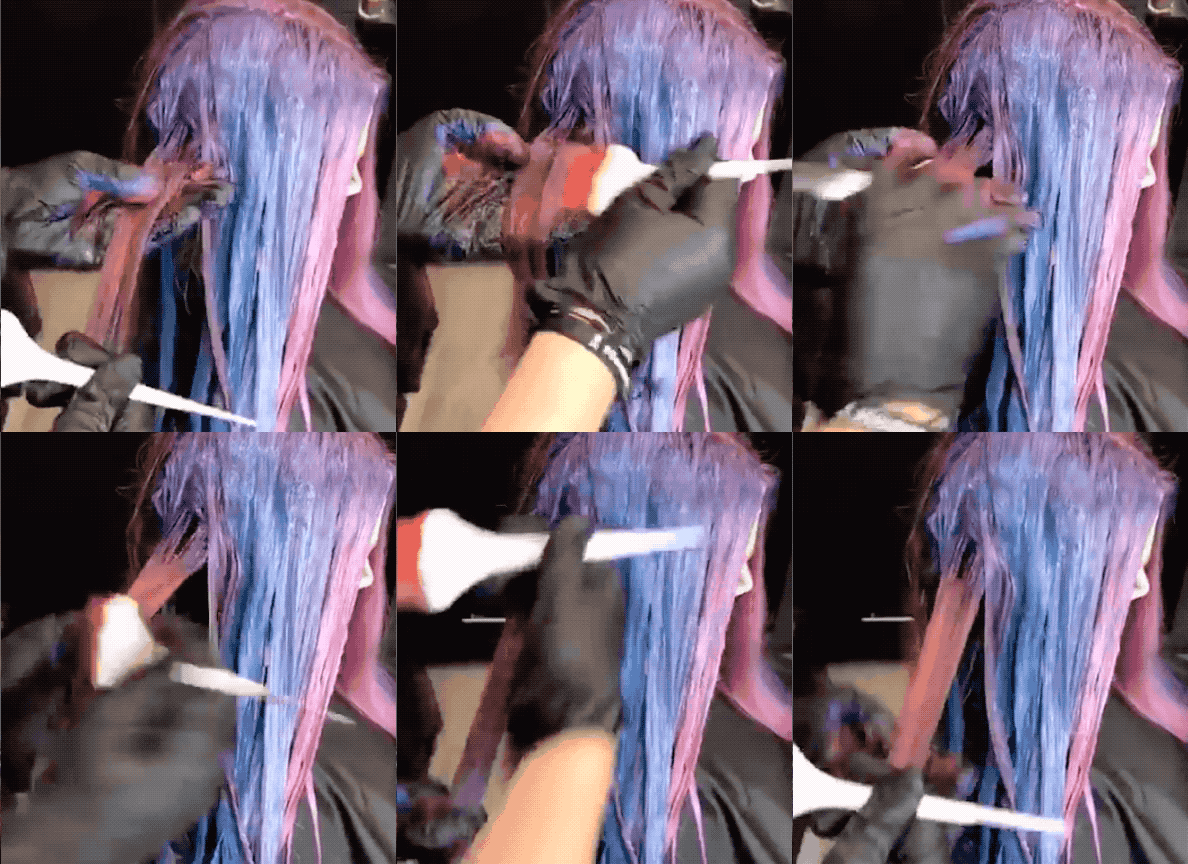
7. Process for about five minutes, and rinse. Then repeat on the other side of the head.
Watch the whole process!
More from
Joico
-
BTC University
10 Best Holiday Gifts for Hairdressers: Blonding Specialist Edition
-
News
This Subscription-Free Beauty Box Delivers Trending Pro Beauty Products
-
BTC "On Tour"
BTC “On Tour” 2024 Wraps Up In Los Angeles
-
Curls
How To Use A Consultation To Address Curly Client Concerns
-
BTC Events
Celebrity Colorist Justin Anderson Joined BTC’s “On Tour” Nashville Benefit Show
-
BTC Hair Trend Report
The Biggest Hair Color Trends of Fall 2024
-
Blonde
Butter Blonde Guide: Toning, Lightening & Technical Tips
-
Blonde
Lightening Textured Hair: The Must-Dos & Mistakes To Avoid
-
Brunette
Soft-Dimension Brunette Without Any Lightener: Here’s How
-
#ONESHOT HAIR AWARDS
3,000 Hairstylists in one Place? Here’s What You Missed at the 2024 BTC Show
-
Monthly Product Launch List
20 Major New Hair Innovations To Kick Off Fall
-
Blonde
Dark To Beige Platinum Blonde Transformation
-
Blonde
How to Connect 6 Inches of Regrowth in Less Than 25 Foils
-
Curls
Curls Like Us™ Collection
-
Hair Color
Dark Brown To Smoked Pearl Blonde Transformation
-
BTC Hair Trend Report
8 Hair Launches to Heat up Summer
-
Business
Why Promoting Women to Leadership Positions is the Key to a Successful Hair Brand
-
Color Protecting
Blonde Life® Color Enhancing Masques
-
Detangler
Blonde Strong™ Detangler
-
Monthly Product Launch List
9 New Product Launches To Bring Into Summer
-
News
The BTC Beauty Box is Back & Better Than Ever—Same Best-Sellers, No Subscription Needed.
-
Blonde
Virgin To High-Lift Dimensional Bronde
-
Met Gala
MET GALA 2024: EVERY CELEBRITY BEAUTY LOOK FROM THE RED CARPET
-
Met Gala
GIGI HADID’S MARILYN-INSPIRED MET GALA BOB


