Blowout Guide: Pro Tips For Rollers, Round Brushes + Pin Curl Sets
How To Perfect Blowout Techniques For Every Client
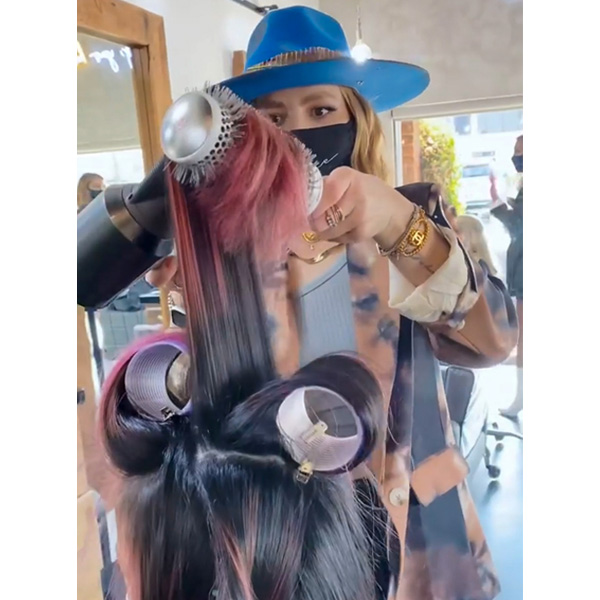
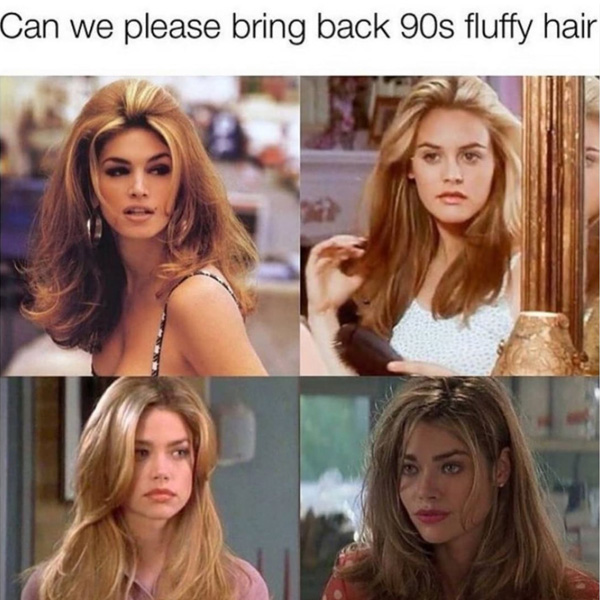
Bouncy ’90s supermodel blowouts are one of 2021’s biggest hair trends—this is pretty amazing news for stylists! Bringing back blowouts will give you more opportunities to customize styling services in the salon, AND boost your ticket. Here’s what we’re seeing on the trend radar: It’s time for a roller revival, so bust out those Velcro rollers, pin curls and round brushes to create volume that lasts.
We spoke with some experts on the topic to bring you a complete guide to blowouts. Keep reading for the basic dos and don’ts and more advanced pro tips for perfecting every type of blowout.
1. The Dos + Don’ts Of Blowouts
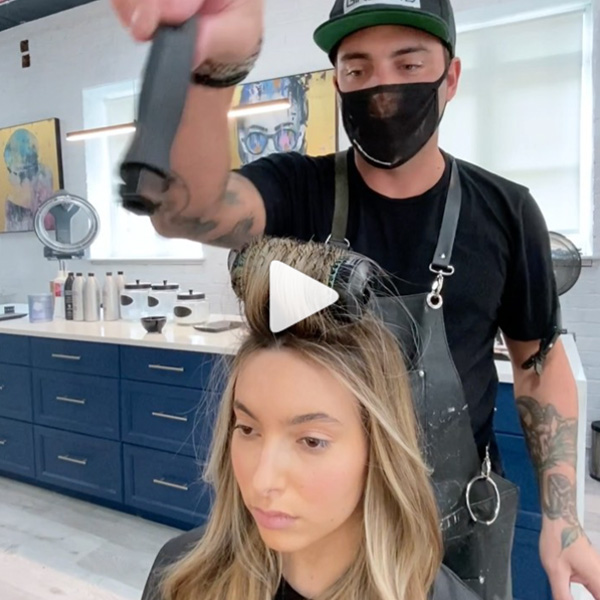
Struggling to get bounce and volume? Let’s start with the basics. Here are some common mistakes that make blowouts fall flat and what to do instead from Eric Vaughn (@realericvaughn).
Common Mistakes
- Not getting enough moisture out of the hair. Sometimes the hair appears dry because it’s hot, but it might still be damp and this will cause the blowout to fall instantly.
- Not using the correct prep products to help maintain volume
- Not letting the set cool completely
Instead, Do This!
- Blow-dry completely with the WetBrush BreakFree Pro Collection Volume & Body Round Brushes. The concave shape helps boost volume and lift.
- Prep with Matrix Total Results High Amplify Wonder Boost Root Lifter directly at the roots and hairline.
- The longer it sets, the longer it lasts. Eric always does the front hairline and Mohawk section first, so it sets the longest.
Watch Eric’s full breakdown with SOUND ON below!
View this post on Instagram
2. Try This Genius Diffuser Trick
After finishing the full blowout set, Eric diffuses over the set first with heat to reheat all the sections. Then, he switches to the cool shot to help cool down the set for a long-lasting bombshell look.
Why? The diffuser creates a soft flow of air. The last thing you want to do is rough up the hair or mess up the set!
3. Roller Revival: Pro Tips & Tricks
How To Get @larisadoll’s Bombshell Blowout
Here’s how Larisa Love (@larisadoll) uses rollers for extra volume.
- Prep with Joico Dream Blowout to cut down blow-drying time by 50 percent and control static for smooth results.
- Apply mousse to wet hair and blow-dry in the opposite direction of natural fall for added volume and root lift.
- The bigger the Velcro roller, the bigger the hair.
Watch the full technique below!
View this post on Instagram
Justine Marjan’s Go-To Velcro Roller Techniques
Styling layers and curtain bangs? Celeb stylist Justine Marjan (@justinemarjan) works with round brushes and Velcro rollers for a bouncy face-framing finish.
How To Prep The Hair:
- Blow-dry with a ghd helios Hair Dryer and WetBrush BreakFree Volume & Body Round Brush—the brush shape supports volume and extra lift in the hair.
- Prep with mousse at the roots and Aveda Thickening Tonic through the midlengths.
Use Velcro Rollers To Set The Blowout:
- Velcro rollers allow the hair to cool down and set in the perfect shape, with a fluffy brushed-out finish.
- While the hair is cooling, apply Bumble and bumble Dryspun Finish Spray to the root area and a light mist of hairspray all over.
- Allow the rollers to set for 20 minutes and back-brush with a detangling or smoothing brush. Justine suggests using the WetBrush Shine Enhancer or Go Green Hair Detangler for this step.
Watch Alex Brown Use Hot Rollers For Extra Drama
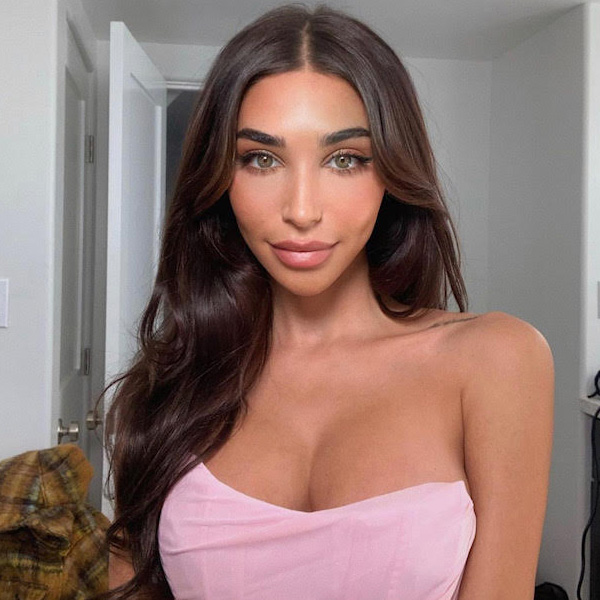
Ready to take your roller game to the next level? Alex Brown (@alexbrownhair) busted out the T3 Micro hot rollers to get EXTRA volume, bounce and shine…and we’re obsessed! Alex recommends leaving the rollers in for 20 to 30 minutes if applied on damp hair or until the hair feels dry, and roughly 15 minutes if applied to dry hair.
Peep the video below to see how it’s done!
View this post on Instagram
4. How To Pair A Blowout With A Silk Press
John George III (@johnwgeorge) always starts a face-framing blowout with a good shampoo. The initial blowout goal is to get the hair as straight as possible, without compromising its integrity. The next step is a silk press with the The New Classic Infrared Iron from CROC® Hair Professional for smoothness and shine without having to use surface products.
Creating The Face-Framing Curls:
Using a 1.25-inch barrel curling iron, John takes a U-shaped section at the crown, from the inside of her eyebrow, and curls away from the face. Curl all of the hair below the eyebrows toward the face. Wrap every curl a full rotation and a half around the iron.
Pro Tip: For longer hair, John suggests tighter curls. Density and gravity affect the curls, so tighter curls will last longer.
Watch John’s silk press + blowout breakdown below!
View this post on Instagram
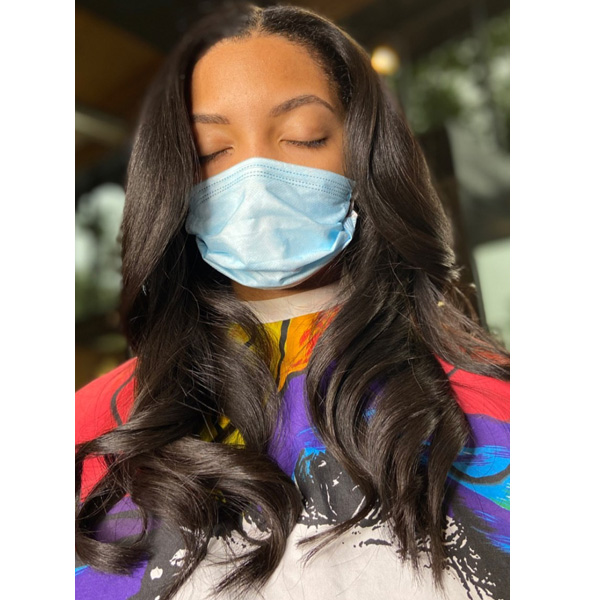
5. Blow-Drying Curtain Bangs + Layers
The long-layered cut is another one of the year’s biggest hair trends and looks amazing paired with a bouncy blowout finish. Here are Farhana Premji’s (@xo.farhana.balayage) rules for styling this cut.
- Use the Olivia Garden 1.75-inch NanoThermic Ceramic + ion Round Thermal Brush—the ceramic-coated barrel heats up fast and retains heat longer, and the extra large vents add to the airflow which reduces drying time.
- Elevate upward to create volume at the root.
- Unravel away from the face.
- Overdirect forward and bevel upward around the front hairline.
Watch Farhana’s quickie how-to below.
View this post on Instagram
6. Pin Curl Placement Ideas
Mohawk Placement:
For clients with fine hair, here is Amanda Diedrich’s (@blohaute) go-to technique for giving limp hair more lift at the roots.
- Working in four sections throughout the Mohawk, set each round-brushed section to allow it to cool with lift at the root and prevent it from falling flat.
- Amanda uses the WetBrush BreakFree Pro Collection Smooth & Shine Round Brush. The concave bristle design helps with getting close to the root to maximize control for more body and volume.
- Direct everything backward to get a perfect, face-framing swoop.
Watch Amanda’s fine-haired blowout technique!
View this post on Instagram
Frame The Face:
Choosing the right barrel size on the curling iron/round brush for your client’s hair type and length is KEY, suggests Justine. Generally, a smaller barrel will mean a tighter curl. Pin the top section upward and away from the face and the sides horizontally for max volume and bends to frame the face.
Watch Justine’s perfect blowout below!
View this post on Instagram
7. How To Create The Swoop Effect
Here’s a fast way that Amanda refreshes dry hair with face-framing lift and a swoop at the root. Set the crown section with a brush, then continue with curling the rest of the hair while it sits for 15 to 20 minutes. Release and BOOM—you have the perfect swoop!
Pro Tip: Amanda uses the WetBrush BreakFree Volume & Body Round Brush because it has concave bristles which help to get super close to the root to provide max lift.
Watch Amanda break down the how-to below.
View this post on Instagram
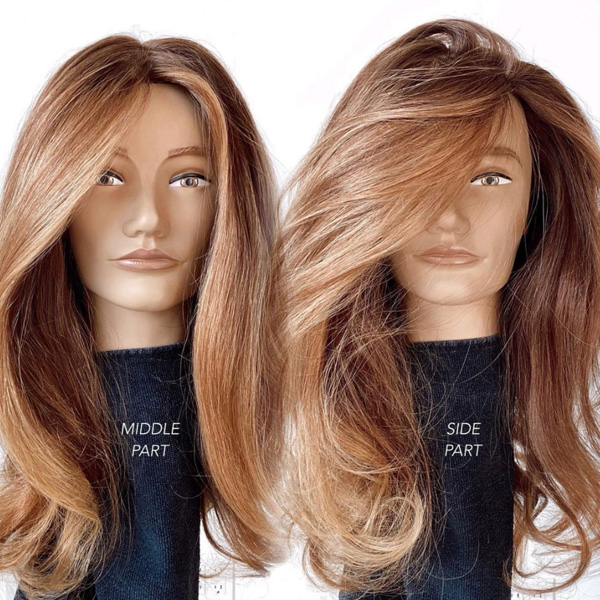
8. How To Blow-Dry A Middle vs. Side Part
One blowout, TWO WAYS! Sorry Gen Z, we still stan a side part. We love this quickie how-to from Farhana breaking down how to create a high-volume blowout with two different partings and a 20- to 30-minute pin curl set. Watch it below!
Pro Tip: Farhana uses the Olivia Garden NanoThermic Ceramic + ion Round Thermal Brush and the Ceramic + ion Supreme Combo Brush for a smooth yet voluminous finish.
Watch the quickie below!
View this post on Instagram
Which Brush Is Right For Each Hair Type? Read This!


