3 Tips For Understanding Razor Cutting

Razor Education: 3 Tips To Get You Started
Ready to up your cutting game to include razor cuts? Razor cutting expert Nick Arrojo (@nickarrojo) shared his knowledge on BTC University to help get you started. Keep scrolling for Nick’s need-to-know razor cutting terms, the secret to maintaining control and an easy fix for over texturized ends. Click here to become a BTC-U Member and receive unlimited access to Nick’s course on BTC University and learn his entire technique!
What We Learned:
You can learn Nick’s full technique in his 90-minute course, but we’re teasing these tips to take back to the salon asap!
Tip #1: Learn These Razor Terms
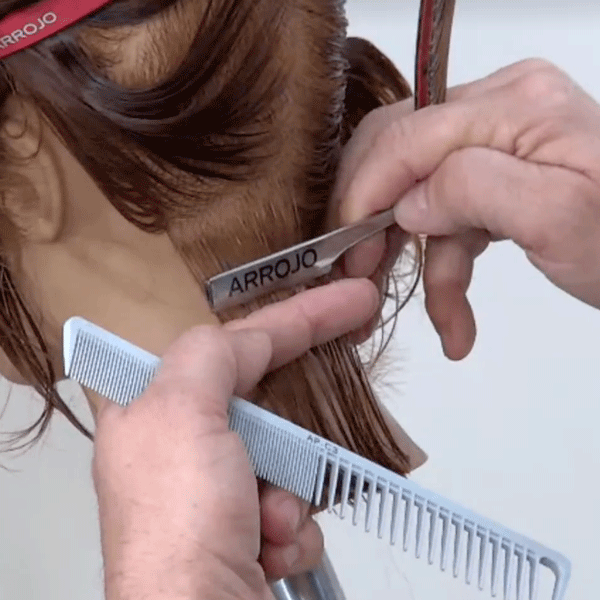
To get started, Nick broke down specific razor cutting terms and the motions used when working with a straight edge blade:
- Edge Work: Using the edge of the blade and a tight, closed stroke to remove hair. This technique is perfect for creating clean lines at the back hairline.
- Open Razor Cutting: Working down the hair in a long, fluid motion with the razor blade slightly on its side. “You are splicing the hair as you work down the section,” Nick explains.
- Tipping: Using the tip of the blade to create texture and piece-iness.
- Closed Stroke: Short, tight motion that creates clean lines.
- Open Stroke: Long, smooth motions that help create softness and texture. There are many variations of an open stroke, depending on the desired texture. The longer the stroke, the more texture will be created.
Tip #2: Keep Tension Tight For Better Control
“It is important to remember that razor cutting is high-tension cutting,” Nick explains. “The tighter the tension, the more controlled engagement there will be between the razor and the hair.” Tight tension give you more control when moving the razor through a section, making adjusting the stroke easy. Loose tension can cause the razor to snag and damage the hair—which is extremely uncomfortable for the client.
Pro Tip: Nick recommends beginning the cutting motion with the razor before entering the section, so the movement is seamless when engaging with the hair.
Tip #3: Strengthen Over Texturized Ends With A Point Cut
If the shape has become too soft or the ends are looking wispy, Nick suggests a point cutting technique for strengthening a line.
“I take the section and elevate the hair up,” he explains. “Then, I use scissors to gently point cut the wispy ends. I call this ‘sealing the cuticle’ and it is for beginner razor cutting that tends to over texturize.”
Slide For The Before & After
Have Questions? Nick Has Answers!
One of the benefits of watching a course on BTC University? Artists are able to answer your questions in REAL TIME! Here are some technical questions viewers had for Nick during his livestream:
Question: How does razor cutting with a guard on affect the final result?
Answer: “When razor cutting with a guard the first thing that touches the hair is the guard. So you have to push through the guard, that means your pressure is a little bit heavier than normal. So the finished look won’t be as refined as it would be when working with a straight edge blade. The guard is a brilliant tool to use for safety and to perfect the cutting motion before moving onto a straight edge blade.”
Q: What extra precautions do you take for clients with finer hair?
A: “Well you definitely don’t want to thin it out, so I avoid putting in a clean line, fine hair doesn’t hold it well. So, I create a blurred line and the edges give the illusion of a straight line. Plus, that little bit of shortness will give the hair some volume. ”