
Photo Credit: Instagram via @jessicascotthair
Formulas
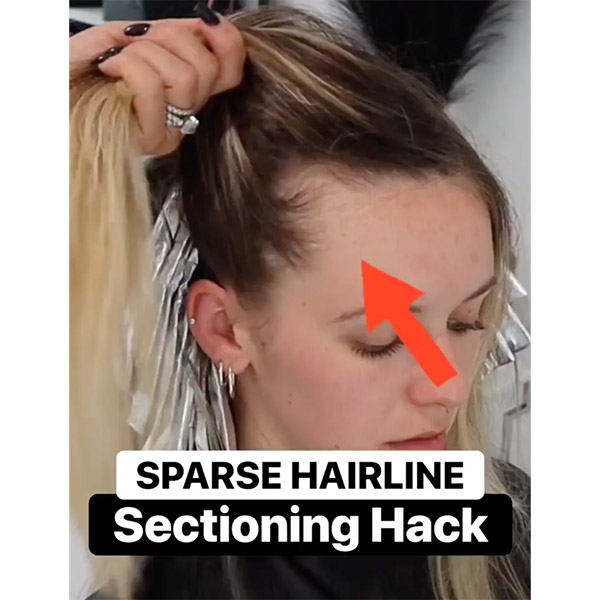
Top 10 Hacks This Week For Every Pro Stylist
10 Quickie Cheats To Level Up Your Game Behind The Chair Leave it to us for the ultimate hair hacks you didn't even know you needed. Whether it's formulating, styling, sectioning or saving product, we've gathered the best tips we found on Instagram this week. Stay tuned for ten quick tips from some of the best educators. Tip #1: If Your Babylights Aren't Coming Out Blended, Try This: Here's @kristen_o_beauty's key to a natural-looking babylight application: start by taking a super-thin slice and then weaving that slice even finer. The skinny weave is what truly makes...
Keep reading for free
Create a free account or sign in to continue
Use the same email and password across behindthechair.com, BTC-U, oneshothairawards.com, and Who Does Your Hair — one set of credentials, every site.
OR
We'll check if you have an account, or create one if you don't.
To save this article, create a free account or sign in.
Join BehindTheChair
Access the industry’s #1 source for hair trends, education and community now.
OR
We'll check if you have an account, or create one if you don't.


")


