
Last updated: January 11, 2021
4 Perimeter Cutting Mistakes & How To Fix Them


Instagram via @chrisjones_hair
4 Mistakes To Avoid When Cutting A Blunt Bob
Have you ever spotted a super sharp bob from across a room and thought to yourself “I wonder who cuts her hair?” If you are in the Houston area, chances are it was Chris Jones (@chrisjones_hair). With over 277, 000 (!) followers on Instagram, Chris is known for his “soft blunt” bobs and cutting techniques. So we sat down with Chris (virtually of course) and got all of dos and dont’s of creating an eye-catching perimeter.
Mistake #1: Too much tension.
Whether you are cutting at the nape wet or dry, it is important to make sure you are combing the hair down at natural fall. (Natural fall: the direction the hair naturally grows out of the head.) One way to ensure this is to cut against the skin versus in your fingers. Sometimes using your fingers to hold the section can create too much tension which can lead to jumps or irregularities in your perimeter.

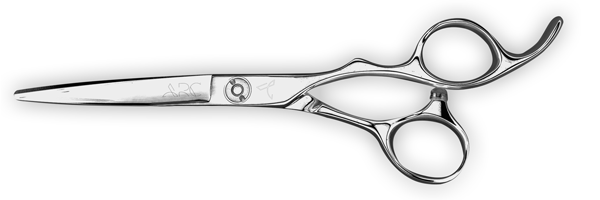
For optimal control, try using a wide tooth comb and a shorter shear. “Shear size is a personal preference. I lean towards shorter shears because it puts my hands closer to my work giving me more control. I like to use the 5.5” ARC™ Scissors PHANTOM II,” says Chris.
Press Play Below To Watch The ARC™ Scissors PHANTOM II In Action!
Mistake #2: Overdirection.
Remember: A blunt haircut is cut at zero degrees elevation all around the head. Pulling your sections from behind the ear to the nape of the neck will create unwanted graduation. “If you comb the hair that is supposed to fall to the side of neck to the back, that overdirection will create graduation”, explains Chris. All sections should be combed straight down at natural fall and cut to the same line. This will create that sharp, precise perimeter that makes or breaks a blunt bob.

Mistake #3: Incorrect body positioning.
Time for a quick anatomy lesson. The mastoid process is the bone that is located where the head starts to round to the side approximately one to two inches behind the ear. From the mastoid process to under the chin is considered the side of the cut. From the mastoid process to the nape of the neck is considered the back of the haircut. Check out this nerdy visual below!
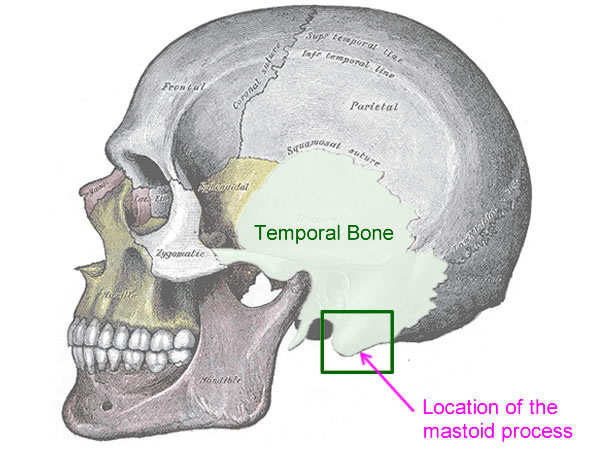
Now that you have that in the back of your head (see what we did there), it is IMPERATIVE that you cut directly in front of the section you are working on. If you try and cut the side from the back, you WILL be overdirecting that section. Overdirection always leads to graduation. Bottom line: move your body! It should always be positioned parallel to the line you are cutting!
Mistake #4: Jump around the ear.
There is nothing worse or more common than creating a killer perimeter with a jump below the ear. This disruption will pull the eye away from the strong line you have created in the rest of your cut, and can often lead to cutting the hair shorter in an attempt to fix it. No worries. Here is how to avoid it. “If you are working on wet hair, tap above and below the ear to create slack. The hair needs to be slightly longer to travel over the ear and fall along the same perimeter line. Sometimes this creates a tag or longer piece,” explains Chris.
Watch How Chris Uses His 10/10 To Chip Away At The Perimeter Below!
Chris likes to use his ARC™ Scissors SYMMETRY10/10 Reversible Blender to chip away any extra length. Because they remove approximately 60% to 70% of the hair depending on the angle of the blade while cutting, they are great for creating straight textured lines in bob cuts. He also recommends using a wide tooth comb when cutting dry to avoid creating a hole in the perimeter.


