
Video How-To: Pixie Transformation

Watch: Pixie Haircut Transformation
It’s every stylists’ dream when a client sits down and declares, “I’m ready for a major change.” We know, because we love it as much as you do! So when ARC™ Scissors Hair Architect Wesley Palmer, aka @wesdoeshair, posted this haircut transformation video on his Insta (it has over 200k views!), we knew we had to share the how-to! Watch the video below, then keep scrolling to get the step-by-step break down for this power pixie makeover.
Watch The Video How-To Below!
View this post on Instagram
Products Used
How-To:
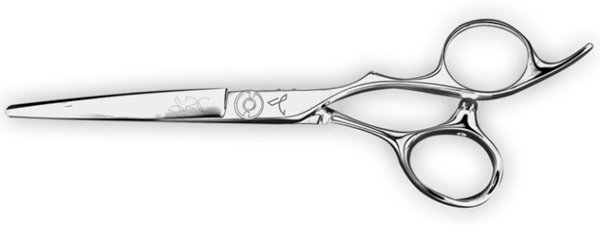
1. Start by removing as much hair as possible (especially if your client is getting a major chop!). Wes prefers to begin this cut on wet hair, then he’ll detail once it’s been rough dried. “That’s why I like working with the PARAGON II from ARC™. They work great on wet and dry hair, so I don’t have to change up my scissors midway through the cut.”
2. Starting at the occipital bone, create two diagonal forward partings—one toward each ear.
3. Clean up the nape by gently point cutting, then use scissor-over-comb to blend the back section.
Click here to get your pair of PARAGON II from ARC™ Scissors!
4. For the sides, create a Mohawk section on top to isolate the hair in front of the ear. Then, start in the front, take diagonal back sections and cut the sides—over directing the hair to the previous section to maintain length.
5. To cut the top, take horizontal partings and overdirect each section to a stationary guide to maintain length at the crown. Cut until there is no hair left in the Mohawk section and then use scissor-over-comb to blend with the back.
6. Rough dry the hair, then use point cutting to clean up any leftover length. Wes’s client decided she wanted a shorter fringe, so he used point cutting to create a softer look.
Slide To Check Out The Before & After!

More from
ARC™ Scissors
-
Blowouts
Bob Styling Guide: 5 Ways To Style Short Hair
-
BTC Hair Trend Report
The Biggest Haircut Trends of 2024
-
Dry-Cutting
Bang Breakdown: How To Cut 2024’s Top Fringe Trends
-
Dry-Cutting
2024 Fringe Guide: How To Consult, Cut & Style Trendy Bangs
-
BTC University
10 Gifts & Stocking Stuffers on Every Hairdresser’s List This Year
-
BTC Events
BTC “On Tour” Nashville Recap: Everything You Missed
-
BTC Hair Trend Report
The Biggest Haircut Trends of Fall & Winter 2023
-
BTC Hair Trend Report
Layering Guide: How To Cut & Style With Confidence
-
Bobs
The ’90s Bob: How To Cut & Style This Trending Haircut
-
Facebook Lives
Volume Guaranteed: Try This Layering Technique For Fine Hair
-
Barbering
How To Style The Biggest Men’s Summer Trends
-
Bobs
The Biggest Haircut Trends of Summer 2023
-
Bobs
The French Bob: How to Cut it
-
Bobs
The Bixie: 3 Cutting Techniques to Master the Look
-
Brunette
Trend Breakdown: Hailey Bieber’s Glazed Brunette
-
Barbering
2023’s Top 9 Hair Trends For Men
-
BTC Hair Trend Report
2023 Fringe Guide: How To Cut This Year’s Biggest Trends
-
BTC Hair Trend Report
2023 Hairstyling: 11 Trends You Need To Know
-
BTC Hair Trend Report
Invisible Layers: What This Haircut Trend Really Means
-
BTC Hair Trend Report
2023’s Biggest Haircut Trends
-
Bobs
Hailey Bieber’s “Preppy, Contoured Bob” Trend: What You Should Know
-
BTC University
4 Styling Secrets For Butterfly Layers
-
This Year’s BIGGEST Products: 2022’s Most Talked About
-
Bobs
The Biggest Winter Haircut Trends To Kick Off 2023

