Last updated: December 18, 2017
Razor-Cut Bob How-To
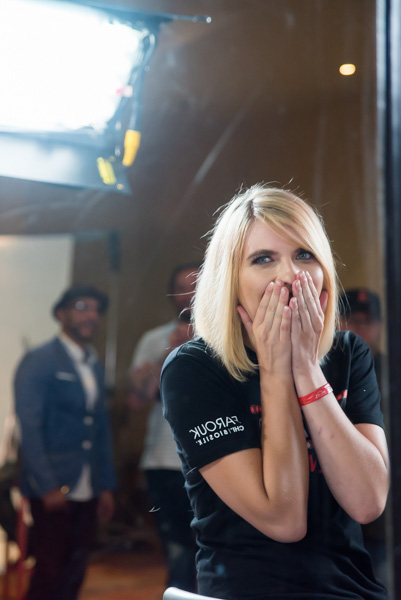
What happens when CHI global artist and #ONESHOT nominee Rocky Vitelli creates a razor-cut bob on BTC’s Facebook Live?! It reaches more than 750,000 people (and the number is still growing!). Rocky and BTC were in Cancun for the Light It Up Farouk Systems Global Conference when we went live to go over this major transformation…and you all loved it! Here are a few tips from Rocky on cutting bobs and the transformational how-to!
The Sections
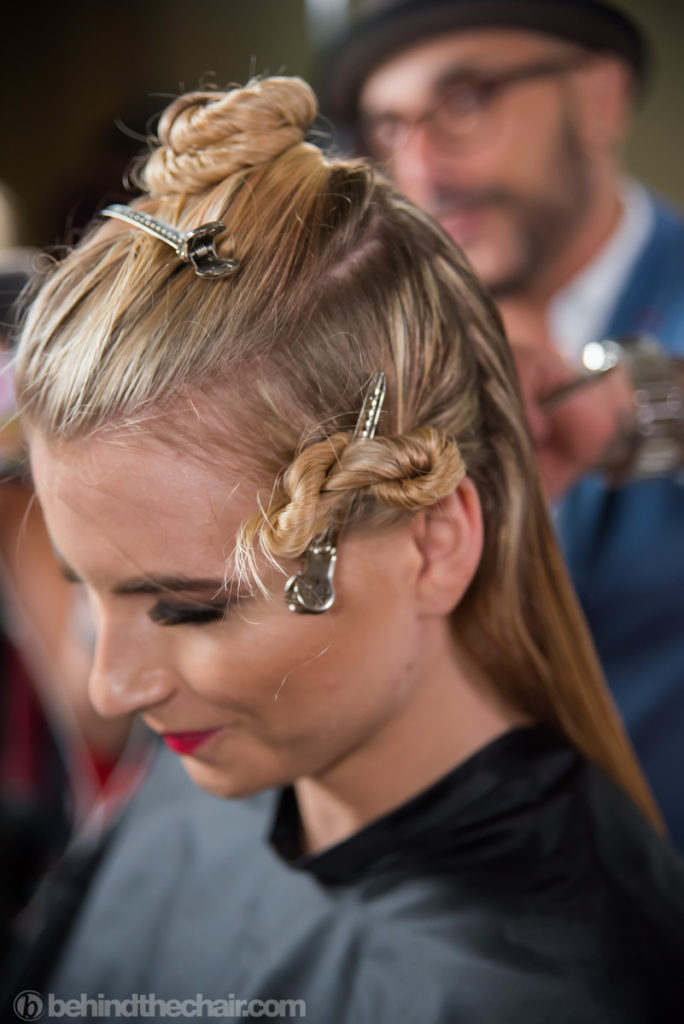
- The Top: Create a top triangle section from the corner of the eye to the corner of the other eye. This is the design line and will get cut last. It doesn’t need to blend with anything as it will fall and drape over the face at the end of the cut.
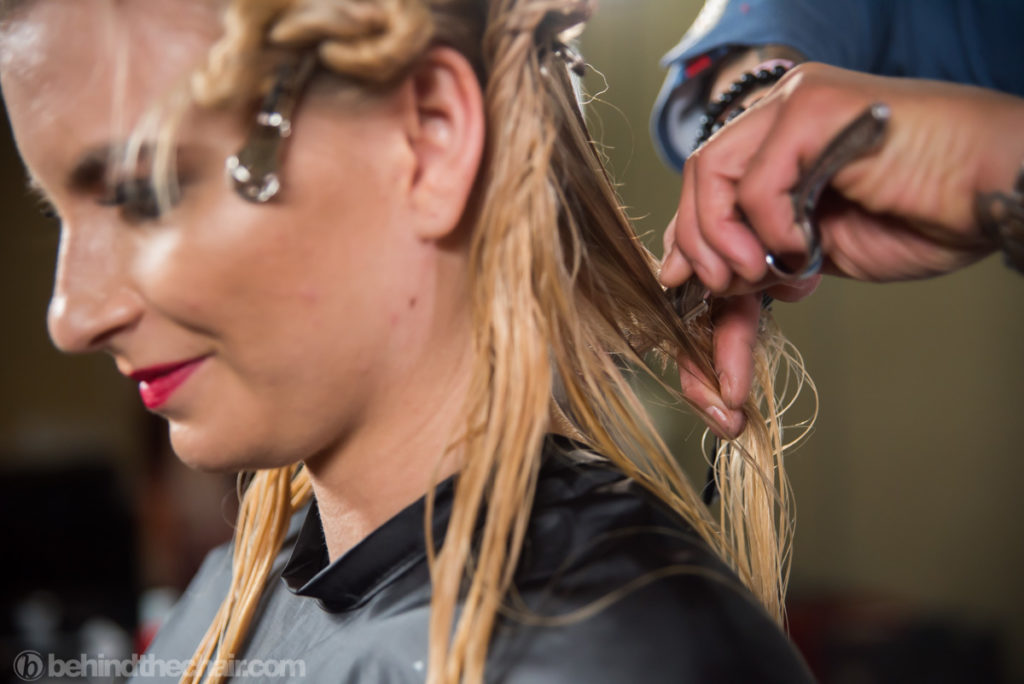
- The Sides: These sections should be from the highest point of the head to behind the top of the ear. Why? Because it makes it easier to create that angle from short to long. If the section goes to the top of the ear, there won’t be enough room to angle the hair dramatically.

See all the pics from Farouk’s Light It Up Conference in Cancun!
The Angles
- Whether right-handed or left-handed, there is going to be a difficult side when cutting a bob. When working on the difficult side, keep your elbow up while cutting your graduation down. If you drop your elbow, you’ll drop the line you’re supposed to be creating.

The Part Line
- Don’t worry about the part line until reaching the top section. Then ask your client where she parts her hair. Drop that section, see how the hair falls, part it from there and work with that.

More from
Farouk Systems, Inc.
-
Color Express 10 Minute Permanent Hair Color
-
Monthly Product Launch List
The Best Hair Product Launches Of Fall 2023
-
Industry Events
Dr. Farouk Shami Honored at City of Hope’s Spirit of Life Celebration Gala
-
HOUSTON: There’s One Day Left To Enter Farouk’s Hair Masters Giveaway
-
Industry News
Dr. Farouk Shami To Be Honored At City of Hope Celebration
-
Business
Struggling With Retail? 8 Tips To Make The Sale
-
Business
6 Things You Didn’t Know About The LG CHI Color Master Factory
-
Base Breaking
Need A Clean Base For Pastels? Try This Corrective Color Method
-
New Appointments
Farouk Systems, Inc. Announces Executive Leadership Updates
-
Collections
Technicolor
-
Foilayage
The 4-Foil Money Piece: Do THIS To Save Time!
-
#ONESHOT HAIR AWARDS
The BTC Show 2022: 10 Things We Saw
-
The BTC Show
#THEBTCSHOW 2022
-
Color Melt
How To Create A Rich Copper Root Melt
-
BTC Quickies
5 Color Tricks We Stole From Instagram
-
Product Launches
2021’s Most Talked About Product Launches
-
Industry News
Farouk Systems, Inc. Earns International Leaping Bunny Certification
-
Industry News
FAROUK SYSTEMS MOURNS THE LOSS OF DEAR FRIEND & BUSINESS PARTNER, JOHN MCCALL
-
BTC Events
#thebtcshow 2021
-
Events
Farouk System at #thebtcshow 2021
-
BTC Events
Connection Center at #thebtcshow 2021
-
Color Mixer
The LG CHI Color Master™
-
Business
Want A Successful Business? These 2 Tips Are Essential!
-
Secrets To Perfect Flat Iron Waves


