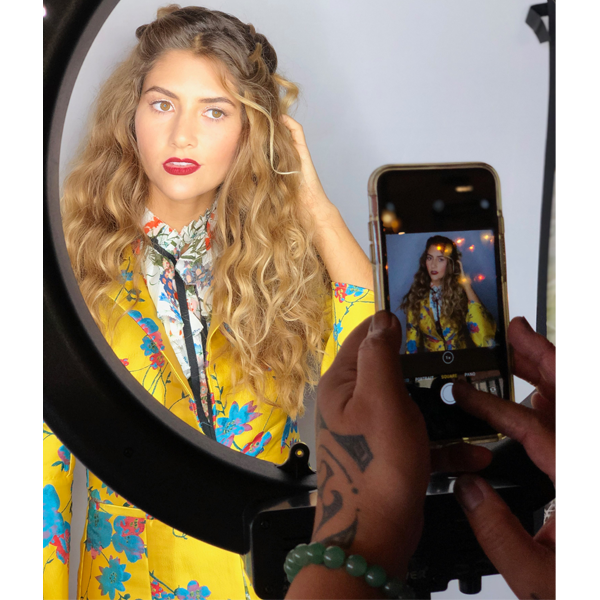
4 Ways To Photograph Hair Using A Ring Light
4 Ways To Make Any Hair Appointment A Photo Shoot Are you comfortable shooting your work in the salon, on your phone and using different light sources? Here's what you need to know: If you can’t easily access natural light in your salon environment, a ring light can be a great photography tool IF you know how to use it properly. That's why we're sharing lighting, camera and product tips for capturing those social media-friendly pics—get them all below! [btc-banner id="706769"] BTC was onsite at the JPMS Hawaii Seminar where Editorial Director and award-winning stylist Noogie Thai (@noogiethai) led...
More from
John Paul Mitchell Systems
-
Events
This 3-Day Hair Show Shined Light on The Creative Side of Barbering
-
Monthly Product Launch List
Monthly Launch List: 8 Hair Launches to Pre-Game Summer
-
Chain Salons
Paul Mitchell Launches Pro Partners Program
-
News
This Subscription-Free Beauty Box Delivers Trending Pro Beauty Products
-
BTC Events
Celebrity Colorist Justin Anderson Joined BTC’s “On Tour” Nashville Benefit Show
-
Copper
6 Trendy Red & Ginger Formulas To Try
-
Color Protecting
The Demi Color Gloss
-
Hair Color
The Color
-
BTC Hair Trend Report
8 October Hair Launches That are Scary Good
-
Copper
Warm Papaya Glow
-
Industry Icon Robert Cromeans Announces Retirement From JPMS
-
Events
This 3-Day Hair Show Brought Thousands Of Stylists To Nashville
-
Monthly Product Launch List
16 New Hair Products To Add To Your Spring Rotation
-
Manufacturer
John Paul Mitchell Systems Launches Sustainable Restage Of Tea Tree Line
-
News
Pick The New Paul Mitchell Colorways Shade—Here’s How!
-
Monthly Product Launch List
11 New Game-Changing Hair Launches To Add To Your Arsenal
-
Hair Color
Lime Green-Toned Color Block
-
Color Depositing
Clean Beauty Color Depositing Treatment
-
Hair Color
Vivids: 6 Creative Color Placement & Formulation Tips
-
Industry News
Remembering The Life of Angus Mitchell
-
Monthly Product Launch List
The Best Hair Product Launches Of Fall 2023
-
Manufacturer
John Paul Mitchell Systems® Launches New Pro Rewards Program
-
News
These Are The Hottest Hair Launches To Close Out Summer 2023
-
Events
Paul Mitchell’s New Colorways Contest Is Live


 or
or


