1. Start by sectioning the hair, working in alternating horizontal sections and two diagonal sections. Allie recommends this sectioning pattern with returning clients who don’t need lightener applied all over.
2. Apply Formula A to the previously-lightened ends using a @prettylittleombre Classic Wooden Chip Brush, gently applying without fully saturating the hair.
Pro Tip: Allie adds Wella Professionals WellaPlex N°1 Bond Maker to all of her lightening formulas to strengthen her clients’ hair without needing to bump the developer or extend the processing time. “Adding WellaPlex N°1 to my lightener changes the consistency and makes it easier to glide product onto the hair for a smoother application,” adds Allie.
3. Then, apply Formula A to new growth using a feathering technique and painting toward the roots. Allie recommends using the Classic Wooden Chip Brush for blending and feathering lightener because it’s easier to paint in wide-plank sections, plus it cuts down application time.
4. Cover the hair with balayage wrap and process for 45 minutes, then rinse.
5. Apply WellaPlex N°2 Bond Stabilizer to enhance the color and strengthen strands. Process for 10 minutes, condition and rinse.
6. Towel-dry and apply Formula C all over. Process for 10 minutes, then rinse. Condition, blow-dry and style as desired.
7. Send clients home with WellaPlex N°3 Hair Stabilizer and recommend using weekly to maintain the hair’s integrity in between color and blonding appointments.
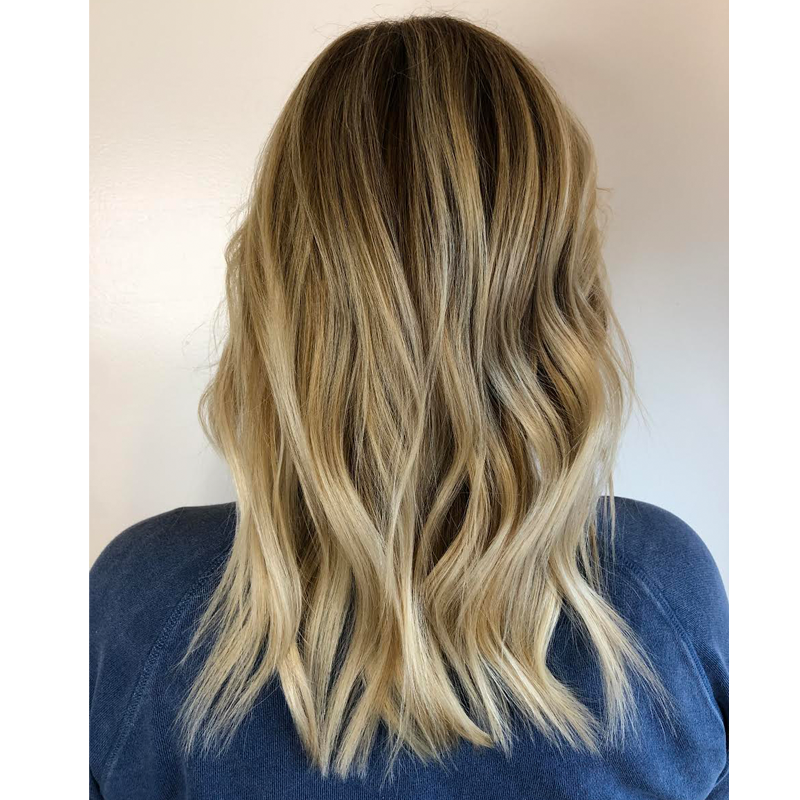
 Finished Look


