This Foil Pattern Fixes the "Dark Hole" in the Back
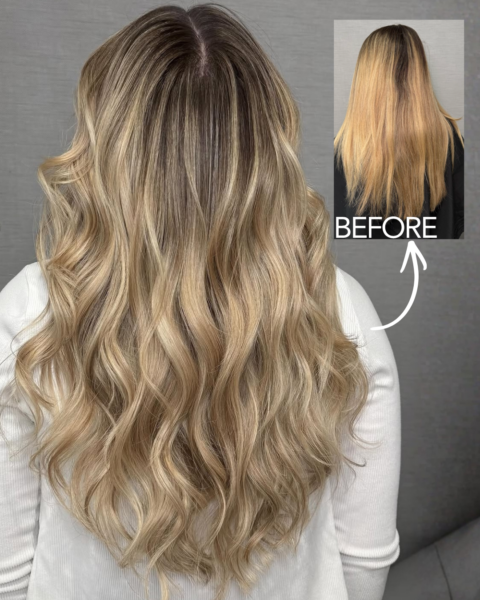
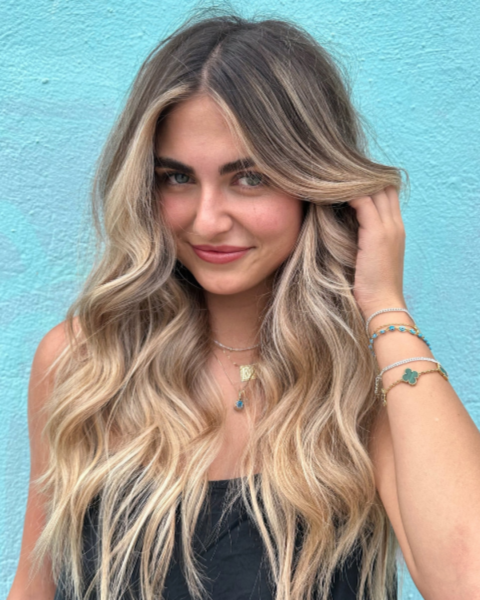
The “dark hole” is one of the most common blonding challenges, especially when clients want brightness to sit higher while maintaining dimension. Sectioning pattern, foil spacing and the way each foil connects through the back of the head all influence whether the finished result looks seamless or reveals darker pockets.
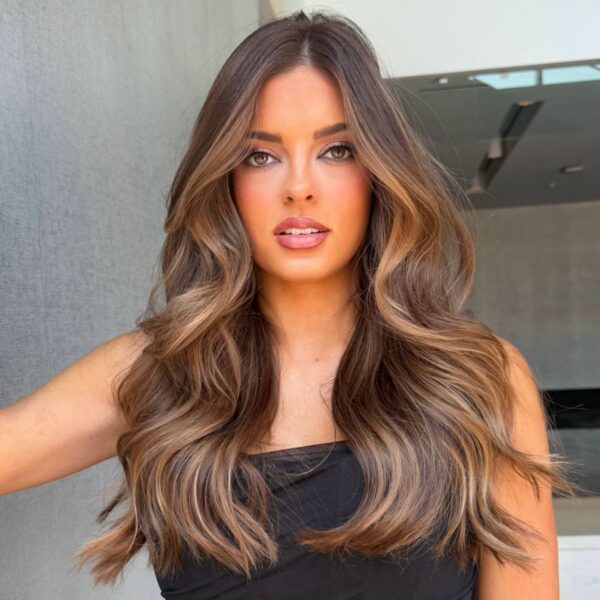
Below, Ciarra Russo (@colorbyciarra), BTC Team Member, custom color expert and educator, shares the foil pattern she uses to eliminate the “dark hole,” connect brightness through the back of the head and preserve soft, natural-looking dimension.
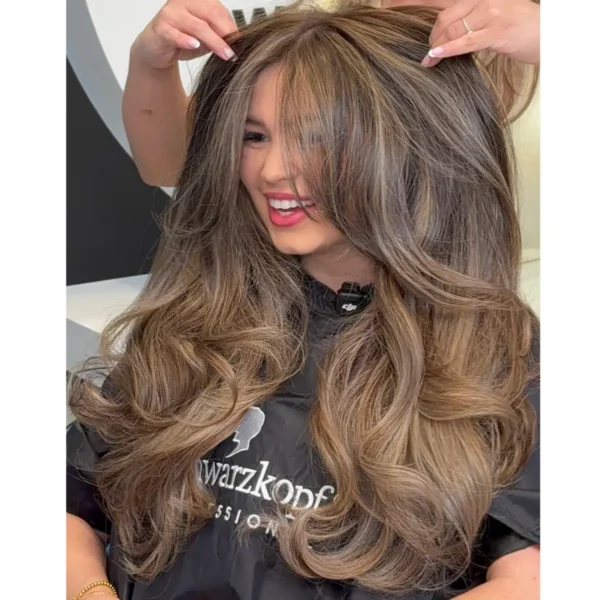
But first, move the slider to see the before and after:
1. Customize the Hairline Before You Connect It
Before connecting brightness through the back, Ciarra determines whether the client wants a higher-maintenance finish with fine babylights placed right to the root or a softer, more naturally rooted result. That decision guides the teasing and placement used throughout the service.
Advertisement

“For this client, we want the blonde higher up, but we don’t want it right at her root. So, we are teasing after we do our babylight,” Ciarra explains. “If your client likes the blonde right at their root, I would skip the tease.”

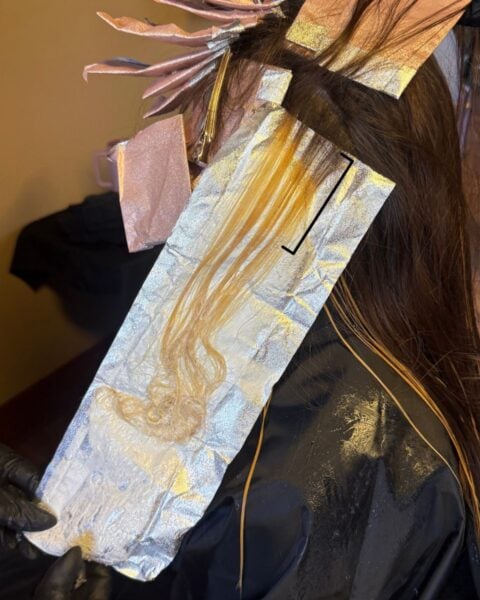
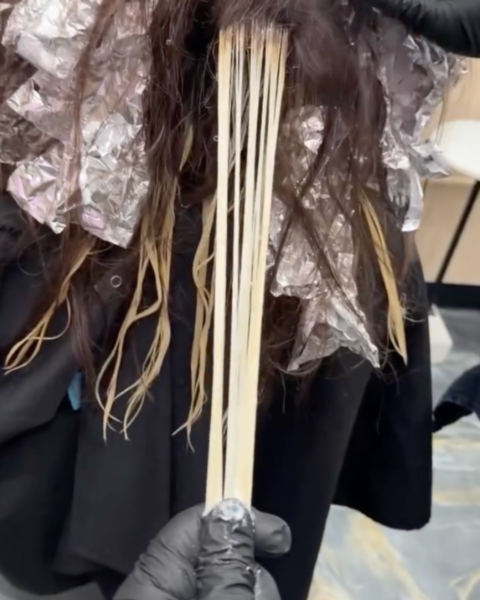
After teasing, Ciarra feathers Paul Mitchell® Pre-Bonded Lightener upward to create a diffused transition between the highlighted section and the natural base. By adjusting the teasing technique based on the client’s desired grow-in, she can customize how softly the blonde blends into the natural base.
What does “pre-bonded” mean?
The BLONDE Pre-Bonded Lightener is formulated with AminoBond Protect™, a built-in bonding technology powered by the amino acids arginine and lysine to help support hair’s natural integrity during lightening. Because she’s feathering the lightener to create a soft, diffused transition, Ciarra uses its blue powder formula to help neutralize warmth while lifting, creating a clean, even result before toning.
2. Connect Brightness Through the Back
The number of foils needed to connect the hairline depends on the client’s density and hairline shape. “Everyone’s hairline’s a little bit different, so sometimes I’ll go right to the center after those two and connect them,” she explains. “But for this client, I’m doing three back-to-back weaves before connecting.”
Advertisement

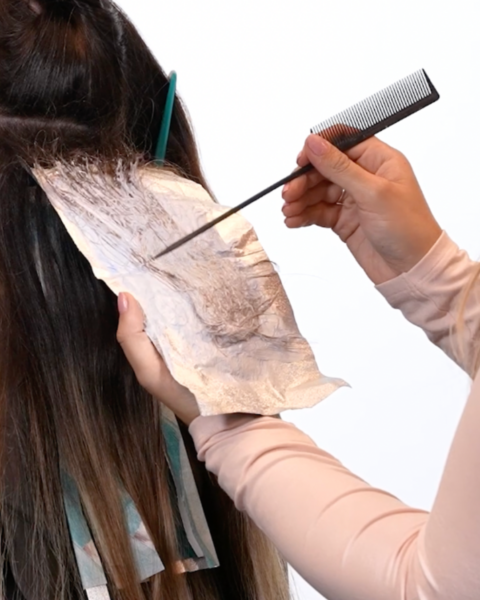
After completing the side sections, Ciarra creates a small triangular section through the center to bridge the placement. She feathers the lightener upward in a V-shaped application, connecting it to the surrounding foils for a seamless transition.
“Each foil that I do is getting a little bit further away from the scalp,” she says. “This is going to make your foils look so diffused and natural.”

3. Adjust the Pattern to the Head Shape
Once the hairline is complete, Ciarra repeats the same placement pattern as she works up the back of the head. She begins with diagonal back sections to follow the head shape, then adjusts the angle and shape of each section as she moves into narrower areas of the head.
This allows her to maintain consistent foil placement without forcing the same diagonal pattern where it no longer fits. By adapting the sectioning to the head shape, she creates continuous brightness from the nape through the Mohawk while maintaining an even, balanced result.

Press play to watch her full technique:
View this post on Instagram
Advertisement

Join BehindTheChair
Access the industry’s #1 source for hair trends, education and community now.